
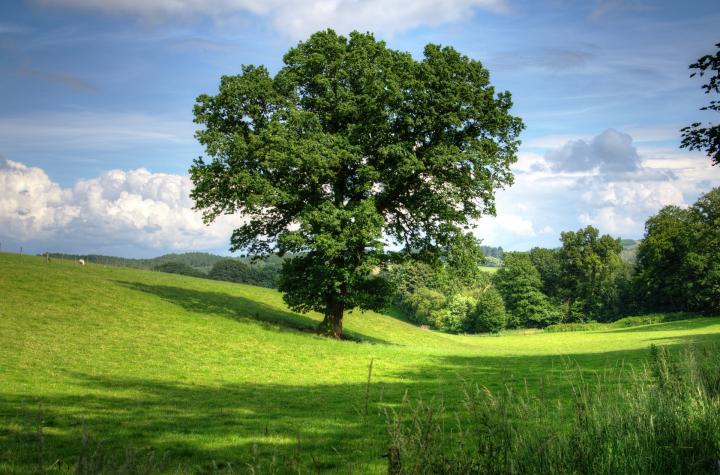
Planting a tree for Arbor Day
A Step-by-Step Guide to Planting a New Tree
The Almanac Garden Planner - Use It Free for 7 Days!
Plan your 2025 garden with our award-winning Garden Planner.
Here are tips on how to plant a bare-root tree the right way—from digging the hole to watering the tree properly once it’s planted.
What Is a Bare-Root Tree?
“Bare-root” means that the trees are not grown in a container. They are shipped to nurseries dormant, and they do not have any soil around their roots (hence, they are “bare”).
Why a bare-root tree?
Read Next
- They are usually less expensive.
- You will find a larger selection versus container trees, especially via mail order.
- And most importantly, they experience less shock after planting, having experienced less transpiration (water loss) immediately after planting. Go bare-root for easy transplanting with the least shock.
The best time to plant a bare-root tree, or any other bare-root plant, is in the early spring.
Ordering a Tree
By ordering trees from a mail-order nursery, you will have a lot more to choose from and, since you will be living with these trees for many years to come, you can get the ones you really want.
Trees are dug up from beds in the nursery while they are still dormant, packed in damp shavings or peat moss, wrapped in plastic, and shipped off on their cross-country trip to your garden.
Since they are sent without any soil, the shipping costs are minimal. They inevitably lose some of their roots when they are first dug up, and the roots and tops are often clipped back before shipping. Like many weary travelers, they arrive in a state of shock and need immediate care.
Unpack The Tree
If you can’t plant the trees within approximately 24 hours of arrival, unpack the plants and cover their roots with wet newspaper, hay, or peat moss. The roots need to be kept cool and damp to hold back growth, but it is hard to fit a tree in the fridge—I know because I’ve tried! Better yet, “heel” them in by placing the trees in a shallow trench and covering the roots with soil. This trench should be in a shady spot. You’ll also need to protect the trees from freezing by covering them on cold nights. Keep the soil moist, but not soggy, until you can plant the trees.
If you can plant the trees right after they arrive, carefully untangle and soak the roots in a bucket of water for 12 to 24 hours before planting in order to replace the moisture lost during shipping. Do not soak the roots for more than 24 hours nor allow the roots to ever dry out. At minium, allow your tree’s roots to soak in water an hour or two before planting.
Dig The Hole
Remove any grass within a 3-foot circular area.
The old rule of thumb was to dig a $20 hole for a $2 tree, but we need to adjust that for inflation to a $200 hole for a $20 tree.
Dig holes wide and deep enough to allow you to carefully spread out the roots without bending, breaking, or crowding them. This means a hole at least twice the width and depth of the root mass is necessary.
For a 2-year-old bare-root tree, that’s usually a hole that’s 2 feet around and deep to accommodate the tree’s root system with room to grow.
When digging, try to keep the topsoil (dark) separate from the subsoil (lighter in color, either sandy, gravel, or clay). Digging can “glaze” the sides of the hole, leaving a hard surface that is difficult—if not impossible—for young tree roots to penetrate. Be sure to roughen up the sides of the hole to avoid this.
Prepare the Soil
To aid root growth, turn soil in an area up to 3 feet in diameter.
Experts used to tell us to heavily amend the soil in the planting hole, but research has found that this keeps tree roots from extending outside the hole to seek nutrients. It makes for a weakly rooted tree.
Do not add soil amendments such as peat or bark. Some gardeners will amend hard (clay) soil with all-natural coconut fiber (coir) medium which aides air circulation.
Put some of the topsoil you dug out into the bottom of the hole where it will do the most good. Form it into a mound and drape the roots over it to encourage outward growth.
Place The Tree
If your new trees are grafted—meaning they’re made from two different varieties joined together—you’ll notice a bump or angle near the base where the top tree—called a “scion”—was attached to the rootstock. Make sure that the graft union faces north and is at least 2 to 3 inches above the soil level.
(Note: The crown should never be planted lower than grade. Be mindful of where the root flare is when planting bare root trees so that it is not buried too deeply.)
Keep the tree vertical in the planting hole (perpendicular to the ground) so that it grows straight.
Backfill the Hole
As you fill in the hole with topsoil, work the soil around the roots to eliminate any air pockets. When the hole is half full, first the soil around the lower roots, water well and let it soak in. Then, continue to fill the hole using the remaining topsoil first and the subsoil last. Tamp it down firmly and water again.
Never use fertilizer, potting soil, or chemicals as you fill the hole with soil. This will kill baby trees.
I often build a berm or rim of soil around the outside edge of the hole as a water-holding basin to keep water from running off too quickly. If you do this, be sure to break it down in the fall to prevent water from pooling around the tree and freezing in the winter.
Stake the Tree
Stake your tree for support. Drive the stake through the root ball into the ground underneath. Stake the tree loosely until the roots get established; do not make it too tight. Larger trees may need 1 or 2 more stakes placed a few feet from the trunk.
Water the Tree
Spread protective mulch around the tree but NOT touching the trunk. Start about two inches from the trunk (leave this area exposed) and place two inches of mulch out to the dripline or further (about 3 feet for a small tree). Mulch roots keeps the roots cool and retains moisture which is critical for a young tree.
Watering is critical during the first season, so be sure your new trees get at least one inch a week. Water slowly at the dripline. If you are planting in late spring or summer, it is especially critical that this root ball area does not dry out.
Water your new tree right at the root ball every few days for the first several weeks during the growing season. The soil around the rootball should remain moist though not saturated.
Caring for Your Tree
Note that bareroot plants take four to six weeks after planting to “wake up” and show signs of growth.
Within several months, when sufficient numbers of roots have grown into the loosened, mulched soil surrounding the rootball, you can direct your irrigation to that area.
You may need to water as often as once a week throughout the first summer. When irrigating, apply enough water to thoroughly wet the root zone to a depth of at least a foot, but don’t water so often that the soil stays waterlogged. In dry climates, generously water the tree every 7 to 10 days during the first year.
Again, keep that mulch away from the trunk to avoid collar rot. No mulch volcanoes please! With this kind of TLC, your new trees will be off to a good start.
Related articles
Not sure what kind of tree to add to your garden? Check out these recommendations for fast growing trees.
We also have a great video demonstrating how to plant a fruit tree!
Robin Sweetser


ADVERTISEMENT
When planting your tree if you live in a windy area slant your tree slightly into the wind,as your tree grows the wind will straighten it. Also staking your tree should be done as you are planting your tree this will reduce root damage. As you are planting inspect your roots don't be frighten to remove any damaged roots as this will reduce suckering.
What's the reasoning behind turning the tree at planting to ensure the graft union is facing north?
North facing keeps union from direct sunlight. Protecting weakened bark from sun burn!