
Planting, Growing, and Caring for Bachelor's Buttons
The Almanac Garden Planner - Use It Free for 7 Days!
Plan your 2025 garden with our award-winning Garden Planner.
Planting
Bachelor’s buttons do best in full sun, six hours per day. However, if you are a hot climate gardener, your bachelor’s buttons will appreciate afternoon shade and bloom longer into the summer. These are cool-season flowers, and they like good drainage but will tolerate relatively poor soil.
Plan to use bachelor’s buttons to best effect in massed color patches. They make a striking display in large swaths in beds or borders.
However, since they are so willing to start from seed, take the opportunity to tuck a few seeds here and there in your vegetable garden as well. You’ll add a splash of color and bring in beneficial predatory insects to take care of some garden pests for you.
When to Plant Bachelor’s Buttons
Bachelor’s buttons can be planted in spring everywhere as soon as the soil can be worked–even before your last frost date! Warm climate gardeners, about USDA zone 7 or higher, can often seed them in the fall.
Fall-seeded bachelor’s buttons will grow larger and have longer stems and bigger blooms when they flower in mid-spring. If fall planting, get them in the ground about six weeks before your first frost. They might look a little ragged, but should perk up in spring.
Northern gardeners may wish to start some bachelor’s buttons from seed indoors about 4-6 weeks before planting out, to get a jump start on spring color. Once they have some true leaves, they will tolerate some light frosts and can be planted after hardening off.
How To Plant Bachelor’s Buttons
Bachelor’s buttons are easily direct seeded and don’t usually need to be started indoors. Still, they can be, especially for northern gardeners trying to get some blooms early in the season or if the birds keep stealing your seeds from the soil.
Direct seeding (spring or fall)
- Prepare the soil bed by removing weeds, working in some compost, and raking smoothly.
- Sow ¼ inch deep, 2 inches apart. Cover lightly with soil.
- Water gently to keep the soil moist until the seeds sprout.
- Once 2 sets of true leaves appear thin back to a density of 1 to 2 plants every 12 inches. Thinned plants can be transplanted to other parts of the garden or tucked into containers for a pop of color on the deck.
Starting bachelor’s buttons seeds indoors
- Use cell packs, seed flats, or soil blocks. Prepare with a well-moistened seed starting mix.
- Sow seeds about a quarter inch deep and lightly cover with soil.
- Mist the surface and cover it with a humidity dome or plastic, and place it under lights.
- At room temperature, they should germinate in 6 to 14 days. Remove the dome and keep them under lights for about 12 to 15 hours per day. Watch the temperature. If it is hot under your lights, they may suffer.
- Bachelor’s buttons started indoors will develop a better root ball if the overnight temperatures are 50 to 55F.
- Harden off before planting outside, utilizing a 9 to 15-inch spacing.
Growing
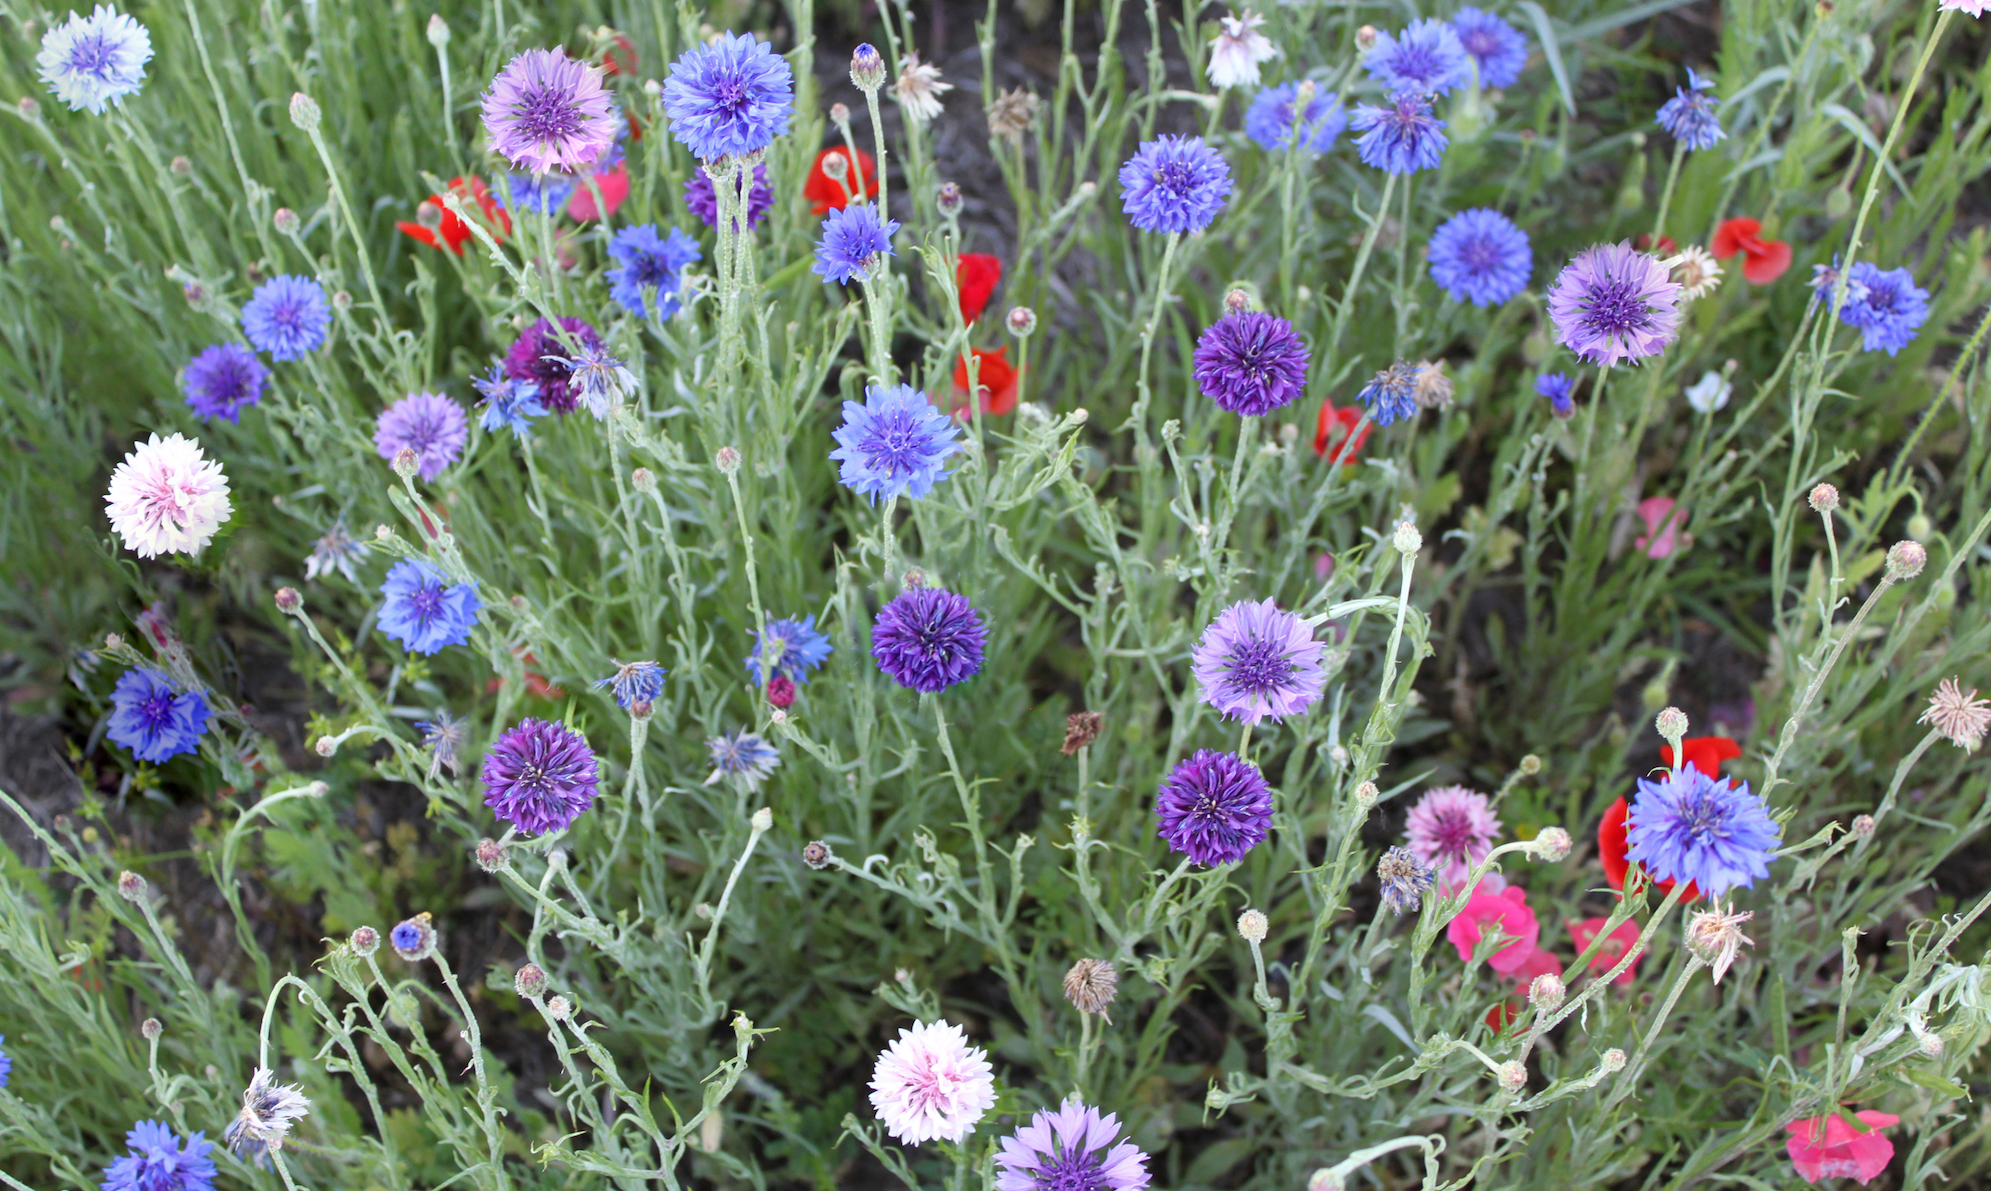
Bachelor’s buttons are easy to grow and are a great way to add contrasting colors to our flower gardens’ typical warm color palette–white, yellow, orange, pink, and red.
- Bachelor’s buttons will tolerate a little dry soil, so don’t go overboard with watering. Their water needs are modest.
- Work some compost into the bed before planting, but don’t fertilize throughout the growing season. They don’t need it. Bachelor’s buttons will do well in less-than-perfect soil and average fertility.
- Deadheading can encourage more blooming. After the first flush, cut the entire plant back by about a third, and you may get another spurt of growth and blooms in the early fall.
- Bachelor’s buttons don’t usually need staking, but taller varieties can be susceptible to laying over after a storm or in windy areas.
Types
- ‘Classic Romantic’ is a medium-sized plant with semidouble and double bicolor blossoms of pink and white.
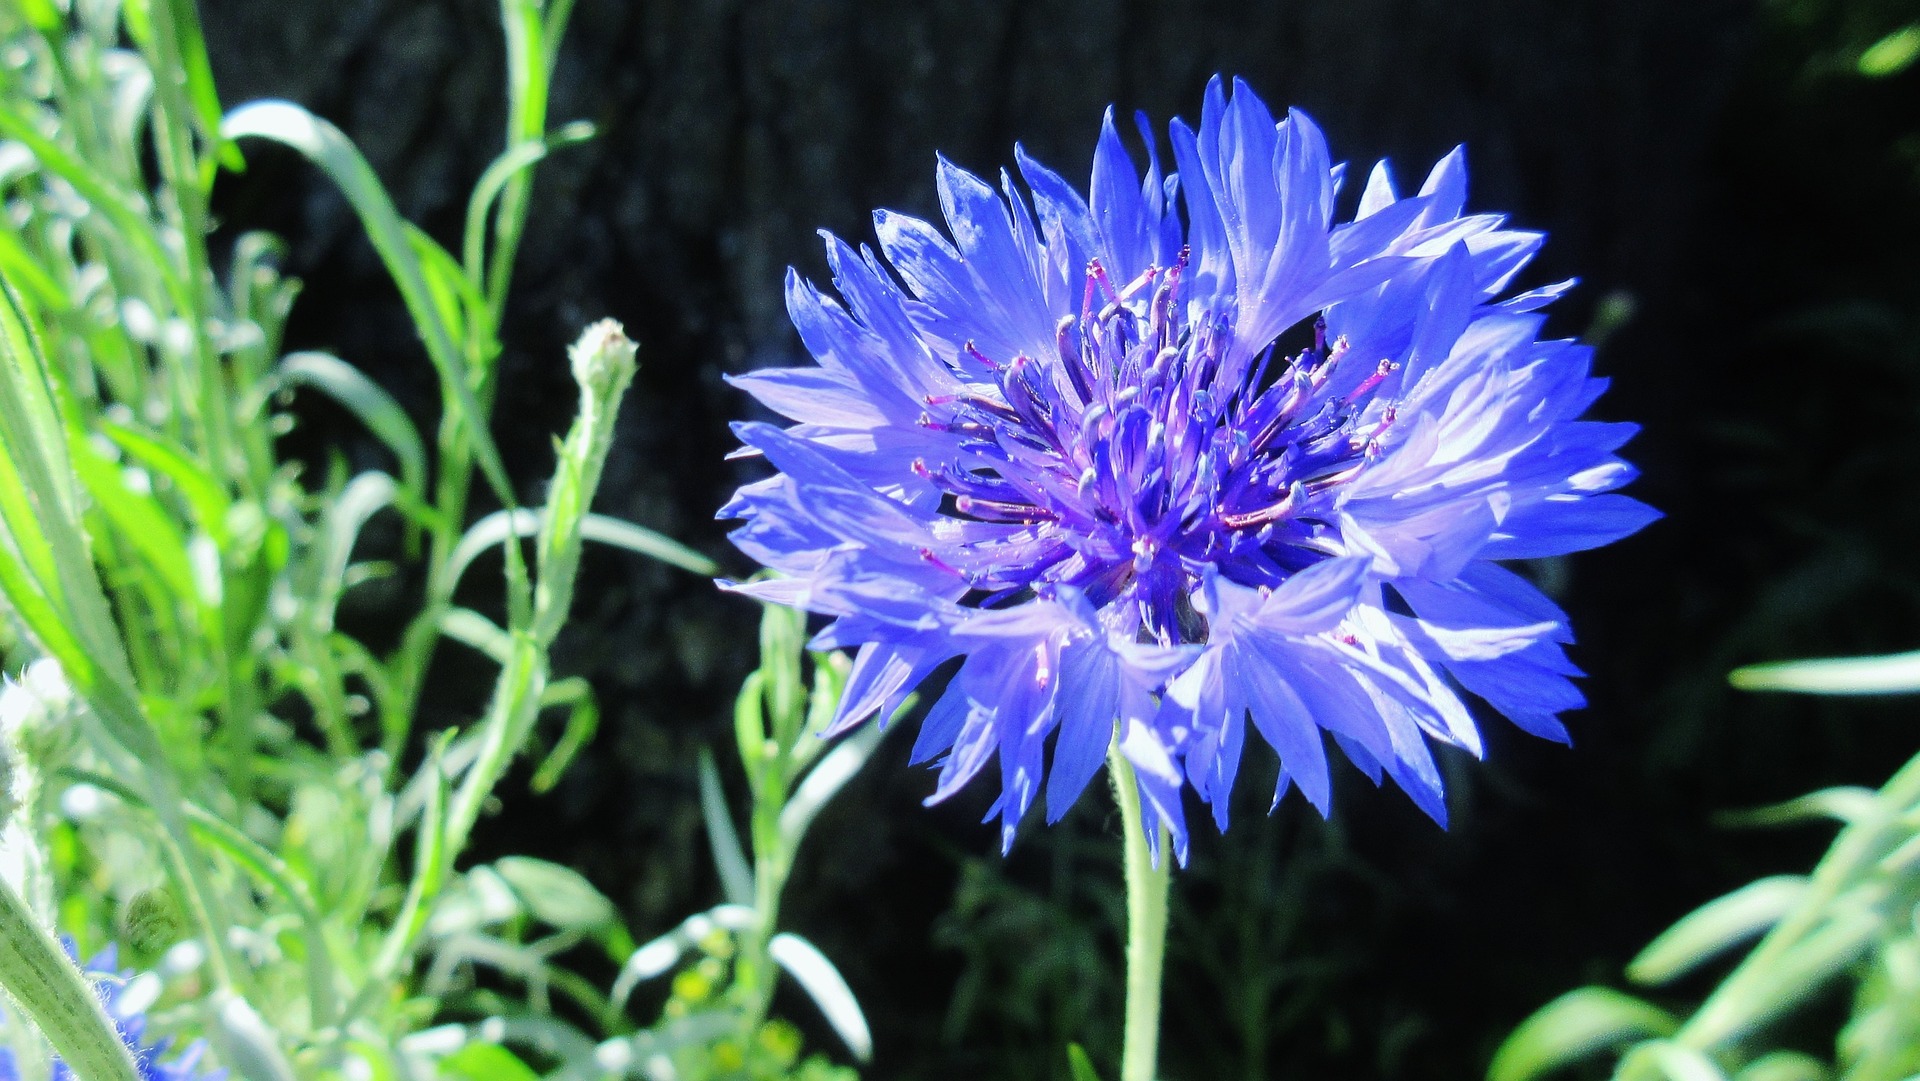
- ‘Florist Blue Boy’ is the classic cornflower blue. Grows to about 30 inches tall.
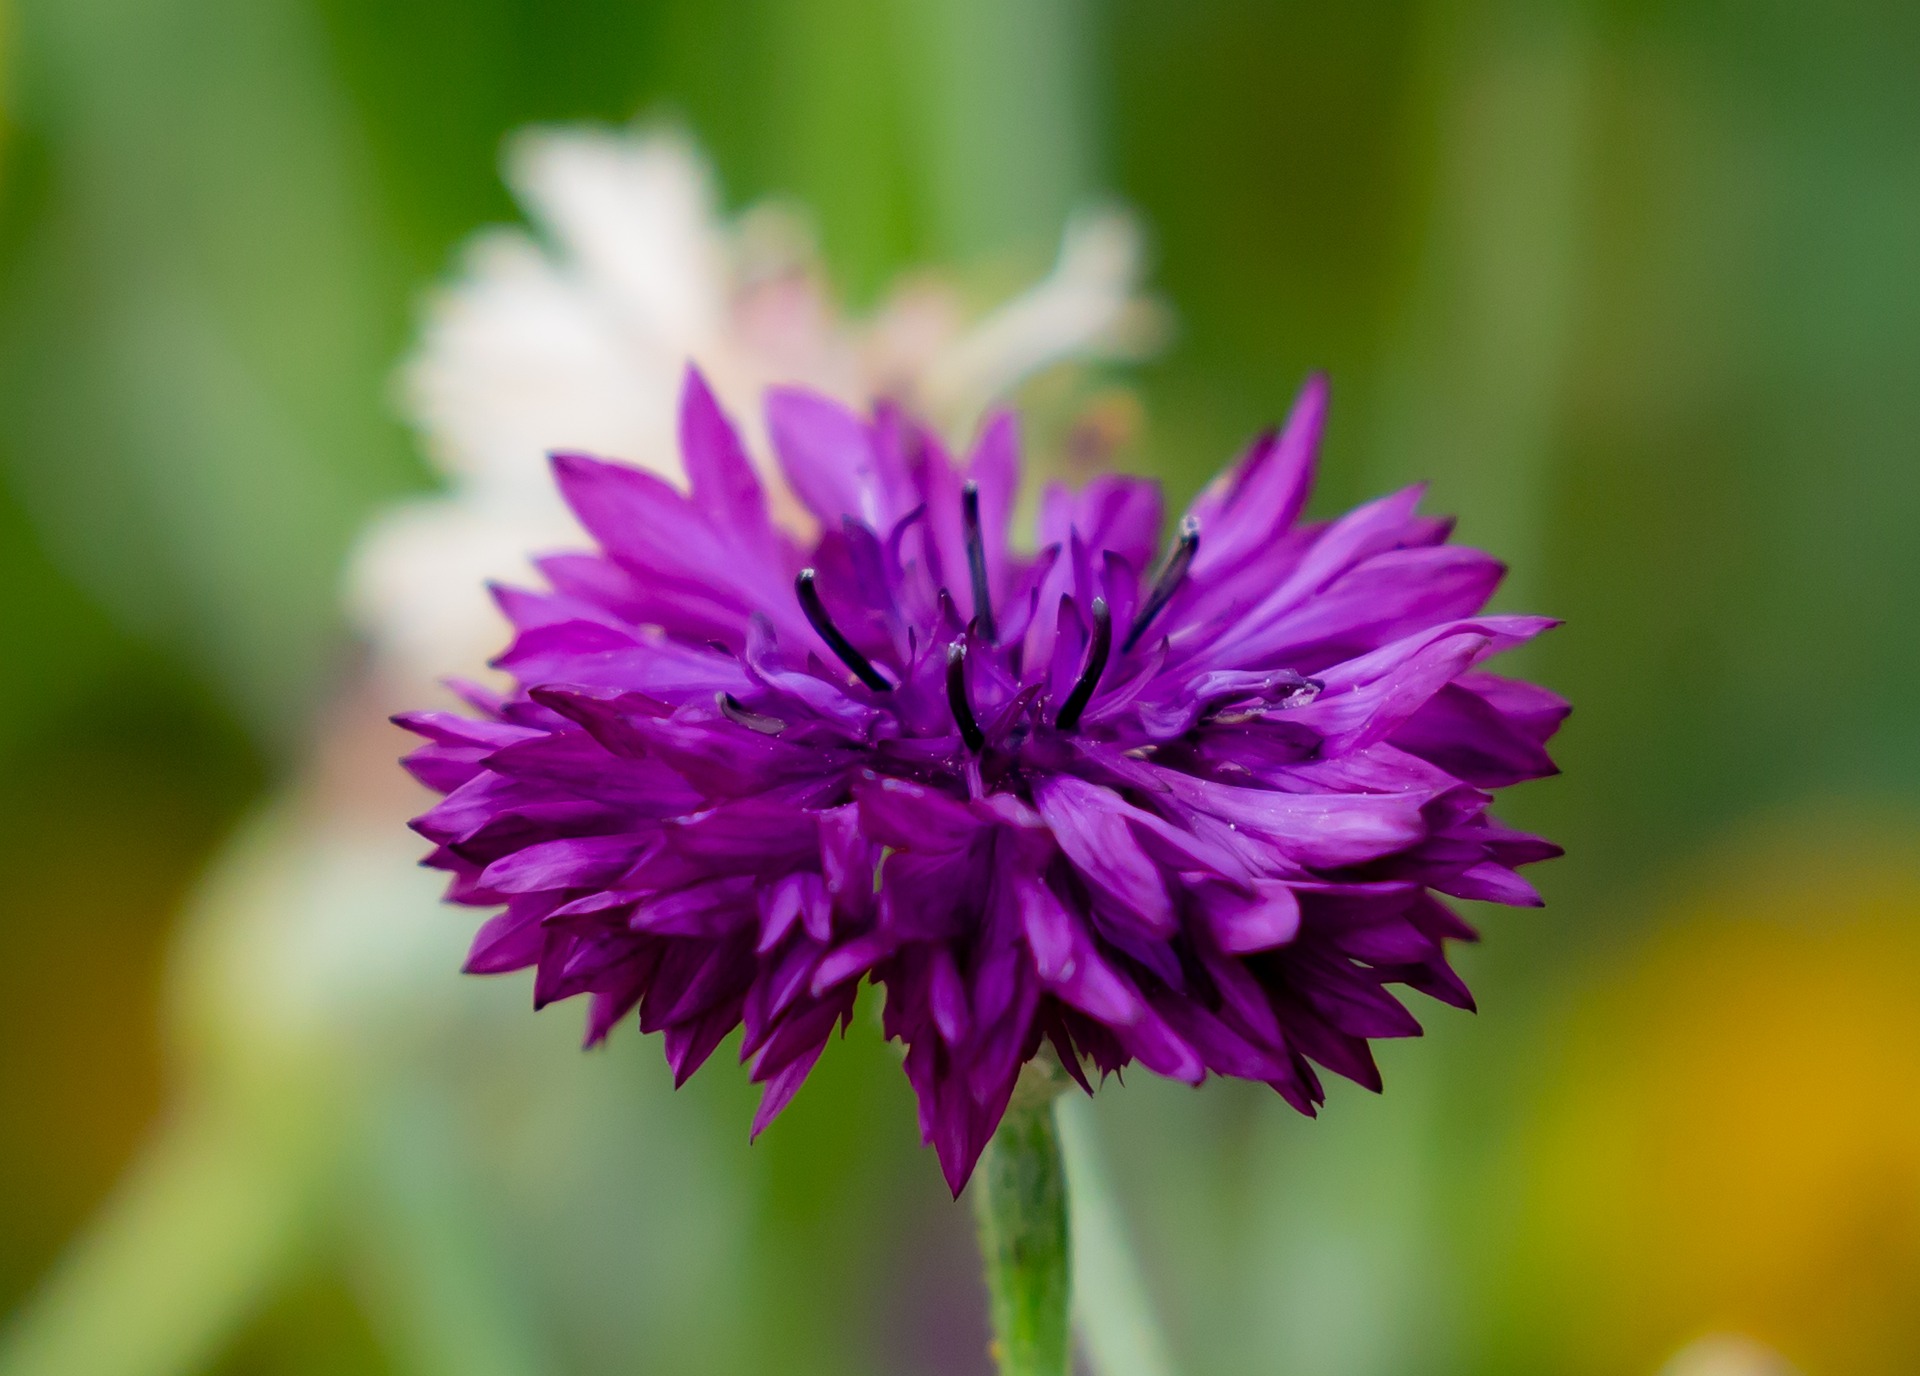
- ‘Black Button’ sports a deep purple that is almost black–a unique color for your garden.
- ‘Classic Magic’ is a mix of lavender, white and purple flowers that makes an excellent spring display by itself.
Harvesting
Bachelor’s buttons are an excellent cut flower, and when harvested at the right stage, they can last up to two weeks in the vase.
- Harvest individual blooms when they are about ¼ open. The color should be poking out the top, but no petals actually unfurled yet. Don’t worry. They will continue to open when cut at this stage.
- If the bloom hasn’t opened yet and resembles an unopened thistle bud, let it go for a few more days. If you cut it that early, it will not open.
- Blooms that are fully opened will start to bleach out in the sun and show some wind damage. They can still be brought into the house or left on the plant to go to seed or deadheaded.
- Cut deeply. The first harvest from the plant should be down to where there are only 3-4 sets of leaves remaining. This will cause the plant to grow longer stems and more of them. Afterward, cut back all the way to the main stem.
- Harvested stems should be placed immediately in a bucket of water. Don’t wait until you get back home after cutting the rest of your bouquet.
- Strip all foliage from cut stems except the top set of leaves. Cut the stem to the length needed when arranging.
Andy Wilcox


ADVERTISEMENT
Thank you for this article. I love bachelor buttons! If they are finished blooming in early July, what do you recommend be planted with them/around them to provide colour the remainder of the summer? Should they be dug up and replaced with another annual?
Hi Joan,
Bachelor’s buttons are such beautiful flowers and we would recommend deadheading (removing the blooms) as often as needed to encourage more blooms to appear. Instead of removing your plant once it has reached full bloom, consider cutting it back by a third. It may lead to another bloom of flowers later in the summer or in early fall. Deadheading will remove the seeds, but if you want your bachelor’s buttons to return the following year in the same place, leave a few blooms until they wilt and the seed head develops. The seeds will fall to the soil and hopefully return the following year!
As to what you should plant around it, it really comes down to color preference, location, and growing conditions. There are so many beautiful annuals that you can plant that will bloom later in the summer and into the fall. Below are a couple links for you to peruse that might give you some ideas. Happy growing!
https://www.almanac.com/gardening/growing-guides#Flower
https://www.almanac.com/why-you-should-plant-annual-flowers
https://www.almanac.com/best-fall-flowers-your-garden