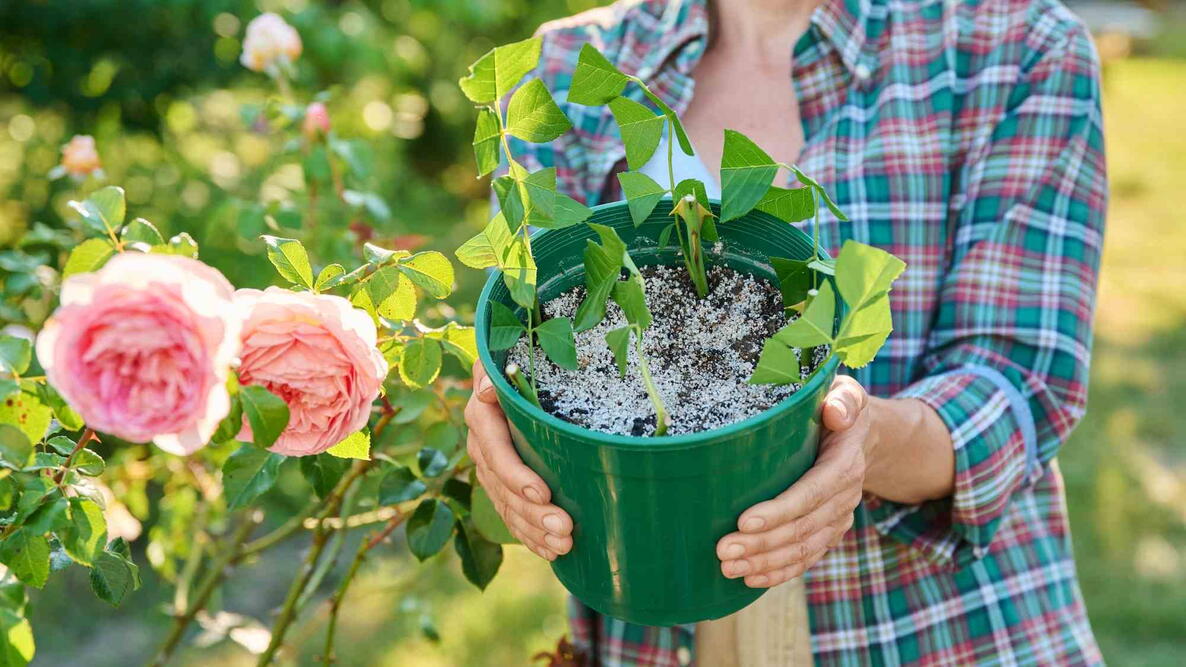
Caption
Propagation roses by cuttings.
Every rose has its roots—but if you want to grow more of your favorites, cuttings are a great place to start! Thankfully for us rose lovers, propagating roses from cuttings is a surprisingly easy and inexpensive way to grow new plants.
To grow roses from cuttings, take a healthy stem, remove the lower leaves, and plant it in moist soil or potting mix. Keep it humid and out of direct sun while roots develop. In this step-by-step guide, I’ll show you how to propagate roses and care for your new plants.
What Are Rose Cuttings?
Many plants can be propagated from small sections of stem, or “cuttings,” and roses are no exception. Growing roses from seed is doable, but it takes much longer and may produce plants that don’t look like the parent plant at all.
But that’s where propagating roses from cuttings really shines! Unlike roses grown from seed, cuttings produce clones of the parent plant, with the same flowers and fragrance. Growing roses from cuttings is also faster than growing plants from seed!
Before You Start: Rose Cutting Basics
You can propagate roses from three types of stem cuttings: softwood, semi-hardwood, and hardwood. The difference is when you take them and how mature the stems are.
We’ll focus on softwood cuttings—young, flexible stems that tend to root relatively quickly. They’re a good place for beginners to start. You can also propagate roses from semi-hardwood and hardwood cuttings, but the timing and care differ.
Which Roses Grow Best From Cuttings?
Most roses can be propagated from stem cuttings, but the process is easiest with native and wild-type roses, as well as Old European roses and other heirloom rose varieties.
You can also propagate modern roses this way, but many are sold grafted onto a different rose’s rootstock. Roses grown from cuttings develop their own roots, so they may not be as vigorous or cold-hardy as the grafted plants sold at nurseries.
One important note: Some rose varieties are protected by plant patents and cannot legally be propagated without permission. Check your rose’s plant tag or variety information before taking cuttings.
When to Take Rose Cuttings
The best time of year to propagate roses is late spring to early summer, just as rose flowers are dropping their petals. These cuttings root best when they’re flexible, green, and about the diameter of a pencil.
Take semi-hardwood cuttings in late summer to early fall, and hardwood cuttings when roses enter dormancy in late fall to early winter.
How Long Does It Take to Grow Roses From Cuttings?
Taking and planting rose cuttings is a relatively quick project, but growing a new rose takes patience! Roots typically develop in about 6 to 8 weeks. Young roses may need several more months to establish enough to be ready for the garden, sometimes until the following spring.
Supplies for Propagating Roses
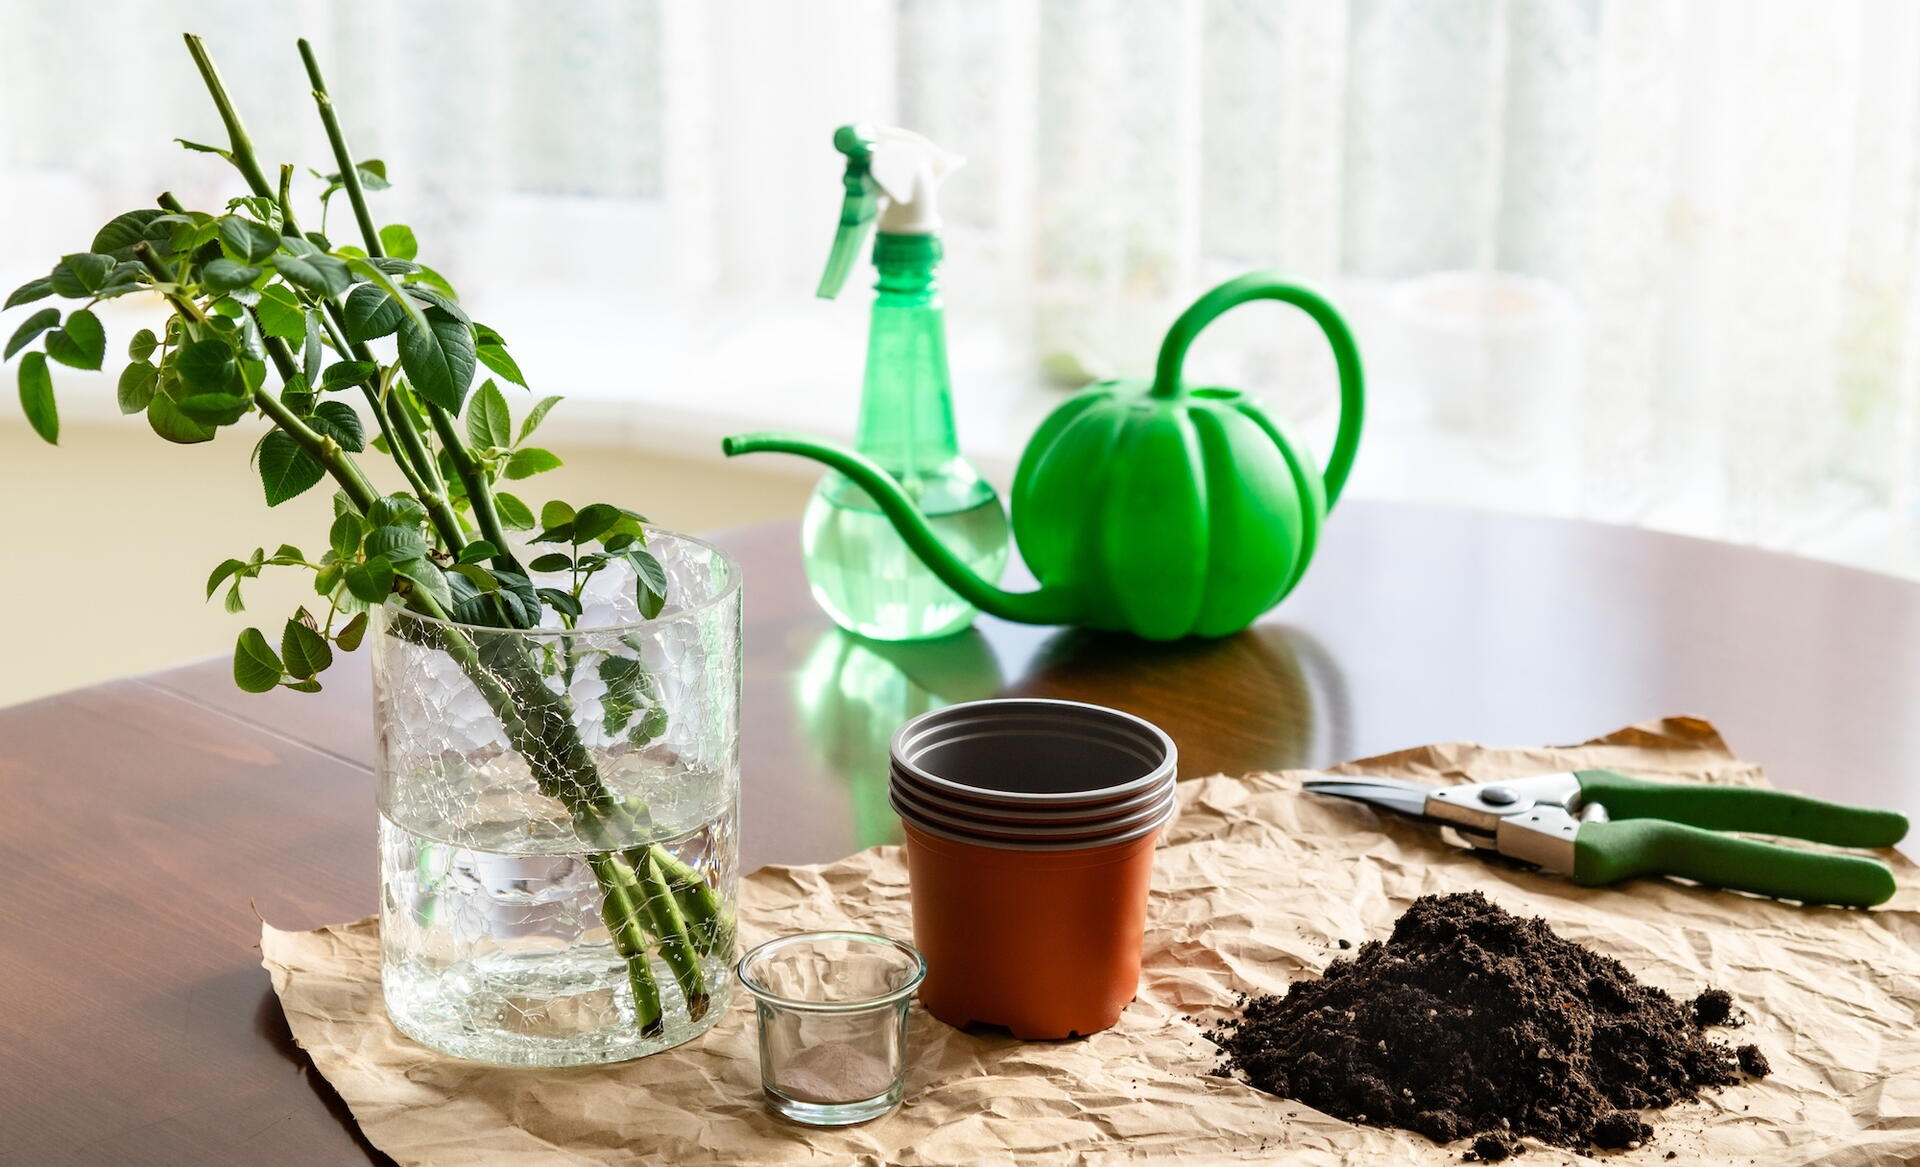
Before you start, gather the supplies you’ll need to prepare your rose cuttings and help them grow roots:
- Clean, sharp clippers or pruning shears
- Clean, sharp knife (for optional wounding)
- Bucket of water to keep cuttings fresh
- Soilless potting mix and perlite
- Rooting hormone powder (encourages new roots to develop)
- Deep pots with drainage holes (1-gallon pots at least 8 inches deep work well)
- Clear plastic covers to maintain humidity (e.g., plastic bottles, milk jugs, cloches, or plastic bags)
- Pencil for making planting holes
- Plant labels if growing multiple rose varieties
How to Grow Roses From Cuttings
Step 1: Prepare Your Pots or Garden Bed
You can root rose cuttings in pots or directly in your garden. Prepare your planting area before taking cuttings so the stems don’t dry out while you’re getting ready. Whichever method you choose, good drainage and protection from direct sun are important.
- If you’re using pots: Choose containers with drainage holes. I use 1-gallon pots at least 8 inches deep, which can hold about six cuttings. Fill the pots with a 50/50 mix of soilless potting mix and perlite to create a fluffy, well-draining medium. Moisten the mixture, then firm it gently with your hands.
- If you’re planting directly in the garden: Choose a lightly shaded, north- or east-facing spot protected from direct afternoon sun. Loosen the soil to a depth of about 6 inches and blend in a little compost to improve its texture. You can plant your cuttings in individual holes or a shallow trench.
Step 2: Cut the Stem
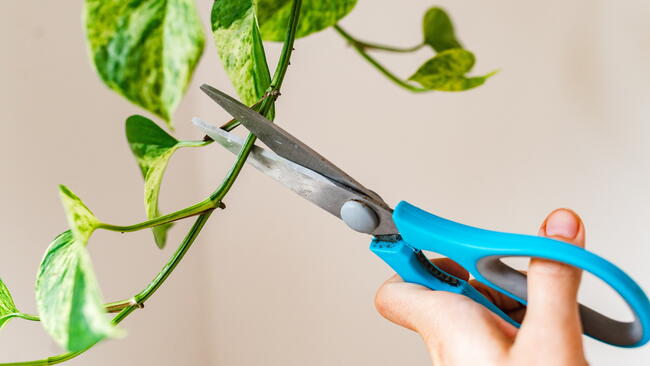
Water your rosebush well the day before you plan to take cuttings. If possible, take cuttings in the morning when the stems are well hydrated. Then, using a sharp, sterilized knife or pair of pruners, cut a healthy rose stem just below a leaf node (the point where a leaf attaches to the stem).
For successful rooting, choose a green, flexible stem from the current season’s growth that’s about the width of a pencil and has recently flowered, with petals just beginning to drop.
Depending on its length, you may be able to get multiple cuttings from a single stem.

Step 3: Trim the Cuttings
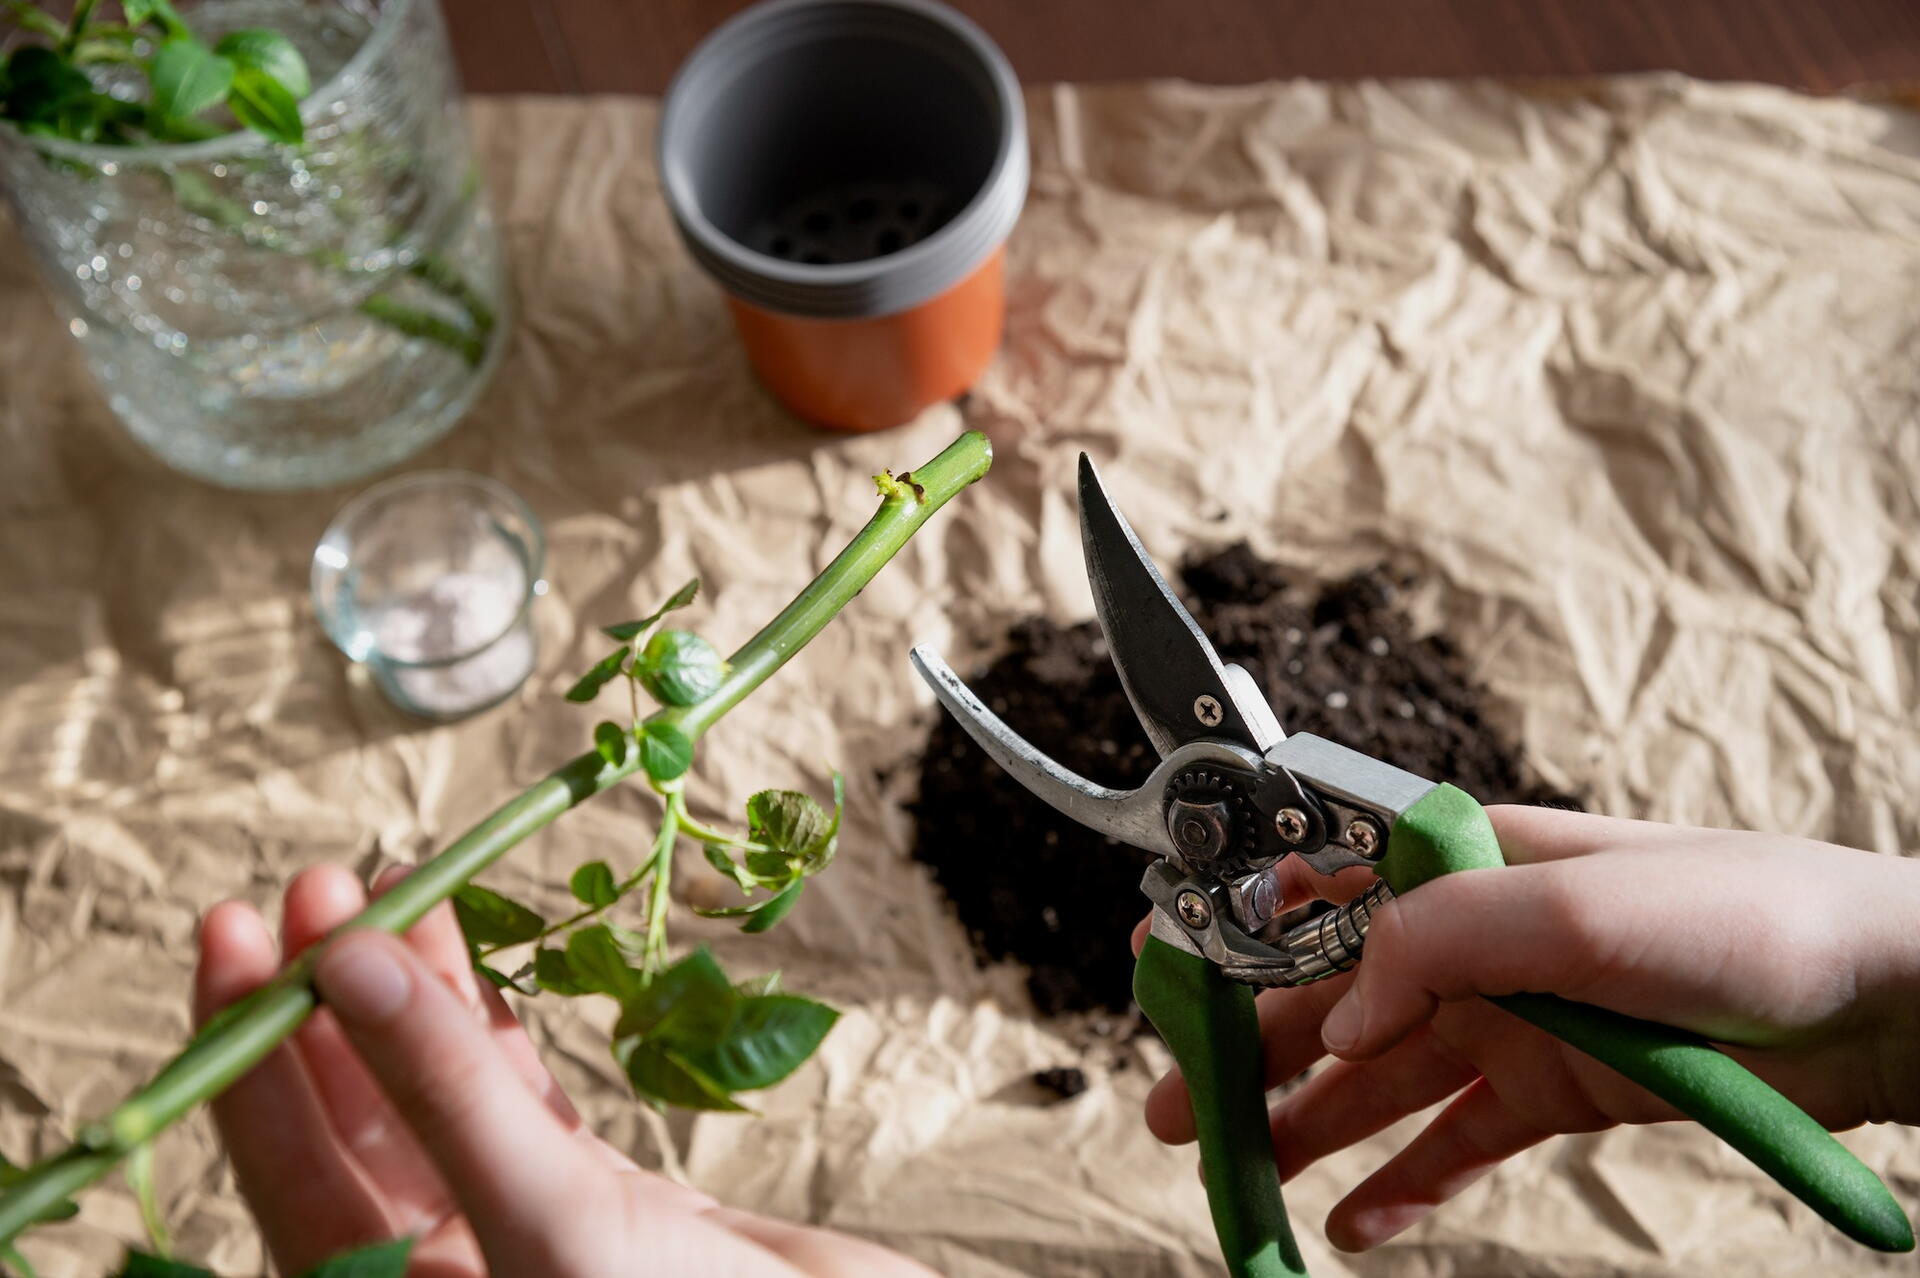
If you took a long stem, trim it into cuttings about 4 to 9 inches long, with 4 to 5 leaf nodes each. Cut straight across just below a leaf node at the bottom of each cutting, then make a 45-degree cut just above a node at the top. This also makes it easy to tell which end is up!
If the cuttings have flowers, snip off the spent blooms and growing tips. Remove the lower leaves, leaving only the uppermost 1 to 2 sets of leaves. You can also remove the thorns from the lower part of the stem, although this isn’t essential.
Optional: Wound the cuttings. Some gardeners lightly wound the base of rose cuttings to encourage rooting. I use an X-Acto knife to remove a small strip of bark about 1/8 inch wide and 1/2 inch long, or make two cuts on opposite sides for larger cuttings. Others cut a small X or slightly crush the base with a hammer, but I find removing a strip of bark works best!
Rose cuttings shouldn’t dry out, so put them in water if you’re working on multiple cuttings and can’t plant them immediately!
Step 4: Add Rooting Hormone
Once the rose cuttings are prepped, dip the bottom end of each cutting in rooting hormone and shake off the excess if using a powder. Rooting hormone helps cuttings root faster and more reliably and is a must every time I propagate roses.
Tip: Moisten the cut end before dipping it into powdered rooting hormone.

Step 5: Plant the Cuttings
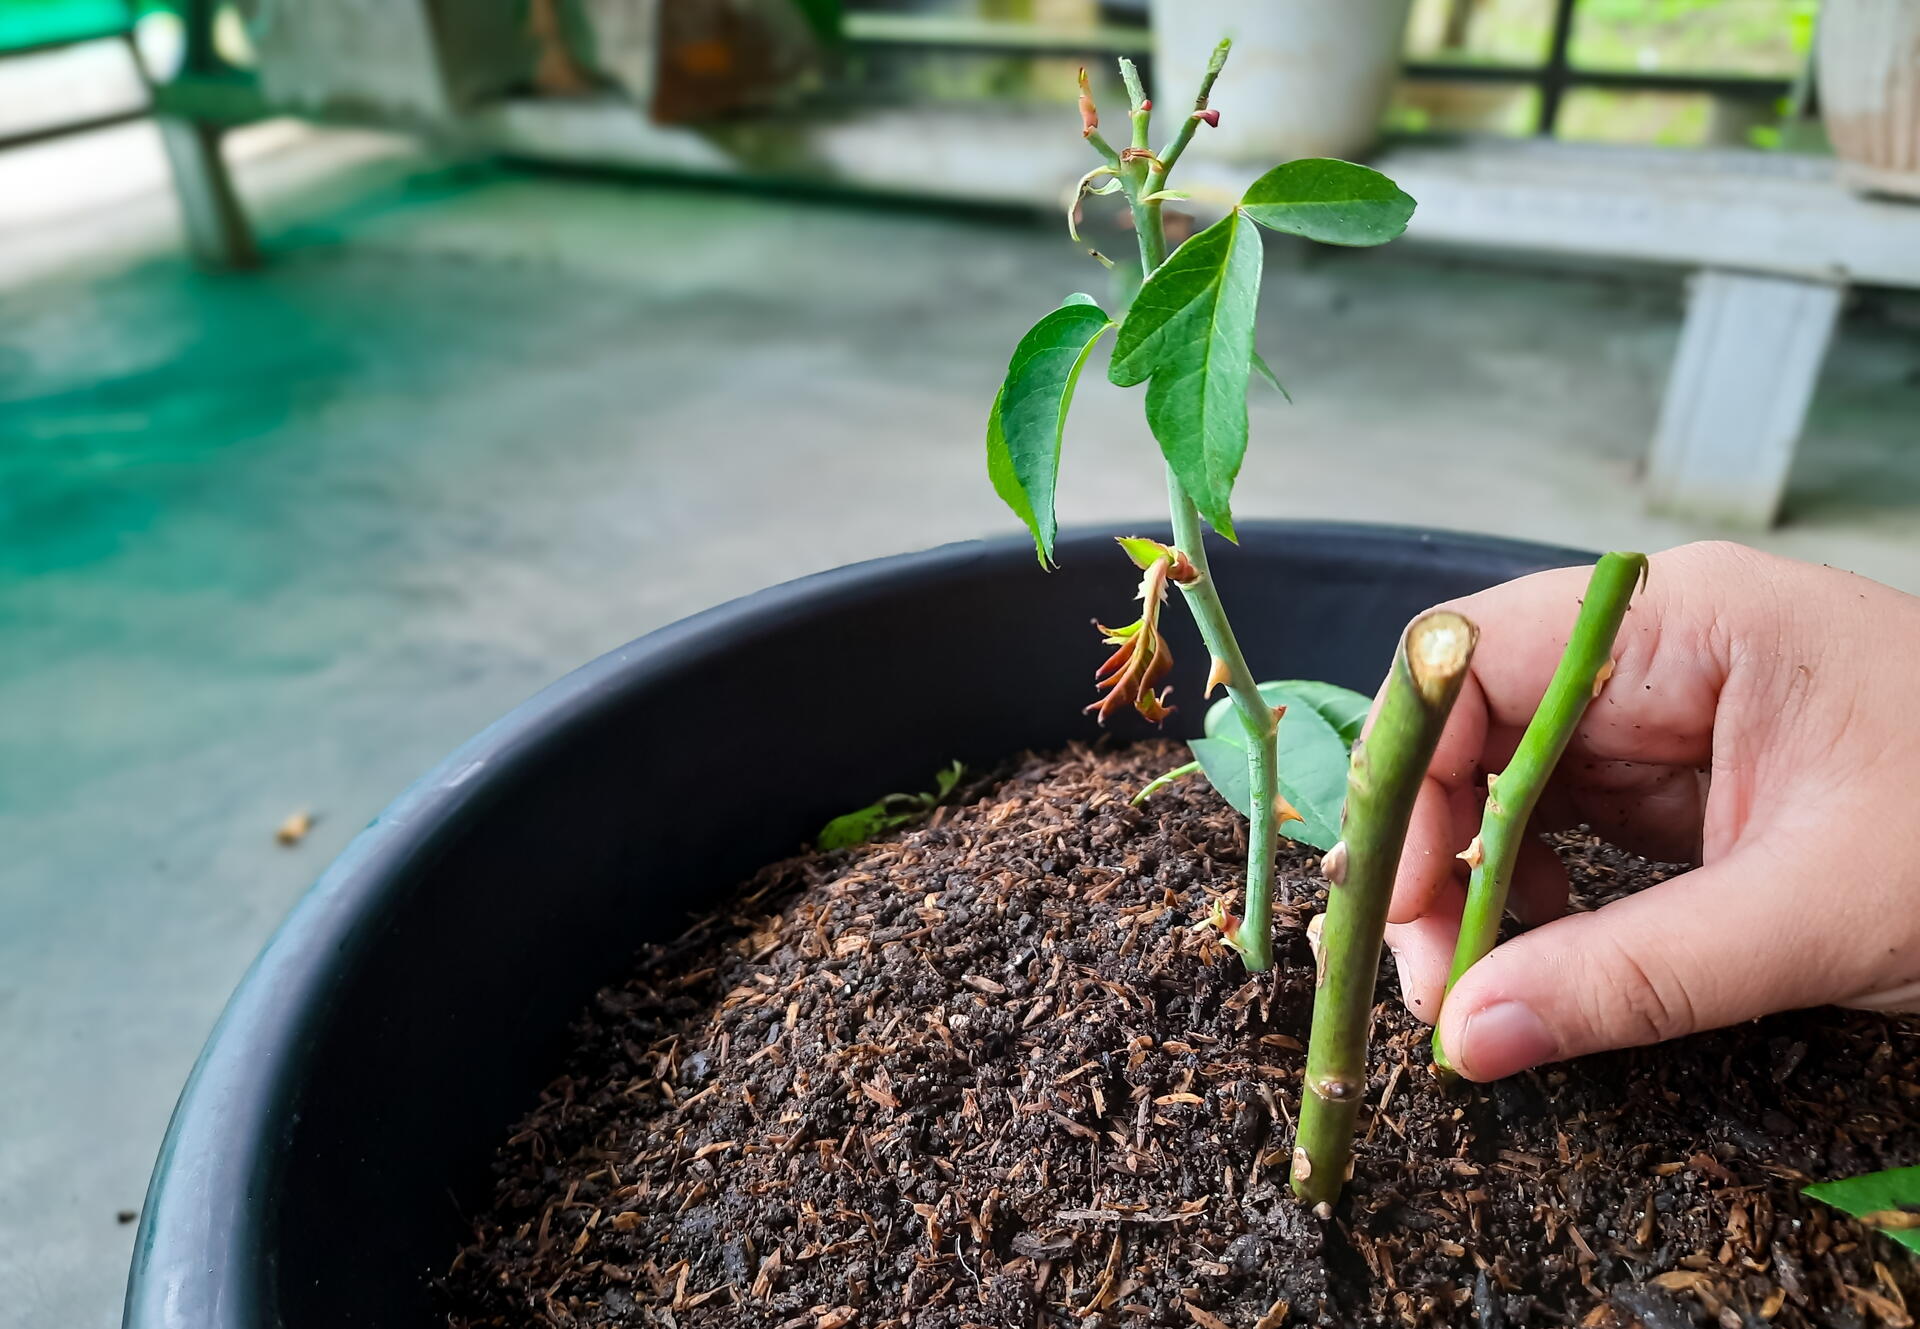
Using a pencil, make planting holes deep enough to bury the cuttings about halfway into the soil. Insert the cutting with at least two leaf nodes below the surface. Keep some nodes and leaves aboveground.
Then, firm the soil or potting mix around the base of each cutting to keep them upright.
When I start cuttings in pots, I space them roughly 3 inches apart. If I’m propagating multiple rose varieties at once, I always add plant labels so I don’t forget what I planted where!
Step 6: Provide the Right Care
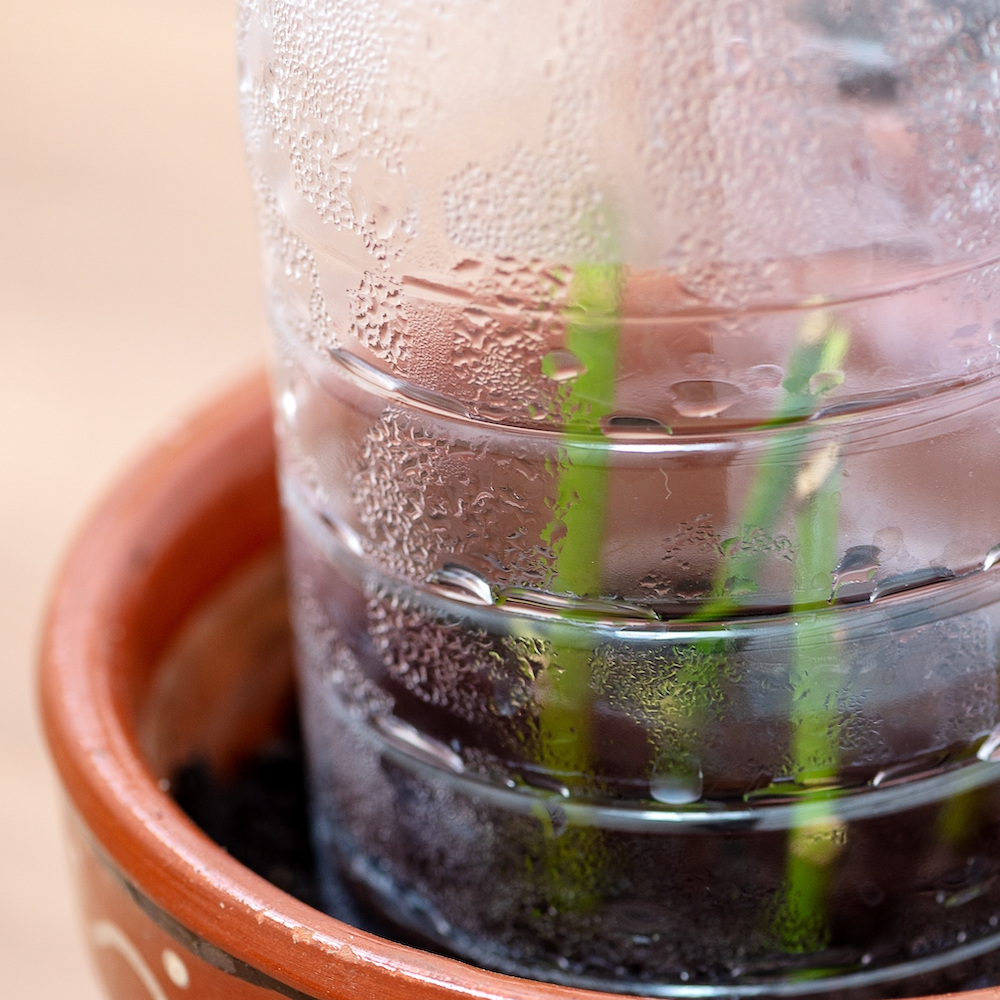
After planting, water the cuttings gently and cover them to maintain humidity. Glass cloches, clear plastic bags, or recycled milk jugs and soda bottles with their bottoms cut off all work well.
If using plastic bags, prop them up with sticks so they don’t touch the cuttings. Allow a little ventilation to prevent mold. For several pots, try an inverted clear storage bin with a few ventilation holes.
Keep the soil moist but not soggy, misting the cuttings as needed. Place them in bright, indirect light, away from hot sun.
Roots typically develop in about 6 to 8 weeks, but much of the magic happens beneath the soil!
I sometimes gently tug on a cutting to feel for resistance, a sign that roots are forming. New leaves are encouraging, but don’t necessarily mean the cutting is ready to transplant.
Step 7: Transplant the Cuttings
Once your rose cuttings have developed sturdy roots, transplant them into individual pots to continue growing. Keep them at the same depth they were growing in their propagation space, and water them regularly after transplanting.
When the young roses are well established, you can move them into the garden. Gradually harden them off by introducing them to outdoor conditions over 7 to 14 days before planting, and avoid transplanting tender young roses just before the first frost. In colder climates, it’s often better to wait until spring.

Since the new plants are not grafted, they will grow on their own roots. They may grow more slowly at first but will eventually be hardier. Even if the tops die back to the ground, they can send up new growth in spring.
Transplanting the Cutting Into a Pot or Garden Bed
When you transplant a cutting raised from a cushy indoor environment to the outdoor weather, it must be hardened off; these baby plants need to thicken their plant cell walls. Place the pots with your cuttings in a sheltered place outside for a couple hours and gradually increase their time outdoors over 7 to 14 days.
When transplanting into garden soil, ensure it’s loose and loamy (leaning toward sandy)—NOT clayey or compact. If you don’t have the ideal soil, add organic amendments. Roses prefer a slightly acidic soil pH, between 5.5 and 7.0. A pH of 6.5 is just about proper for most home gardens. An accurate soil test will tell you where your pH currently stands.
After planting your cutting in the ground, mulch it and water it when dry, and it should do well. See our complete guide to planting and growing roses.

Common Problems With Rose Cuttings
Roses can be finicky about rooting, so it’s always a good idea to propagate more cuttings than you think you’ll need. Here are a few common problems you may encounter when growing roses from cuttings and what to do about them!
- Cuttings don’t root. This can happen even if you do everything right, so don’t despair if some cuttings fail. Improve your chances of success by keeping cuttings in bright, indirect light, maintaining consistently moist (but not soggy) soil, and using rooting hormone.
- Cuttings wilt after transplanting. Roses may develop transplant shock and wilt when you move them. Plants usually recover well if you treat them gently, water regularly, and protect them from hot, bright sun while they adjust.
- Pest problems. Aphids, Japanese beetles, and other pests may target cuttings while they’re rooting. Check plants regularly for pests. You can remove larger insects by hand, and insecticidal soap may help control aphids if needed. Follow the product directions carefully, especially on tender young plants.

More Like This


Comments