Planting
When to Plant Shallots
Shallots are biennial plants that bulb out in their first year and go to flower and seed in the next. Most growers purchase shallows as sets—just like onions—but they can also be grown from seed depending on your patience level.
I’ve always had the best success growing shallows from sets, which can be set out in the garden either in late fall or early spring. Fall plantings work well in Zones 5 to 8, but are not recommended for chillier spots. In these ultra-cold areas, it’s usually best to plant shallot sets in spring, although this may yield smaller and slightly less flavorful harvests.
- If you’re planting shallots outdoors in spring, plant sets or seeds outside 2 to 4 weeks before your last frost date.
- If you’re growing shallots from seeds indoors, start the seeds about 8 to 10 weeks before your last frost date and transplant them outside when the weather warms.
- If you’re planting shallots in fall, plant them around the same time as garlic or roughly 1 to 2 weeks after your first fall frost date.
Where to Plant Shallots
Shallots like bright sunshine and loose soil with a relatively neutral pH. Having good drainage is key, too, as soggy beds can cause shallot bulbs to rot.
Although many growers keep shallots in in-ground gardens or raised beds, they can be kept in containers too. Just make sure that any pots you use are made of food-safe materials and at least 10 inches deep.
How to Plant Shallots
Planting shallot bulbs is easy and quick. If your soil is soft, they can be poked in rather than needing a dug trench or hole.
To plant shallot sets:
- Work the soil with a garden fork to about 6 inches deep and mix in an inch-thick layer of compost.
- Separate shallot bulbs into individual cloves.
- Plant each clove roots down, spacing the bulbs about 6 inches apart in rows roughly 1 foot from each other. When you’re done, the top of the shallot should slightly show above the soil if you’re planting in spring, but it should be buried 1 inch below the soil line for fall plantings.
- After planting, water shallots well, and apply a light covering of straw mulch. If you’re growing shallots in fall, use a thicker 4-inch-deep mulch layer, and remove some of the mulch in spring when the snow begins to melt.
To plant shallot seeds:
- Sow seeds 1/4 inch deep in seedling trays or pots. I like to plant several shallot seeds together and thin them out later.
- After planting, place the seeds under a bright grow light, and keep them evenly moist until the weather is warm enough to harden them off and transplant them outdoors.

Harvesting
When to Harvest
Spring-planted shallots should be ready to harvest about 100 to 120 days after planting, while fall-planted crops take about 7 to 9 months to mature and reach a harvestable size sometime between late spring and early summer.
You’ll know it’s time to harvest when most of the shallot tops have bent to the side and begun to die back.
How to Harvest
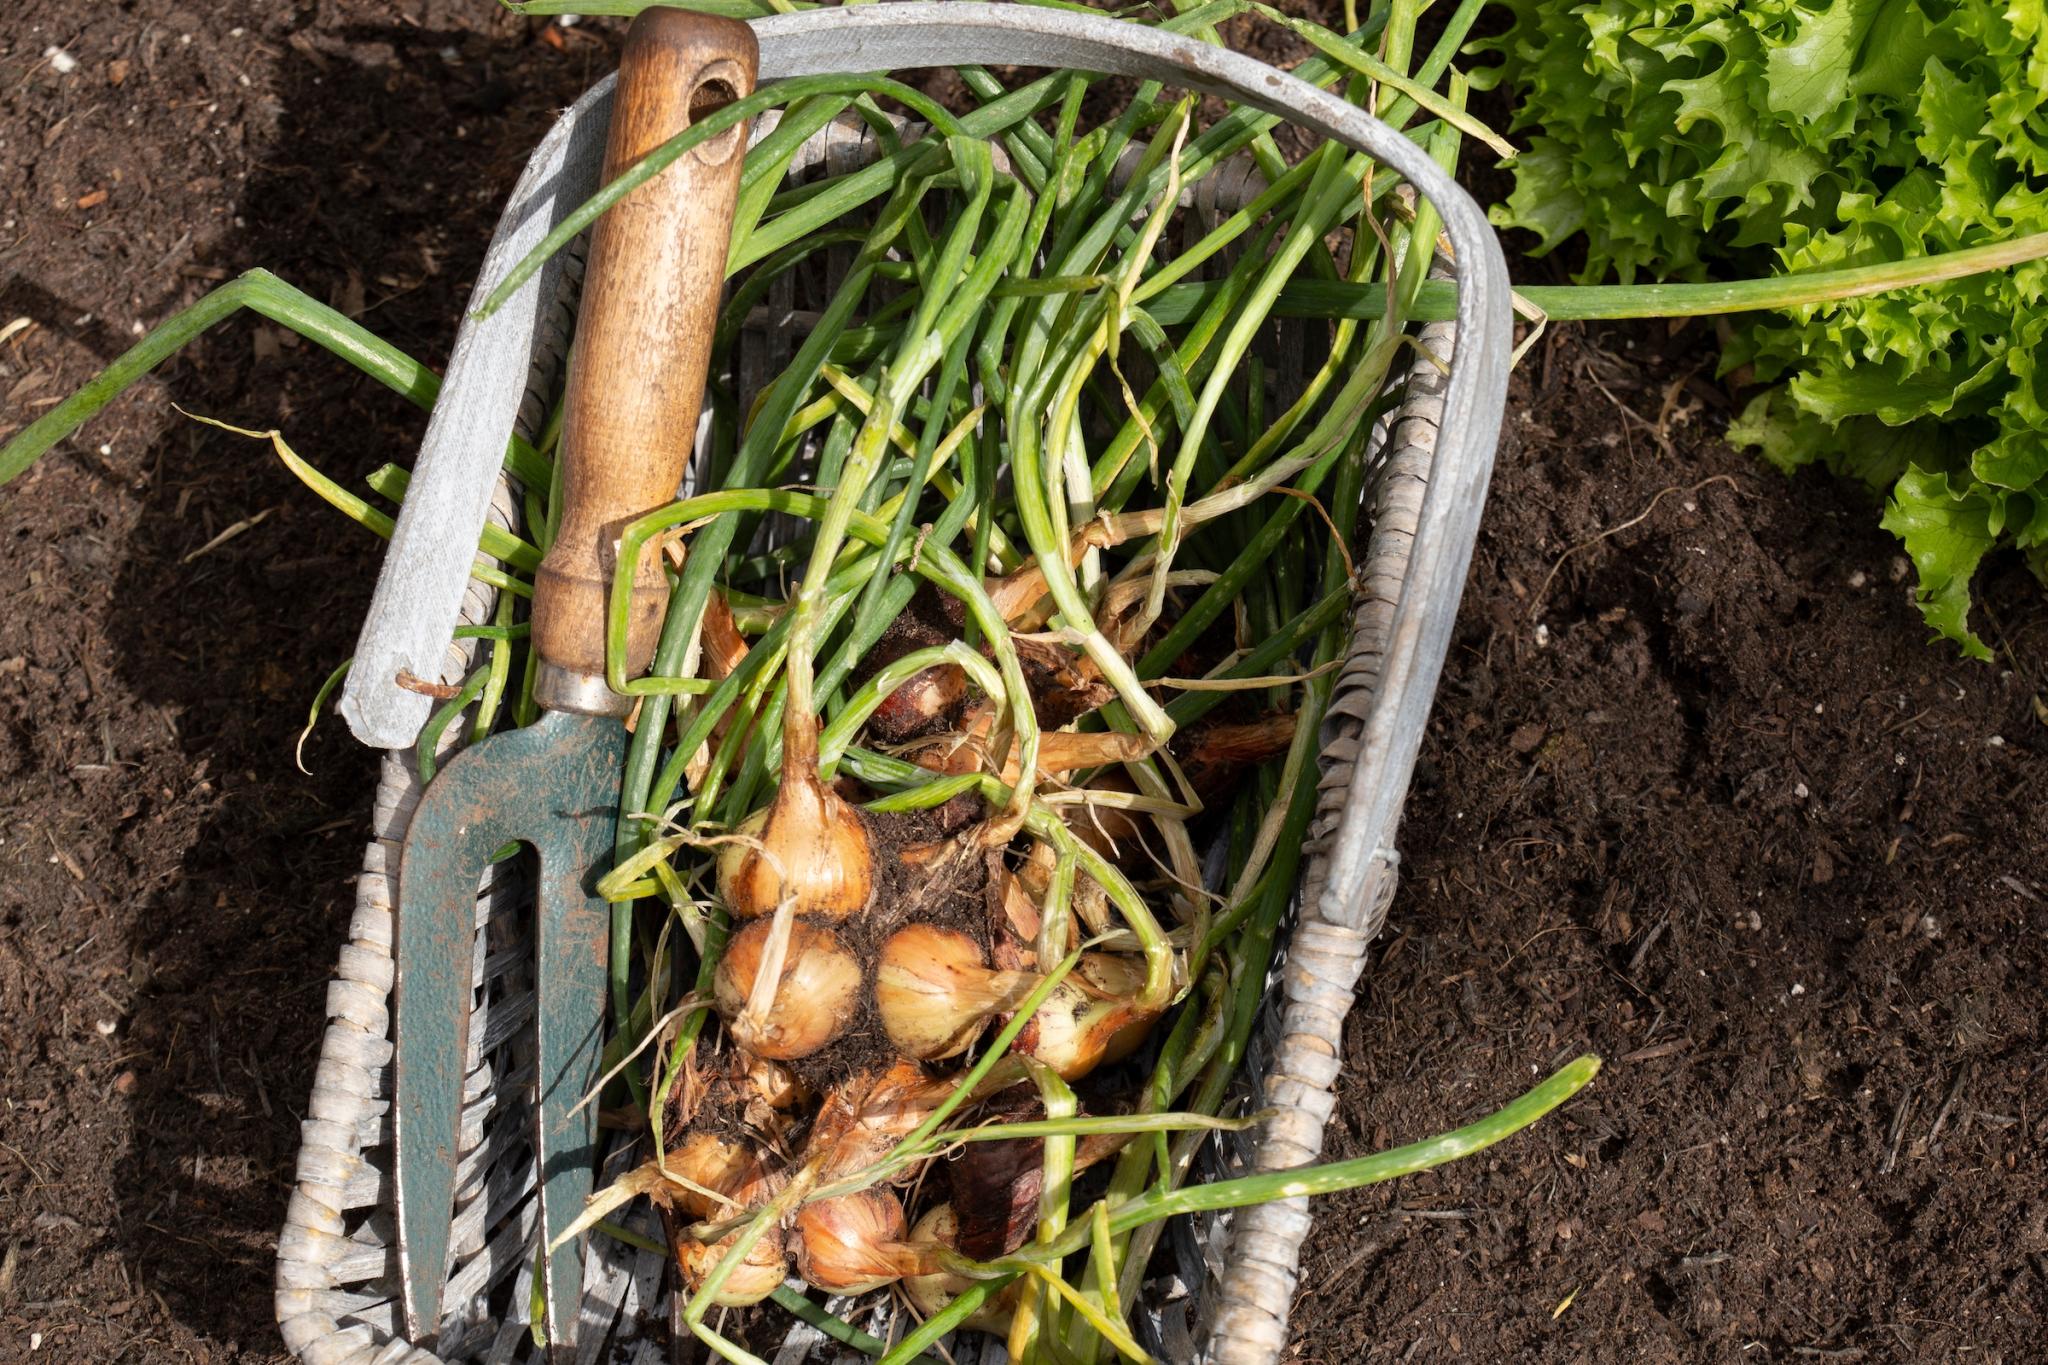
To harvest, gently pull shallot tops from the ground or use a gardening fork to lever the bulbs free. Take care while you work to not accidentally damage the bulbs.
After harvesting, lay the shallots out in a sunny spot to cure for several days. Then, brush off any excess soil and bring the bulbs indoors to finish drying in a well-ventilated location.
Storage
Before storing, cut the shallot leaves off 2 inches above the bulb top when the leaves are dried and brown, or braid them just like garlic. Then, store the bulbs in a cool, dry, and dark space—like a root cellar—for the winter. Fridges have high moisture levels and can cause shallots to spoil faster.
Shallots with thick necks tend to have a shorter shelf life and should be used ASAP.
Be sure to save the biggest and best cloves to replant in the fall!
Types
Shallots bulb out according to day length and grow best in northern areas where long-day onions thrive. If you live in the south, you may have difficulty growing shallots unless you can track down specialized day-neutral varieties that can form bulbs in warmer areas. Here are a few of our favorite shallot selections to inspire your gardening!
- ‘Ambition’ is a long-storing traditional French shallot.
- ‘Monique’ is a day-neutral shallot, perfect for those not gardening in the north. It produces one larger bulb and stores exceptionally well.
- ‘Gray Griselle’ is the traditional gray French shallot prized by chefs.
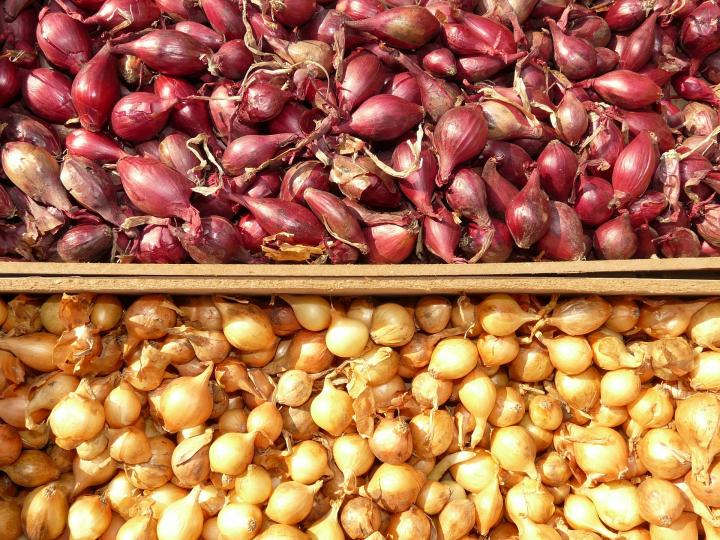


Hi, Donald. French Grey is a good shallot choice for Zone 5 gardening. You can also try Red French.

Comments