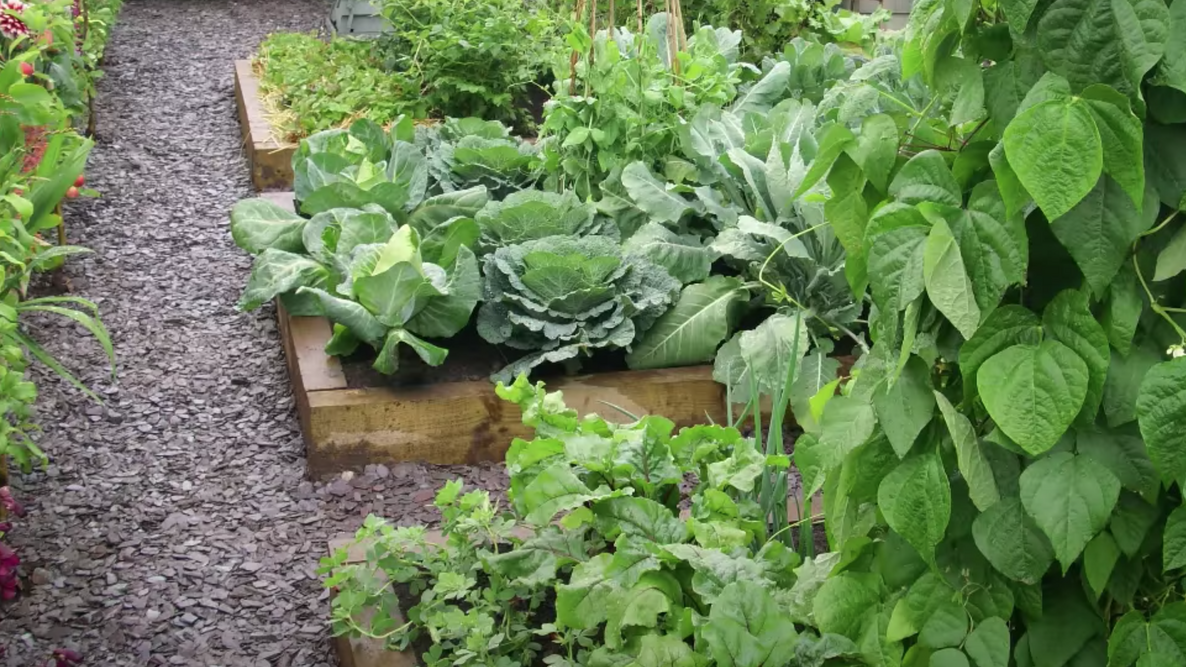
I’ve gardened in raised beds for decades, and they’re still my favorite way to grow. Raised bed gardening means fewer weeds, less waterlogging, and more control over soil quality—ideal for vegetables, herbs, and flowers, especially if you’re just starting out. In this guide, we’ll cover the basics: what raised beds are and why they work, how to size and fill them, the best soil mix, what to plant, and a few beginner mistakes to avoid.
Need help building your raised bed? Check out our brand-new DIY Raised Garden Bed Guide—complete with step-by-step photos to walk you through the process.
What Is a Raised Garden Bed?
Let’s start with a definition. When we say “raised garden bed” or simply “raised bed gardening,” we’re talking about a freestanding box or frame—typically without a bottom or top—that sits above ground in a sunny spot and holds good-quality soil. Most raised beds are open at the bottom, allowing plant roots to reach the native soil below and access nutrients beyond the bed itself.
Of course, a raised bed can be even simpler than that: you can skip the frame entirely, mound the soil 6 to 8 inches high, and flatten the top. No lumber, no hardware—just soil.
Benefits Of Raised Bed Gardening
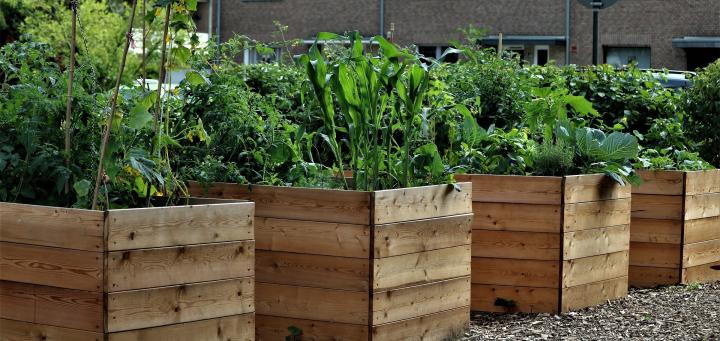
There are many reasons to garden in raised beds.
- They warm up earlier in spring, giving you a longer growing season. Soil raised above ground level heats faster than in-ground beds.
- You can garden in poor soil—because you control the soil quality. I’ve used raised beds to bypass rocky New England ground and dense Southern clay.
- That control makes it easier to plant intensively. Crops grown close together mature faster, shade out weeds, and make the most of limited space.
- They keep weeds from taking over. The beds are elevated away from surrounding weed pressure and filled with clean, disease-free soil.
- Since you are not walking in the bed, the soil doesn’t get compacted—so plant roots can reach down. Plus, no need for backbreaking digging every spring.
- Garden chores are made easier and more comfortable, with less bending and kneeling. Save your knees and back from the strain.
- Raised beds are ideal for small spaces versus a conventional row garden. You can grow more in less space when you’re not wasting room on wide rows or walking paths; every inch of soil can be used for plants.
- It’s easier to separate and rotate crops each year—this means you can assign each bed a crop family and switch them seasonally to prevent disease and nutrient depletion.
- They drain well and help prevent erosion—water flows through raised beds without pooling, and the defined edges keep soil from washing away.
- And, finally, raised beds are attractive—they bring structure and visual order to your garden, making even a small space feel intentional and inviting.
Choosing the Right Materials
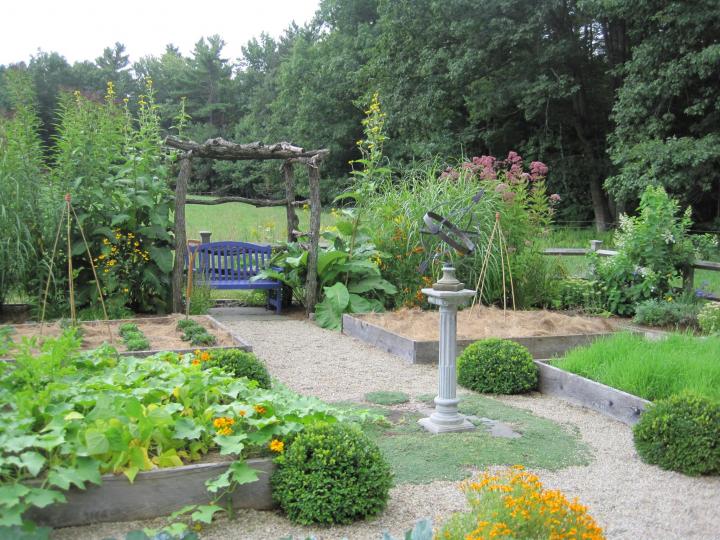
You can edge your raised beds with whatever materials you have on hand—wood, stones, bricks, or cement blocks. Just avoid painted or pressure-treated wood, which may leach chemicals or lead into your soil.
Bricks can be laid end to end around the edges, or stood on end to create higher sides. Bury the base slightly to stabilize them and help block weeds from slipping underneath.
Years ago, I was lucky enough to acquire a stash of roofing slates and used them to edge a raised bed on a slope—proof that creative reuse works beautifully. Cement blocks are another sturdy option, especially for heat-loving plants.
- Untreated wood: Pine is the cheapest but will rot after a few years, as will most untreated lumber. Hemlock lasts a little longer. Rot-resistant woods including cedar, redwood, or locust are more expensive but far more durable. Cedar is the top choice—it’s naturally rot- and insect-resistant and can last 10 to 15 years.
- Modern treated wood: Today’s treated lumber contains chemicals to prevent rot, but unlike older versions, studies show any leaching is well within EPA safety limits. Still, some gardeners prefer to line the inside of the bed with polyethylene for peace of mind.
- Railroad ties (treated): Easy to use, simply lay the railroad ties in place and drive in the iron spikes. Older ties treated with creosote generally don’t pose health risks, as most of the creosote has leached out over time.
- Pallets: A cheap option if you know their origin. Avoid pallets treated with methyl bromide, a known endocrine disruptor. Most producers stopped using it in 2005, but older pallets may still be around. Look for a stamp marked “HT” (heat-treated). If there’s no stamp, skip it.
- Cinder blocks: Concrete retains heat, making these perfect for Mediterranean herbs like rosemary and lavender. You can fill the holes with soil mix and tuck in herbs or strawberries. Each block is 16 inches long by 8 inches high, and prices at big-box stores are reasonable.
- Rocks and stones: If you’ve got them, use them. They’re free, durable, and blend beautifully into the landscape. Build your bed around a soil mound, then fill the sides with compost, shredded leaves, manure—whatever organic matter you have. Rake the top smooth and let it settle until spring.
Ready to build? Our new DIY Raised Garden Bed Guide has everything you need—step-by-step instructions, photos, and practical tips to get your bed built right the first time.
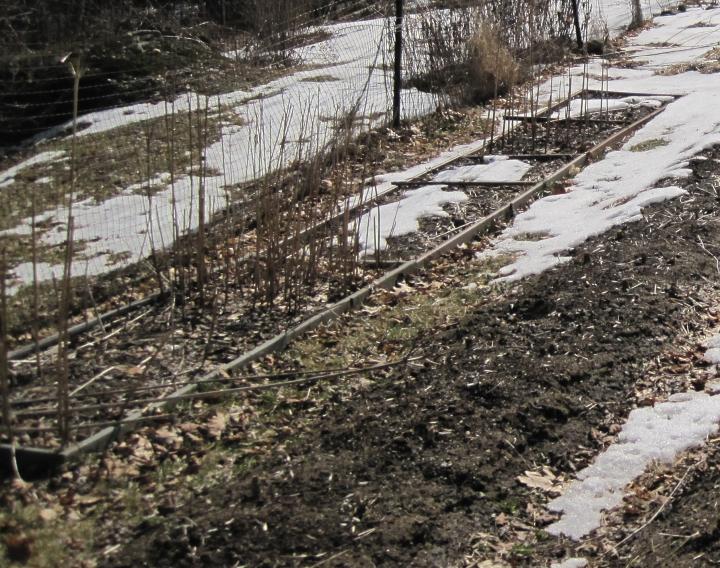
Planning And Designing Your Garden
Where to Put Raised Beds
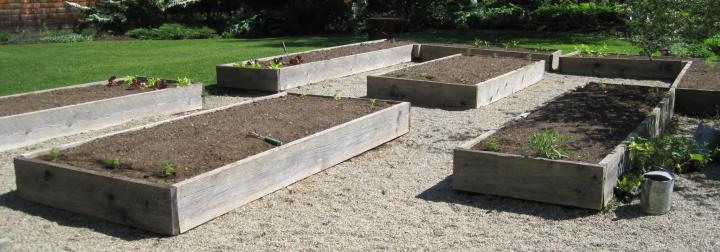
Raised beds thrive in sunny spots. Most vegetables need 6 to 8 hours of direct sunlight daily (“full sun”), especially from midday onward.
Here’s what to look for:
- Sunlight: Most vegetables need 6 to 8 hours of direct sunlight daily (“full sun”), especially from lunchtime onwards.
- Level ground: Beds sit best on even terrain.
- Proximity: Keep them close to the house for easy access to weeding, watering, and harvesting.
- Shelter: Avoid windy areas or frost pockets, which can stunt growth.
- Drainage: Steer clear of wet or marshy spots. Raised beds drain well, but they can’t fix a swamp.
Preparing the Site
To make a basic raised bed, start by outlining the area with string. As mentioned earlier, keep the width between 3 and 4 feet so you can reach the center without stepping inside.
If you’ve already smothered the grass, great. If not, mow it short and dig it out, setting the clumps aside. Loosen the soil underneath, then flip the sod upside down inside the bed. Scrape soil from the surrounding path and add it to the bed, along with compost or other amendments to raise the soil level.
Raised Garden Bed Size
How Wide Should Your Raised Bed Be?
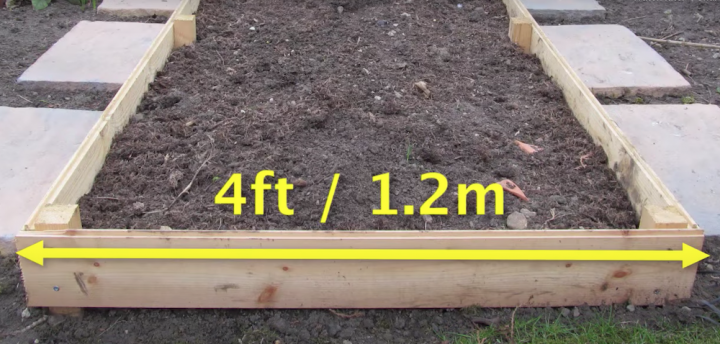
Garden beds should be no wider than 4 feet so that you can access the garden without stepping into the bed. Fortunately, lumber is often cut in 4-foot increments, making this an easy standard to follow.
- Stepping into the bed is a no-no—it compacts the soil, making it harder for plant roots to access oxygen. A bed that’s too wide also makes weeding and harvesting awkward, especially in the middle.
- If your bed is built against a wall or fence, go narrower—2 to 3 feet wide—since you’ll only be able to access it from one side.
How Long Should It Be?
Length is flexible. You can build a 4x4, 4x8, or 4x12-foot bed—or go longer if space allows. Personally, I find it easier to manage several shorter beds than one very long one. It also helps to keep crop families separated for easier rotation and pest control.
How Deep Should a Raised Bed Be?
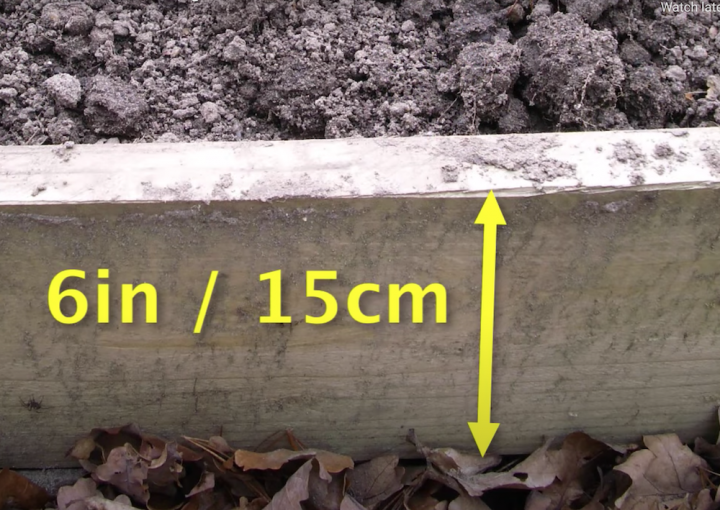
Most raised beds start at 6 inches deep, which matches the height of standard lumber like cedar. A typical board labeled 2x6 inches actually measures about 1.5 inches thick by 5.5 inches high.
You can stack two boards to reach 12 inches (technically 11 inches). And yes, you can go taller—18, 24, even 36 inches—but keep in mind that more soil means more pressure on the sides. Beds taller than 12 inches will need cross-supports to prevent bowing.
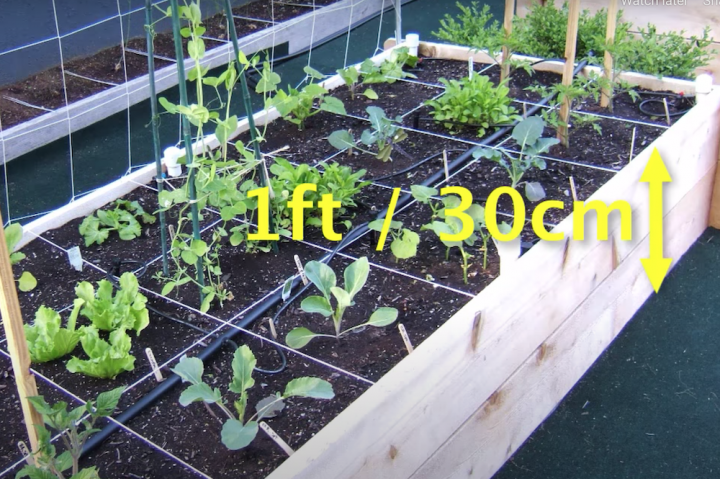
Depth matters most when it comes to what you’re growing. The soil itself—not just the frame height—needs to be deep enough for roots to stretch and access nutrients.
- Deep-rooted crops such as carrots, parsnips, potatoes, tomatoes, and squash need a minimum soil depth of 12 to 18 inches. Without loose soil to this depth, the roots will not be able to access nutrients.
- Shallow-rooted crops (like lettuce, greens, and onions) need a minimum soil depth of 6 inches.
To play it safe, aim for 12 to 18 inches of total soil depth. Whatever height you choose for your frame, loosen the native soil below accordingly. For example, if your bed is 6 inches high, dig down another 6 to 9 inches if you plan to grow root vegetables. If you’re sticking to shallow crops, there’s no need.
Filling a Raised Bed
The most important part of any garden is the soil—and the more organic matter it contains, the better. Rich soil feeds microbes, improves drainage, and helps oxygen and water reach plant roots. Plants thrive when the soil is alive.
Here’s a simple mix to aim for:
- 40% compost: Compost is packed with nutrients. You can make it at home or buy it in bags from your local garden center. Aged manure also works well, but never use fresh manure—it’s too strong and can harm plants. Learn more about manure.
- 40% topsoil: We’re not talking about “potting soil,” as it’s too fluffy for raised beds. Look for bagged topsoil at garden centers, farm supply stores, or lumberyards.
- 20% aeration: Many bagged mixes already contain perlite, pumice, or rice hulls. If not, add something to improve drainage. Lava rock is another good option.
If you’re filling multiple beds, check with a local landscape supplier—they often offer bulk soil and compost mixes at a better price. For a single bed, bagged products are easier and more practical.
There are two common approaches to filling your bed:
- Layered: Add compost (or composted manure) first, then topsoil.
- Mixed: Add ingredients in layers and mix as you go—like garden lasagna.
Either method works. Choose what’s easiest for you.
At the end of the growing season, top off your beds with fresh compost. As it breaks down over winter, it enriches the soil and sets you up for a strong start in spring. Learn more about soil preparation and how to build up your garden soil.
Raised Garden Bed Soil Mix
Here’s the recipe we’ve developed over the last decade that works best for our raised beds. This mix is for one 4x4-foot bed—multiply as needed for larger beds.
- 4 cubic feet of topsoil
- 3 cubic feet of coconut coir
(Traditionally, peat moss was used, but because it’s not a sustainable material, we recommend coconut coir instead.) - 2 to 3 cubic feet of compost or composted manure
- 2-inch layer of shredded leaves or grass clippings
If using grass clippings, make sure they’re from untreated lawns—no herbicides or granular weed killers. These chemicals can linger in the soil and harm plants for up to three years.
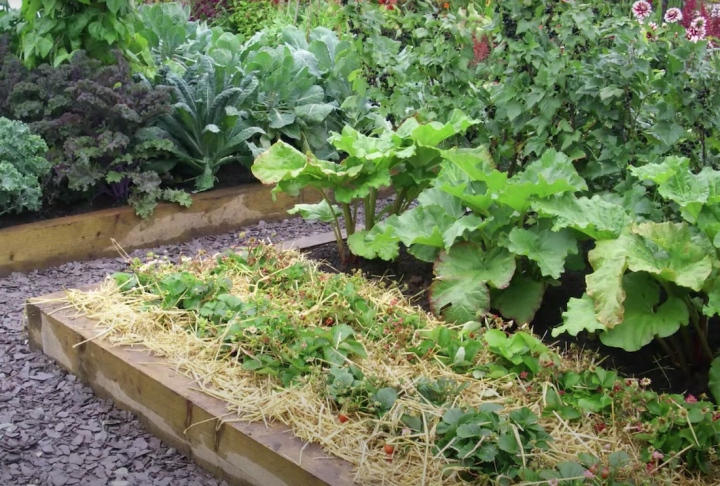
Mix all materials thoroughly with a hoe or cultivator and water well. Then mulch with organic matter—more leaves, clippings, or straw—to retain moisture and suppress weeds.
In the first year, you likely won’t need much added fertilizer. But in following seasons, as crops draw nutrients from the soil, you’ll need to amend with a balanced, slow-release fertilizer or fresh compost.
What to Plant in Raised Beds
If you’re new to gardening, start with one raised bed and grow a few of your favorite vegetables. Over time, four or five beds grouped together make a productive, manageable garden.
What you grow depends on the depth of your soil—that’s the height of your raised bed plus any loosened soil below ground. Here’s a quick guide:
Grows well in 6-inch soil depth:
Lettuce, salad greens, spinach, onions, leeks, radishes, strawberries, basil, chives, cilantro, dill, mint, oregano, parsley, thyme, marigolds, and other annual flowers
Grows well in 12-inch soil depth:
Beans, beets, broccoli, Brussels sprouts, cabbage, cantaloupe, carrots, cauliflower, collards, cucumbers, garlic, kale, summer squash, Swiss chard, turnips, lavender, rosemary, sage, borage, calendula, cosmos, lantana, nasturtiums, snapdragons, sweet alyssum (plus everything in the 6-inch list)
Grows well in 18-inch soil depth:
Eggplant, okra, peppers, pumpkins, sweet potatoes, tomatoes, watermelon, and winter squash (plus everything in the 6- and 12-inch lists)
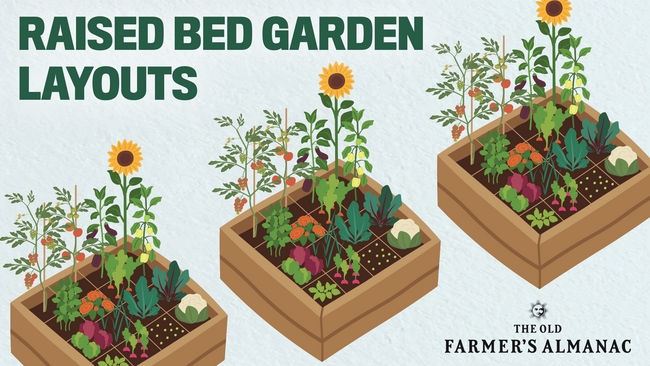
For inspiration, we’ve included sample raised bed vegetable garden plans—with plant lists!
Many vegetables grow best from seed, but some—like tomatoes and peppers—do better when planted as young starts. Choose what works best for your timing, climate, and comfort level.
Start Growing!
Once your bed is built and filled, start planting and growing a garden!
Need help planning? Try the Old Farmer’s Almanac Garden Planner—it shows how many crops fit in each space and helps you avoid overbuying. Test it out with a free 7-day trial.


More Like This
Comments

Hi Debbie, You don't say what your boxes are made of, but for maximum peace of mind I’d say impermeable plastic would be better than landscape fabric, which is usually porous to prevent waterlogging when used on the ground. Alternatively, using boxes made of a long-lasting, naturally rot-resistant wood such as cedar or larch is a good choice as it doesn’t need to be treated.
We have an entire page with advice on how to keep out the groundhogs! See here:
Hi Rich, You should be fine building raised beds with thick landscape fabric beneath to help stop roots getting in, so long as the canopy of the tree doesn’t extend over the bed (nuts and leaves also contain juglone, the substance which is toxic to some plants). Here are a couple of links that explain further:
http://lancaster.unl.edu/hort/articles/2003/juglone.shtml
https://hort.uwex.edu/articles/black-walnut-toxicity/
Rhett Butler? You don’t say what type of nematode or which plants they affected, but generally speaking, crop rotation is the best way to avoid harmful varieties of nematode affecting your crops in subsequent years - a five year rotation is ideal for most crops. Marigolds are also said to be beneficial in preventing nematodes, particularly when grown repeatedly over several years.
- « Previous
- 1
- 2
- …
- 10
- Next »

It's a great idea. Just make sure that the bed drains well and doesn't collect too much of the rain water.