
Scrub your pots to remove salt and avoid disease!
Garden pots need a thorough scrubbing at the end of the growing season. It’s essential to clean any pots that you are reusing to rid them of disease spores, salt deposits, and pest eggs. Take those extra few minutes to do it right! Here’s how to quickly clean and disinfect your pots.
Used pots will harbor lingering bug eggs and disease spores that you can’t always see. Salt deposits also accumulate in pots, leaving a white residue and causing plant problems. Proper cleaning and disinfecting of pots requires just a minimum amount of effort, yet can mean the difference between the success or failure of containerized plants.
Not only is this good for their health, but a little TLC also cleans them up to make them look more attractive. It’s not a lot of work, but it can make a big difference in the success of container-grown plants.
Read Next
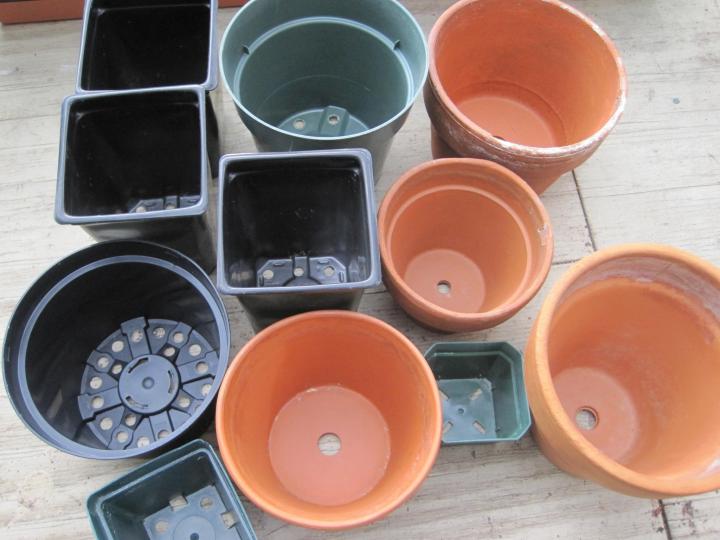
Cleaning Containers and Pots
- Pull any dead plants and empty out the soil. It can be tempting to reuse the soil, but for the healthy growth of next year’s plantings, it is best to start with fresh soil each spring. If the plants were not diseased, add them and their soil to your compost pile.
To disinfect them, soak clay and plastic pots in a solution of 10 parts water to 1 part bleach for 10 minutes to 1 hour. Bleach is a harsh chemical, so take precautions—wear gloves, eye protection, and old clothes.
You can substitute vinegar for the bleach if you want; just soak the pots for a few hours longer. This will kill off those bug eggs and disease spores and help loosen the accumulated white, crusty mineral salts.
These crusty pots need a little love before they get tucked away for the winter. Scour the pots with a stiff-bristled brush or steel wool to remove algae, mildew, and other deposits.

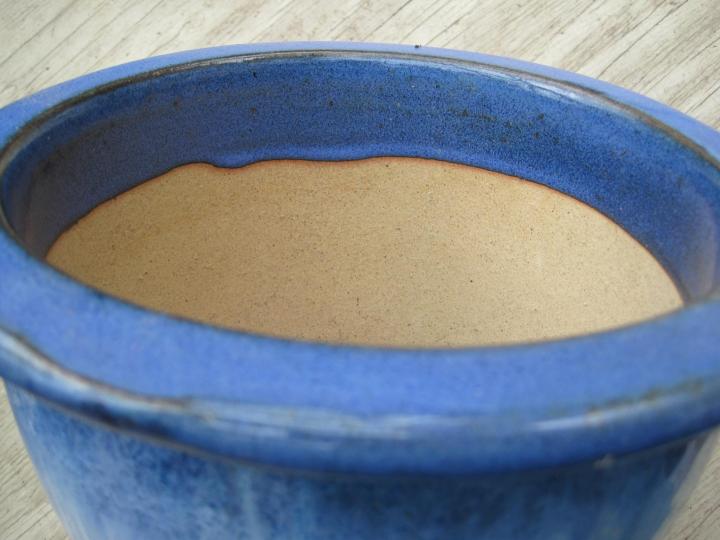
The loose crust is gone, but these white stains aren’t going anywhere! Scrub off the white crust as well as you can. Sometimes, it is stubborn and hard to remove from old clay pots. Plastic is much easier to clean.
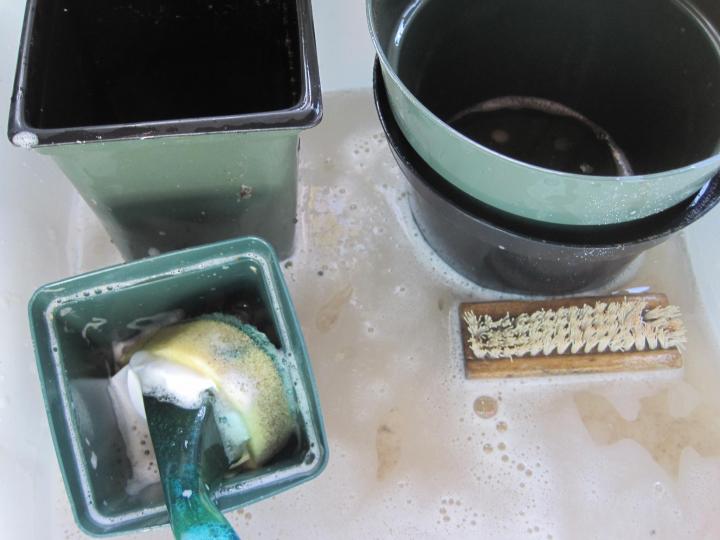
Here’s where some elbow grease is needed! - Then, put pots in a bucket or sink filled with dish detergent and water solution. If mineral deposits remain, use a knife to scrape them off.
- Rinse pots thoroughly and soak them in a bucket of clean water until you are ready to store them. Rinse clean and let them dry in the sunshine if possible.
Storing Containers and Pots
When the pots are dry, stack and store them.
- Plastic pots can be stored outside, but ensure they are covered and out of direct sunlight. Sunlight degrades the plastic over time, making it brittle and causing colored pots to fade.
- Store clay and ceramic pots inside. Since unglazed clay is porous, it can absorb moisture; the freezing and thawing of winter can cause the pots to crack. If stacking ceramic pots, wrap them in newspaper to cushion them and prevent chipping. Even glazed pots can crack if left outside in freezing weather. These pots can be pricey, so taking good care of them is best! If you cherish yours, bring them inside with other types of glass or ceramic yard art.
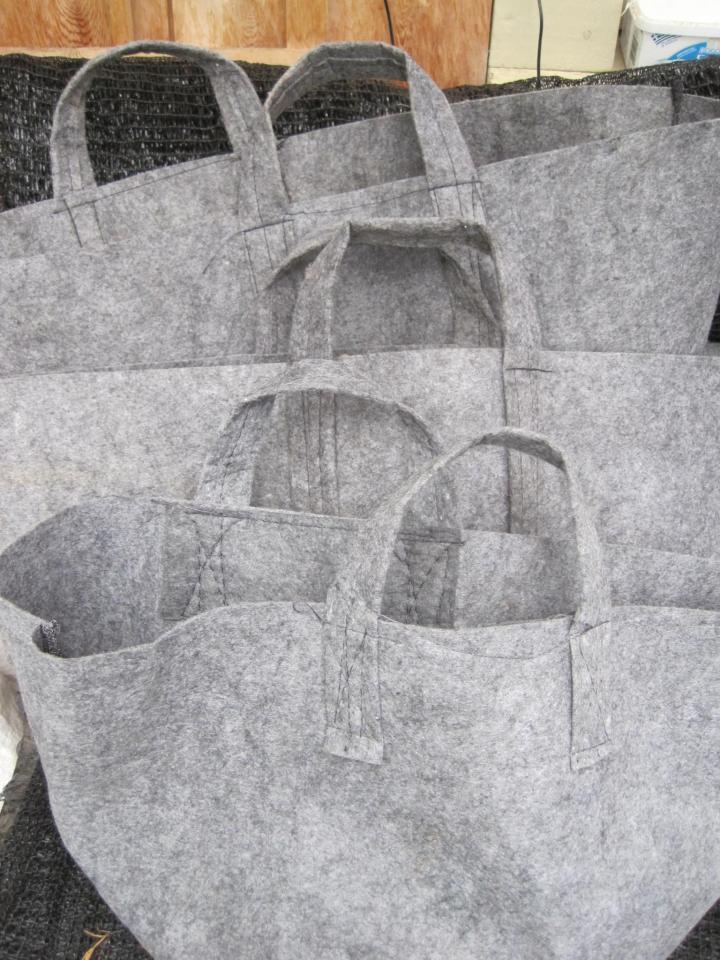
Cleaning Fabric Bags
- Fabric pots and bags need to have the soil removed. If the bags are too heavy to lift, scoop out some of the soil until you can safely dump the rest.
- If the bags are clean, let them dry, fold, and store.
- If they are stained, they can be tossed into the washer or soaked in a bucket with a bit of laundry detergent. One manufacturer recommends using Oxi-Clean.
- Rinse the fabric pots thoroughly and let them air dry. Don’t put them in the dryer!
Don’t be discouraged if your pots are not perfectly clean. Just do the best you can!
Learn More
Now, see how to care for and sharpen your gardening tools, another great off-season gardening task!
Read more about container gardening with vegetables and choosing the right pot size.
Robin Sweetser


