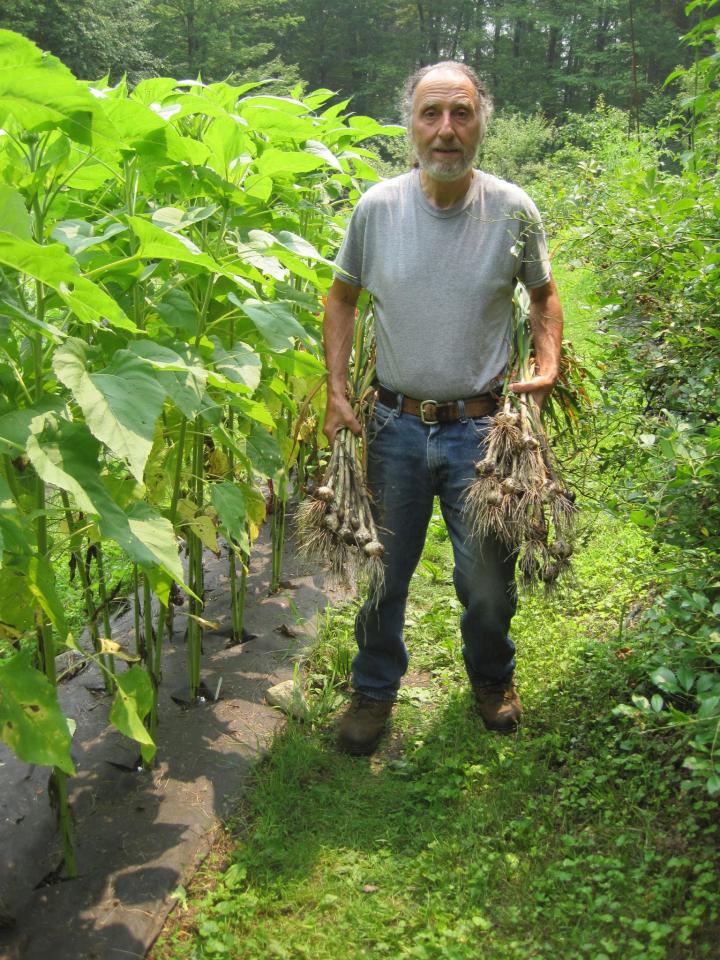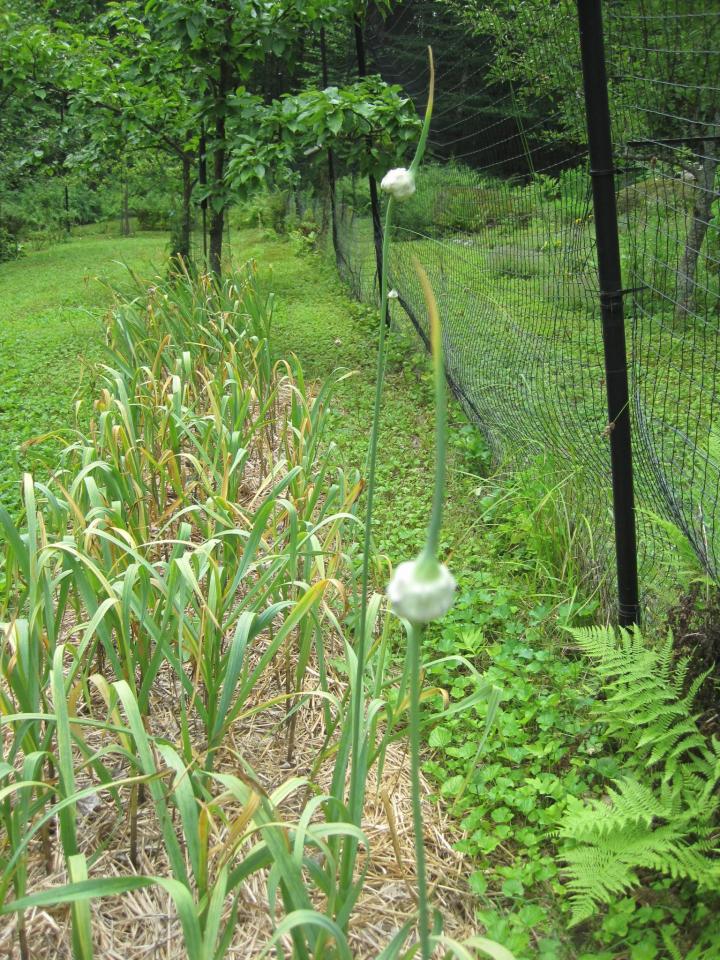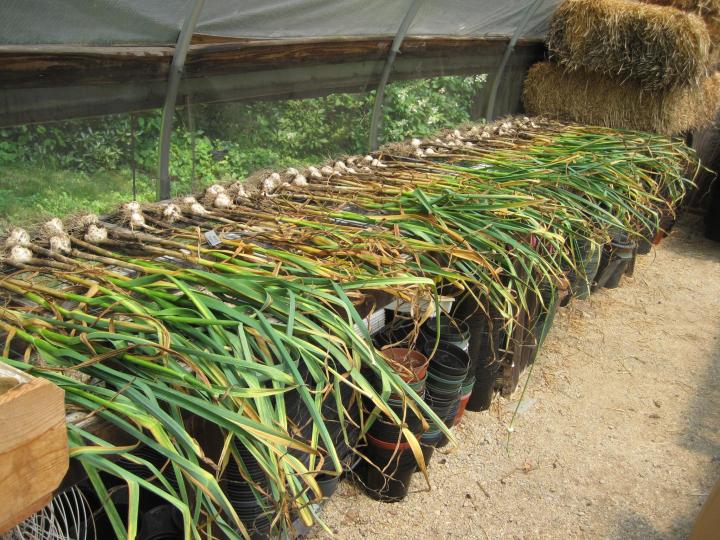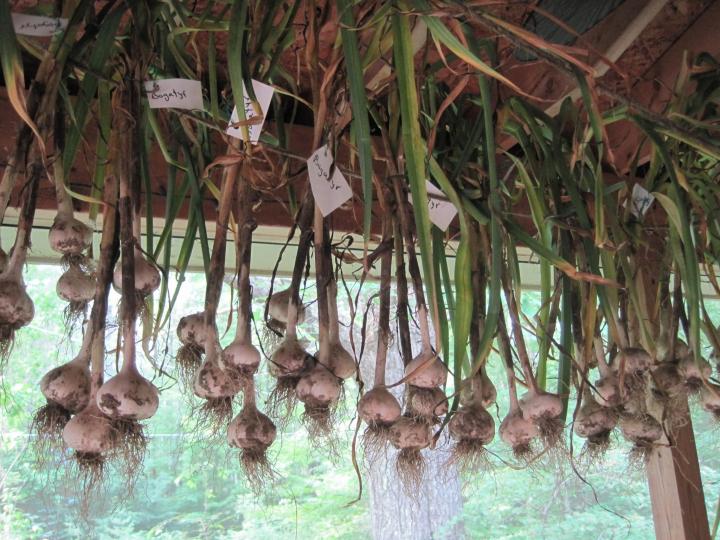
‘Bogatyr’ is one of our favorite varieties of hardneck garlic. It produces large bulbs in any kind of weather.
What to Look for Before Harvesting Garlic
The Almanac Garden Planner - Use It Free for 7 Days!
Plan your 2025 garden with our award-winning Garden Planner.
ADVERTISEMENT
Hi Robin Sweetser,
Thanks for the pearls of wisdom. I was intrigued by the 'ten different answers' and found rest of article interesting & informative too.
Something I do here to control the wetness that y'all might try.
Cover the bed area with plastic.
I use and reuse 6mil black plastic. I get about 10 years usage before the UV light and heat start to beat it into brittle pieces. I use it to warm soil in spring so my usage is pretty much all year, somewhere, or it would last much, much longer. ...a lifetime if not exposed to UV light like the vapor barrier in the attic( which is how I started using it, ;) ).
For only blocking rains once a year for harvest, 2 or 3mil translucent(they call it "clear" but it is not), would be lighter and better, and if rolled-up, carefully, and stored in a box it should last many, many years.
I am switching to the lighter(thinner) translucent this year. Rain here has just become WEIRD. It's a deluge for ~ a week, and then no rain for weeks. ... So need to have it over the bed during day and do not want to block the sunlight. The lighter is better for the wire I bought for hoops too b'cuz the wire is not very good at holding a lot of weight.
If y'all are part of the 'all plastic is evil' group, sorry for the noise. Just trying to be helpful.
Ric
I am in zone 7b. 5600’ elevation, yes snow in winter..much like Denver (am in Pine, AZ). Tried growing garlic twice and each time the bulbs are very small. Maybe planting in Oct is too soon? They produce much tall, green leaves before winter hits. Any recommendations?
I live in USDA Zone 7B too but elevation is under 400 feet. Don't worry too much about the ROT of planting cloves in October. For various reasons I have sown cloves as late as early December, e.g., this year was Dec 7. In the past there was no difference that I could see. The _major_ difference is the soil. It must be rich and loose enough so, at least, no shovel is mandatory to dig it for 6" depth, i.e, a trowel is all that is needed. Soil here is good but turns to clay and surface can become hard as a rock(like it is now due to no rain). The results in the slightly amended native soil has always been less(smaller and fewer survivors). Hence I grow garlic in 4'x8' x10" raised bed(s) with mostly(2/3) soil mix of compost(home made), perlite, vermiculite, coir and/or peat with about 1/3 of yard soil; total is ~ 6-8" deep. By amending with compost each year, the main bed has lasted > 10 years, which cut the initial cost a lot(sort of like solar panels do).
It's a guess of course with so little info' but try to sow deeper, mulch deeper and plant later than October. Perhaps try November _after_ the first hard freeze but before the first heavy snow.
It's late but hope you get this in time for 2023 planting and it helps.
Your goal is to grow roots but no shoots before winter.
In Ontario Canada I plant in early November.
I grew garlic for the first time this year. I planted it in a raised bed at the end of November (I am in New England, zone 6). Unfortunately we had a rather warm winter so the garlic started growing almost immediately. I never got any scapes (I planted hardneck). I just dug it up today as the leaves were brown and flopped over, and the heads are firm and perfect, but very small (1 inch diameter). They have already started to develop the papery skin, like they were beginning to cure in the ground. Other than the warm winter I am not sure if I did anything wrong (under water, over water, not enough mulch?).

