
Flowering perennials live for multiple years, bringing beautiful blooms back to your garden without replanting every season. From classic coneflowers to colorful phlox, there are so many choices that the hardest part might be deciding which ones to grow!
Many perennial flowers are easy for beginners to grow. The key is choosing plants suited to your garden, planting them correctly, and giving them extra attention while their roots become established. Here’s how to plant perennial flowers from pots, seeds, bulbs, and more—and care for them so they thrive year after year.
When to Plant Perennial Flowers
Spring and fall are usually the best times to plant perennials. Cooler weather gives roots time to establish before the heat of summer or the cold of winter. In spring, plant when the soil is workable and the danger of hard freezes has passed. In fall, aim to plant at least 4 to 6 weeks before the ground freezes.
Planting time also depends on the type of perennial. Many spring-flowering perennials are planted in late summer or fall, while fall bloomers are often planted in spring. Always check the needs of your particular plant. I usually plant my irises in early fall, around the same time I plant garlic in my vegetable beds.

Whenever possible, I plant on a cool, cloudy day, preferably before rain is expected. I’ve learned the hard way that planting in hot weather can stress new plants and cause wilting.
How to Plant Perennial Flowers
You can grow perennials from nursery plants, seeds, bulbs, corms, or rhizomes. The planting method depends on what you’re starting with, but a little preparation goes a long way.
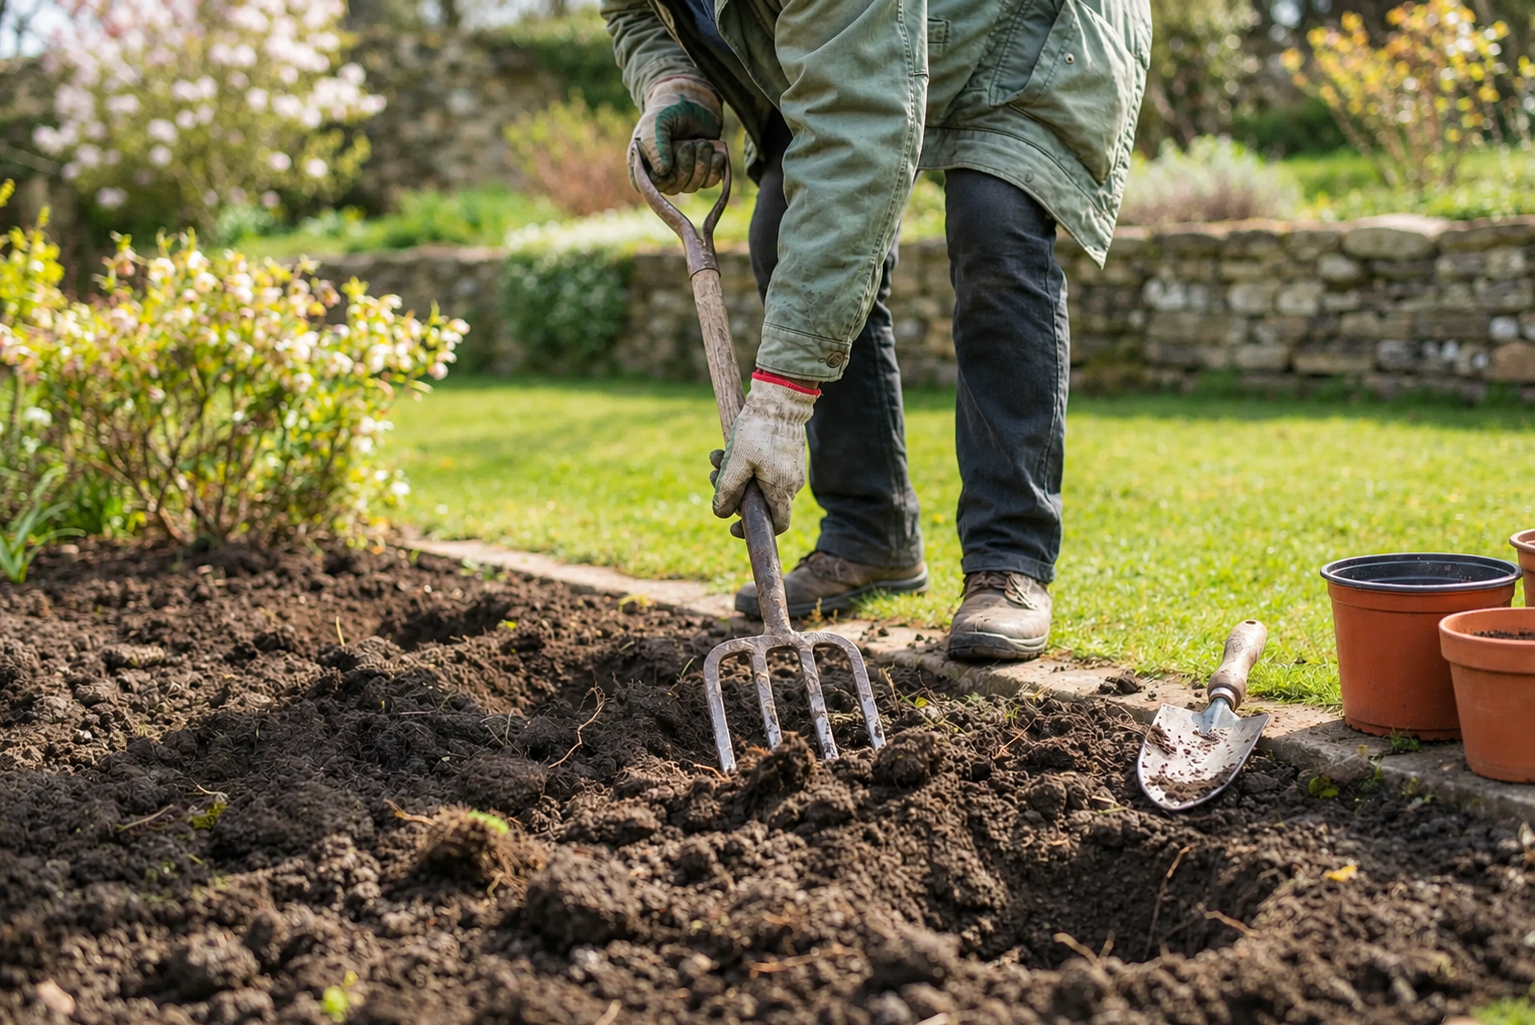
Before You Plant
- Choose the right spot. Check each plant’s hardiness zone, sunlight needs, and soil preferences. Most perennials need good drainage, although some prefer moist soil.
- Prepare the soil. Remove weeds and loosen compacted soil. Add compost if needed to improve soil structure.
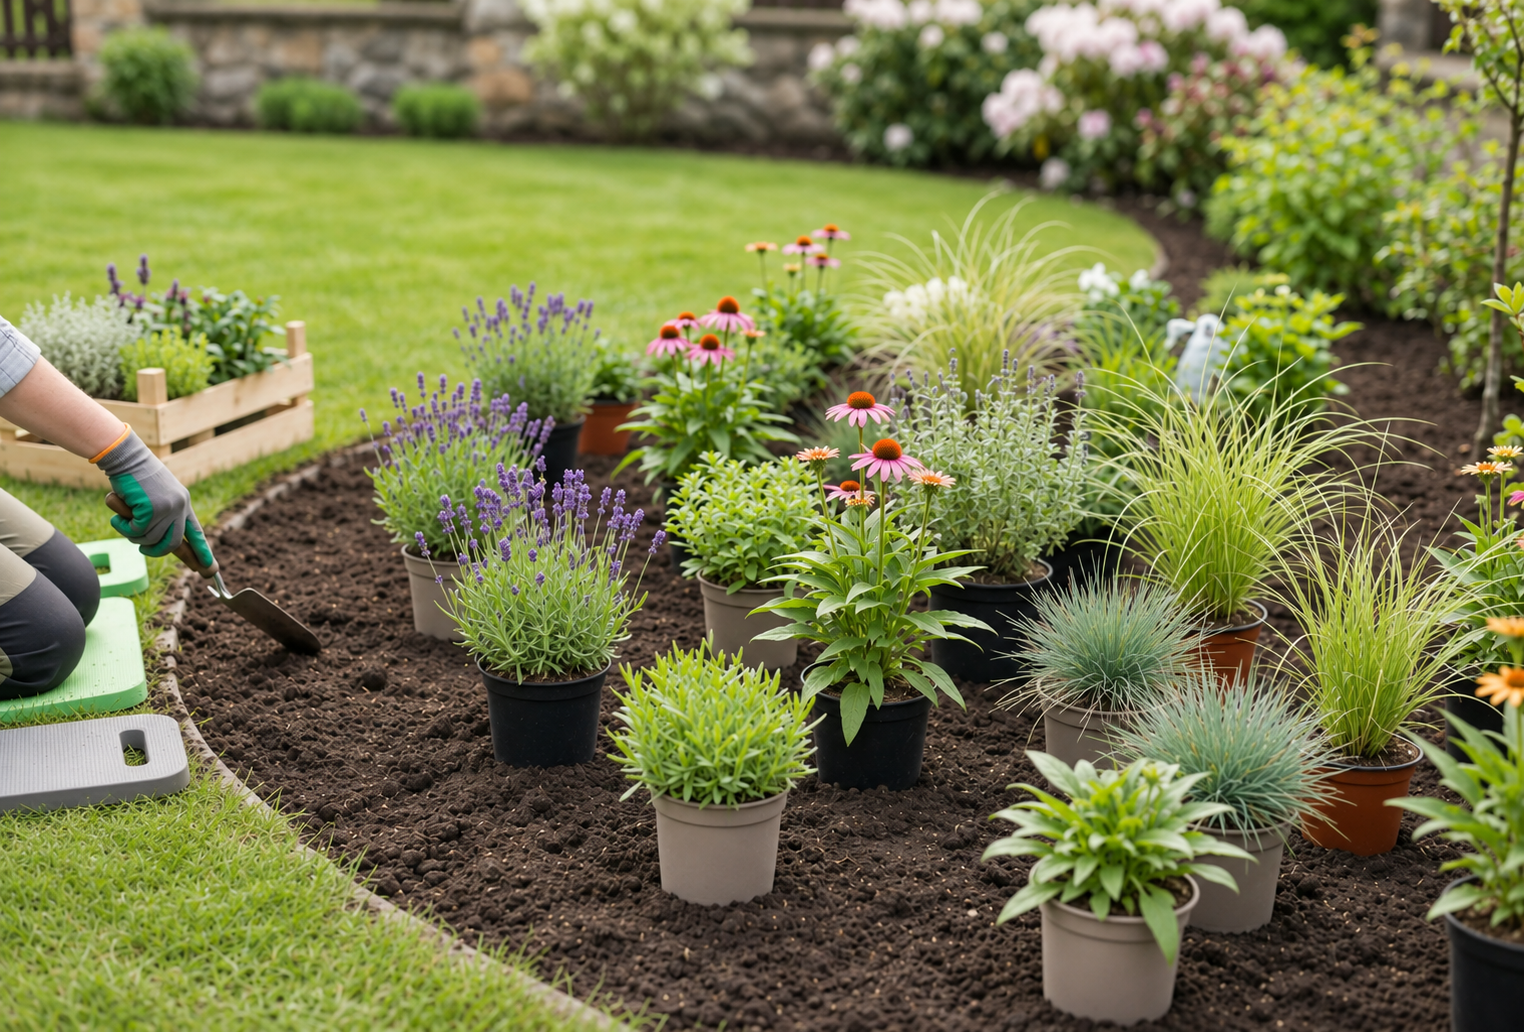
- Plan your spacing. Check the plant label for its mature size. Give each perennial enough room to grow without crowding its neighbors.
Planting Potted Perennials
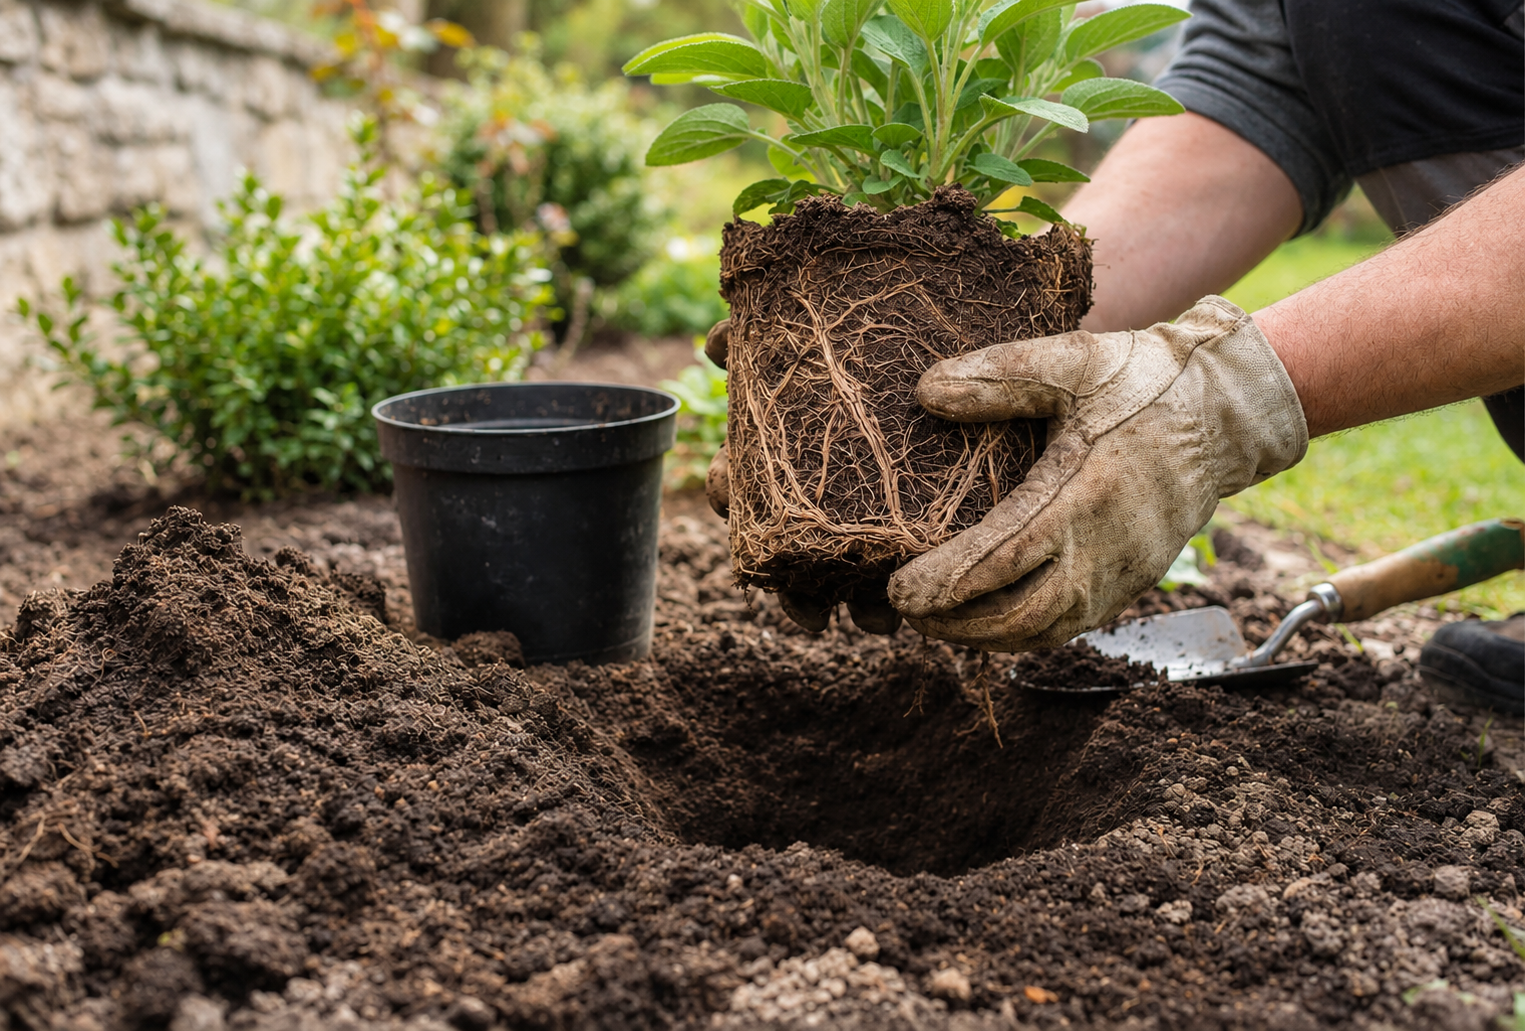
- Dig the planting hole. Make it about twice as wide as the root ball and no deeper than the root ball’s height. I usually mix a little compost into the surrounding soil if it needs improving.
- Loosen the roots. Gently remove the perennial from its nursery pot. If the roots are tightly packed or circling the pot, carefully loosen them with your fingers.
- Plant and water. Set the perennial at the same depth it was growing in its nursery pot. Fill around the roots with soil, gently firm it, and water deeply. Add mulch, keeping it away from the stems and crown.
Growing Perennials from Seed
- Check the seed packet. Some perennial seeds need exposure to cool, moist conditions before they sprout. This process is called “cold stratification.”
- Prepare seeds if needed. If your seeds require cold stratification, you may be able to sow them outdoors in fall or winter or chill them in a damp paper towel in the refrigerator, depending on the species. I often cold-stratify perennial seeds native to cold-winter regions like New England.
- Sow the seeds. Follow the packet’s directions for planting depth and whether to start seeds indoors or sow them directly in the garden. Keep the soil appropriately moist while seedlings establish.
Planting Bulbs, Corms, and Rhizomes
- Prepare the planting area. I like to amend the soil with compost before planting bulbs. But I don’t add fertilizer or bone meal to the holes themselves, as I find this has a tendency to attract chipmunks and other bulb-eaters.
- Dig a hole to the recommended depth. The plant packaging should tell you how deep to plant bulbs, corms, or rhizomes. Most bulbs grow just fine when planted at a depth 2 to 3 times the bulb’s height, but it’s always good to double-check.
- Plant and water. Place bulbs with the pointed end up and corms with their growing tips up. Follow the specific planting directions for rhizomes, which may need to sit close to the soil surface. Cover with soil and water thoroughly.

Credit: Geza Farkas
How to Care for Perennial Flowers
Most flowering perennials are relatively low-maintenance once established. They need a little extra care during their first growing season while their roots spread into the surrounding soil.
Watering
- Newly planted perennials: Water regularly while roots establish, including during dry fall weather until the ground freezes. Many perennials do well with about 1 inch of water per week, including rainfall, but needs vary. Check the soil before watering rather than following a rigid schedule.
- Established perennials: Many can rely on rainfall, depending on the plant and growing conditions. Water during extended dry spells or when growing moisture-loving plants, such as blue flag irises or boneset.
Mulching
- Newly planted perennials: Apply a layer of natural mulch, such as shredded bark or pine needles, to retain moisture, suppress weeds, and protect roots. Keep mulch 1 to 2 inches away from stems and crowns to help prevent rot.
- Established perennials: Check mulch annually and replenish it where it has thinned, keeping it away from stems and crowns.
Fertilizing
- Newly planted perennials: Check the plant’s needs before fertilizing. Most don’t require heavy feeding, especially if the soil has been improved with compost.
- Established perennials: Some heavier-feeding plants benefit from compost or a light application of fertilizer during the growing season. If plants look stressed, check watering, sunlight, and soil conditions before assuming they need fertilizer.
Deadheading and Pruning
- Remove spent flowers when appropriate. Some perennials bloom again after deadheading, while others need different pruning methods. Check your plant’s specific requirements.
- Consider leaving stems standing through winter. Where appropriate, dead stems and seed heads provide food and shelter for wildlife, including overwintering insects. Trim them in spring.
Staking
Support tall or floppy plants with bamboo stakes, metal cages, or other supports as needed to keep stems upright, especially during wind and heavy rain.
When and How to Divide Perennials
Credit: Jennifer McCallum
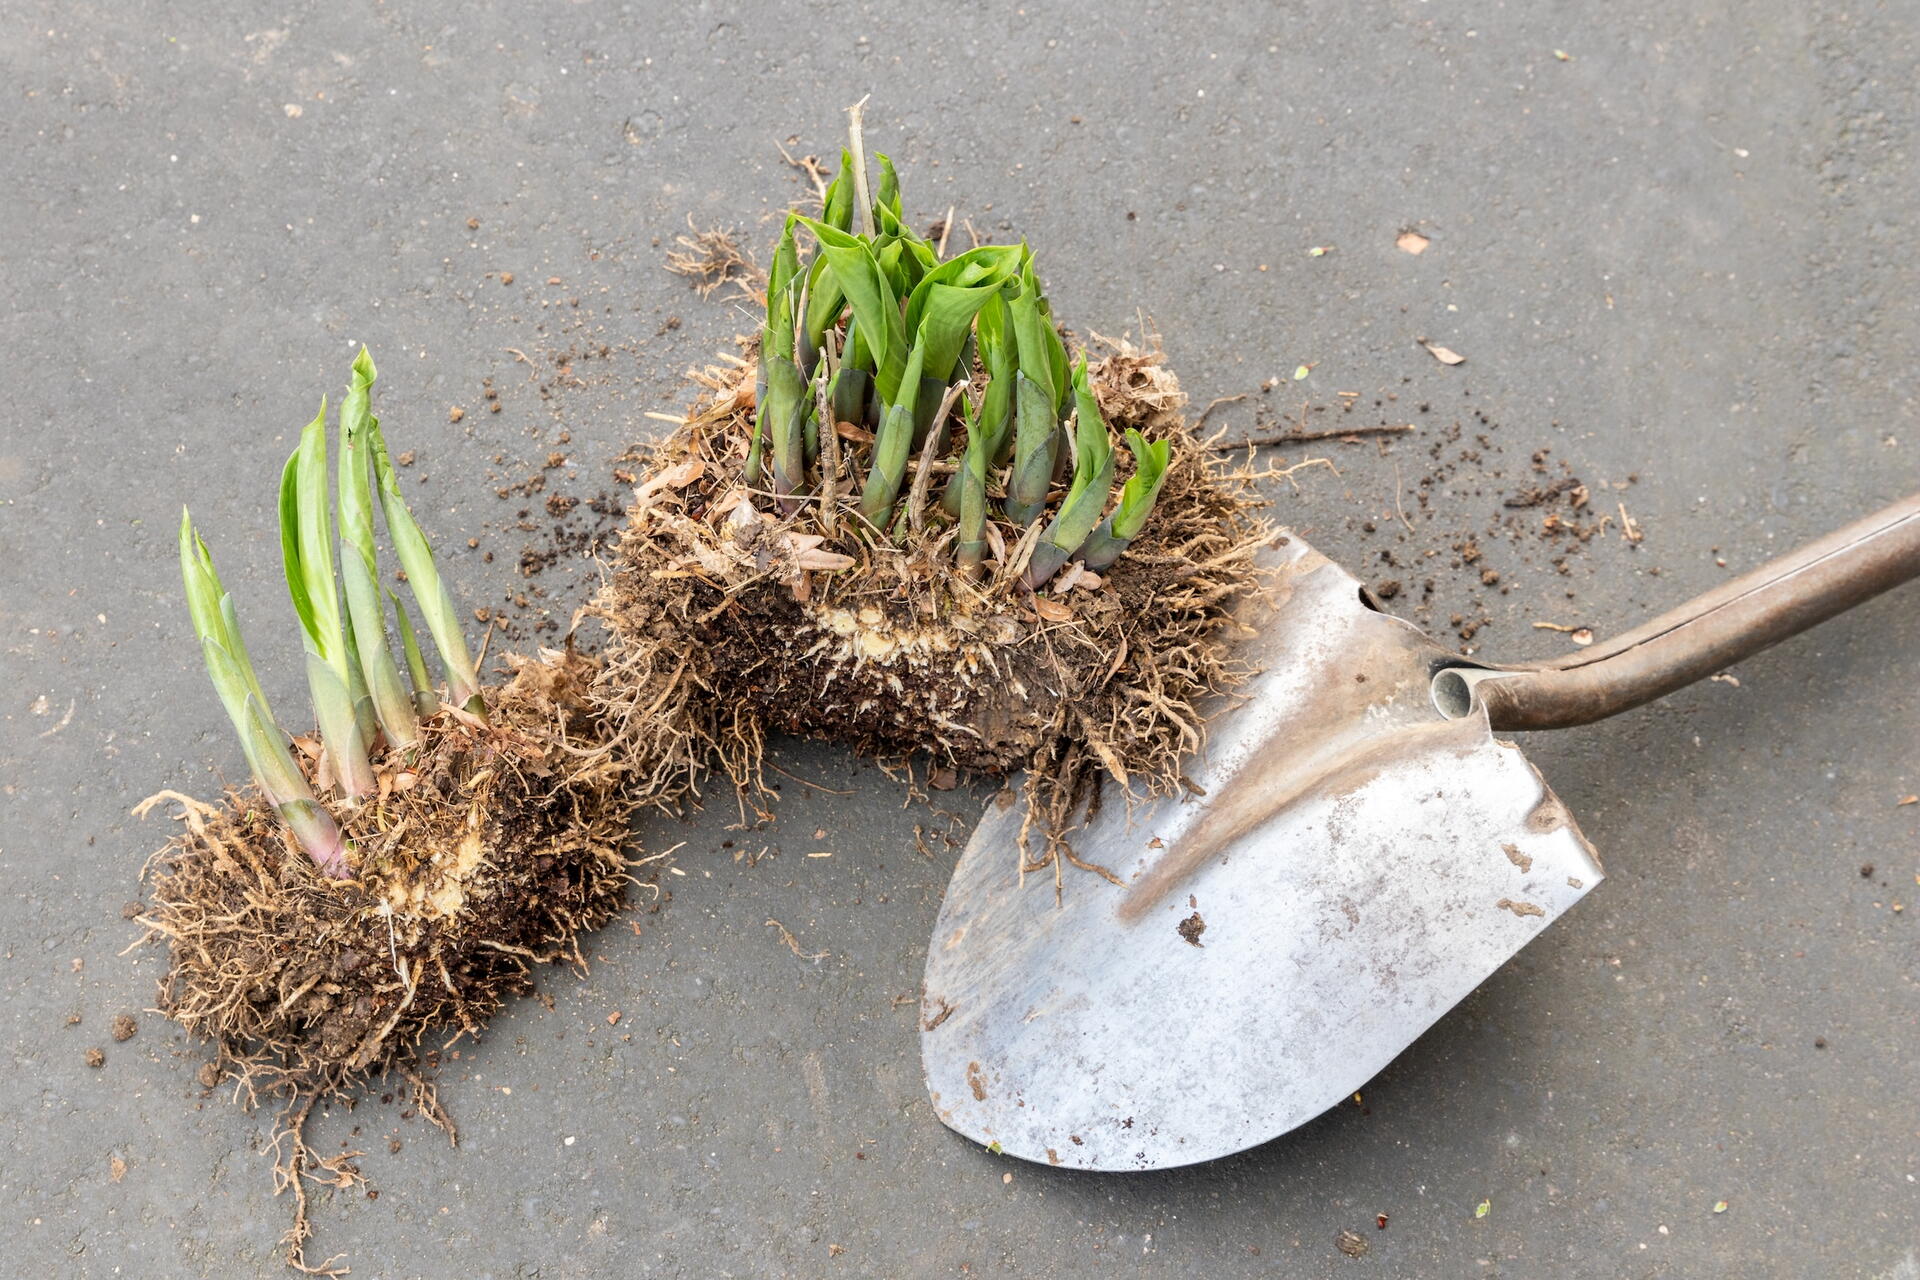
Some perennials benefit from division every few years, particularly when clumps become overcrowded or flowering declines. Lift the clump, separate it into smaller sections with healthy roots and shoots, and replant promptly. See our step-by-step guide to dividing perennials.
Many spring-flowering perennials are best divided in fall, while fall bloomers are often divided in spring. However, timing varies by plant. In my garden, irises and daylilies bloom better after regular division—and I get extra plants to fill empty spaces!
Fall and Winter Care for Perennials
Hardy perennials suited to your growing zone generally need little winter care. Water newly planted perennials during dry fall weather until the ground freezes. Once the soil begins to freeze, add 2 to 4 inches of insulating mulch where extra protection is needed, keeping it away from stems and crowns.
Tender perennials need more attention. In cold climates, dig up dahlias, cannas, and calla lilies for winter storage, following each plant’s temperature and moisture requirements. Other frost-sensitive plants may need to move indoors, where they receive appropriate light and warmth.
Potted perennials may also need winter protection because their roots are more exposed to cold. Some can overwinter in a sheltered garage or shed, provided temperatures remain suitable for the plant.
Learn more about protecting your plants from frost.
Common Perennial Problems and How to Fix Them
If your perennials aren’t growing or flowering as expected, here are some possible causes and what to do next.
| Issue | Possible Cause | What to Do |
|---|---|---|
| Fewer flowers after pruning | Pruning at the wrong time may have removed flower buds. | Check your plant’s pruning needs before pruning again. Some perennials bloom on older growth. |
| Floppy stems or lots of leaves with few flowers | Too much fertilizer can encourage leafy growth at the expense of flowers. | Hold off on additional fertilizer and check the plant’s feeding needs. Most perennials don’t require much fertilizer. |
| Dug-up or missing bulbs | Chipmunks, squirrels, and other wildlife may be digging up or eating them. | Protect bulbs with bulb cages or wire barriers in the planting holes. |
| One plant taking over the bed | An aggressive perennial may be spreading by seed or underground stems. | Deadhead before seeds form. For plants that spread underground, remove unwanted growth and consider growing them in containers. |
| No flowers in the first growing season | The plant may still be establishing, especially if it was grown from seed. | Check that the plant has suitable light, soil, and moisture. Then give it time. Many perennials don’t flower during their first growing season. |
Remember, flowering perennials are an investment in your garden’s future! Give them a little patience and attention during their first season, and they’ll reward you with beautiful flowers for years to come.

More Like This


It's important that the soil around the mums is well draining. If not, water will freeze to ice around the roots and kill the plants. After a couple of frosts cut the stems back to 3 to 4 inches. Add mulch around the plants after the ground is frozen. Leaves or straw work well.
Hi Teresa,
Plant the roses after May 18 when the Moon is waxing (when it is between new and full). Plant the tomatoes in the ground if outdoor temps. are warm enough and you don't have any cold nights.
Hi Shirley,
Plant the delphiniums i early spring when the soil has warmed up a bit. See our delphinium page for more advice.
http://www.almanac.com/plant/delphiniums
You can plant the tulips as long as you can dig in the soil. The ground is not going to freeze for some time. They will be fine during the cold winter months and will start growing as soon as the weather warms up a bit in the spring. 400 bulbs!! Wow!

Comments