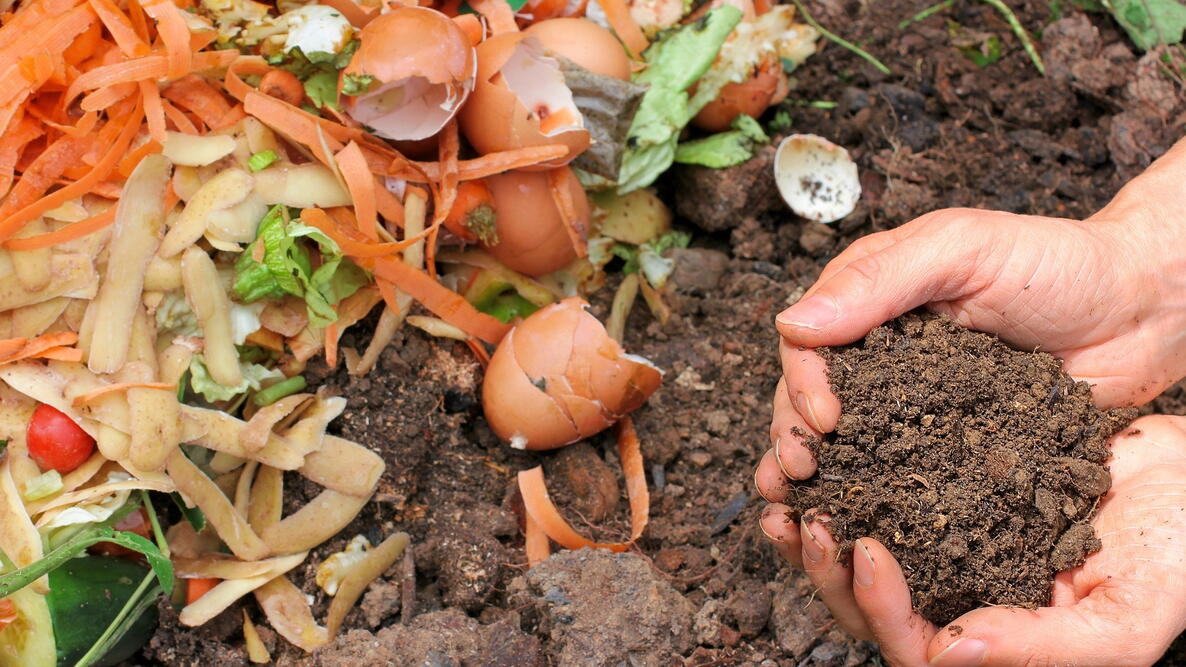
Caption
Compost is easy to make once you know how!
Don’t throw out your garden debris or kitchen vegetable scraps! Turn them into rich, crumbly organic material to help plants thrive. We’ll show you how to compost at home using hot, cold, or worm composting methods, so you can choose the approach that works best for your space and how quickly you want finished compost.
What Is Compost?
Compost is a nutrient-rich, soil-like material made from decomposed organic matter—often fallen leaves, grass clippings, plant debris, vegetable scraps, and yard waste. Composting recycles materials you might otherwise throw away and turns them into a valuable soil amendment for your garden.
Compost also helps improve many soil problems. If the key to a successful garden is good soil (and it is), compost is one of a gardener’s best tools for building healthier soil.
In sandy soil, compost helps improve water-holding capacity. In heavy clay soil, it improves soil structure and creates better conditions for air, water, and roots. Even good loamy soil benefits from compost, which adds organic matter, supports soil life, and supplies nutrients as it continues to break down.
How to Choose a Compost Bin
In community gardens, you may see a series of bins filled with organic matter in different stages of decomposition, but don’t let a professional system like that intimidate you. You don’t need a large outdoor space to start composting. Depending on the method, you can compost in a backyard, on a patio or balcony, or even indoors with a worm bin.
At its most basic, an outdoor composting system can be a simple pile in a corner of the yard. If you want to make hot compost, a pile about 3 feet wide and 3 feet high or larger helps retain enough heat for active decomposition.
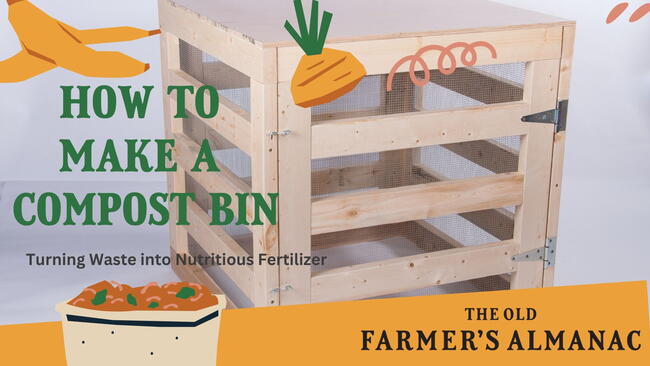
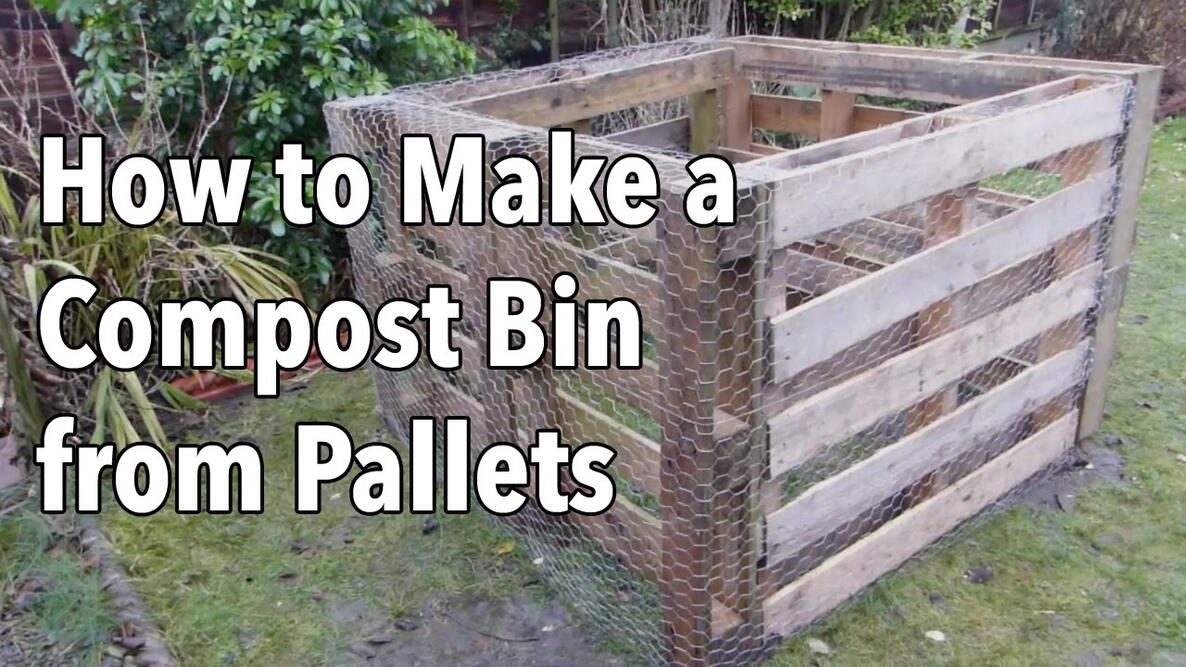
Many gardeners prefer a dedicated structure to keep the pile contained, such as a cube made from wood pallets, a purpose-built plastic bin, or a DIY compost bin. Fancy bins with multiple layers and sifters are convenient, but they aren’t necessary.
It’s also possible to compost directly in a garden bed, a method sometimes called in-situ composting.

Composting Methods: Hot, Cold, and Worm Composting
1. Hot (or “Active”) Composting
Hot, or active, composting is the fastest way to turn garden and kitchen scraps into finished compost. A well-managed pile can heat to about 130° to 160°F (54° to 71°C) as microorganisms break down the materials.
Those higher temperatures can also help destroy many weed seeds and disease-causing organisms. The size of the pile, the balance of ingredients, moisture, and airflow all play a role in keeping the pile active.
Use the Right Balance of Browns and Greens
For a home compost pile, a useful rule of thumb is to mix roughly 2 to 3 parts carbon-rich brown materials with 1 part nitrogen-rich green materials by volume. This helps create an overall carbon-to-nitrogen balance close to what composting microorganisms need.
For many gardeners, the biggest challenge is collecting enough brown materials. Adding too many greens at once—especially fresh grass clippings—can create a wet, compacted pile that smells unpleasant.
Too many browns can slow decomposition, however. Instead of dumping a large quantity of fall leaves into the pile at once, mix them with fresh green materials as you build the pile. You can also compost leaves separately to make leaf mold.
How Big Should the Compost Pile Be?
A hot compost pile should be at least about 3 feet wide and 3 feet high. A somewhat larger pile—around 4 feet across—can retain heat well, but an oversized pile may be difficult to turn and aerate.
How to Make a Hot Compost Pile
Cutting or shredding materials into smaller pieces helps them break down faster by exposing more surface area to decomposing microorganisms.
- Start with a layer of coarse brown material, such as small twigs, dry leaves, or shredded cardboard. Coarser materials at the bottom can help improve airflow.
- Add a layer of nitrogen-rich green materials, such as vegetable scraps, fresh grass clippings, or garden trimmings.
- Continue alternating browns and greens until the pile reaches at least about 3 feet high.
- Moisten the materials as you build the pile. The finished mixture should feel about as damp as a wrung-out sponge—not dripping wet.
Keep air moving through the pile by turning or mixing it periodically. Good airflow supports the aerobic microorganisms responsible for fast, relatively odor-free decomposition.

A properly built hot compost pile may begin heating within a few days. Use a compost thermometer to check the center of the pile. Temperatures between about 110°F and 160°F (43°C to 71°C) indicate active decomposition, with the hottest temperatures generally occurring near the center.
As the center begins to cool, turn the pile so that materials from the outside move toward the middle. Frequent turning can speed decomposition, but exactly how long compost takes depends on the materials, temperature, moisture, airflow, and how often the pile is turned. Under good conditions, hot compost may be ready within several weeks to a few months.
See our video on making super-fast compost!
2. Cold (or “Passive”) Composting
Cold, or passive, composting requires less effort than hot composting. You simply build a pile of organic matter and allow it to decompose over time without carefully managing its temperature or turning it frequently.
Cold composting is easier to maintain, but decomposition takes substantially longer—often a year or more.
How to Make a Cold Compost Pile
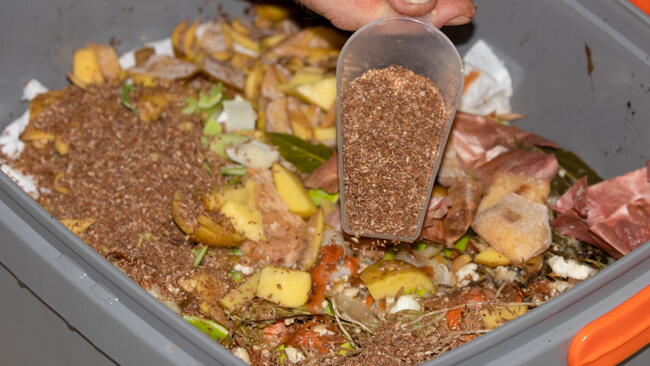
Add brown and green materials as you accumulate them, aiming for a good mix rather than large amounts of any one ingredient. Bury fruit and vegetable scraps toward the center of the pile to help discourage insects and animal pests.
Note: Avoid adding weeds that have gone to seed or diseased plant material to a cold compost pile. Because the pile does not consistently reach high temperatures, weed seeds and some plant pathogens may survive.
3. Vermicomposting (Composting With Worms)

Vermicomposting uses worms to break down food scraps and other organic materials. It is one of the most space-efficient composting methods and can be done in a relatively small container.
Getting started takes a little preparation because you need suitable bedding, the right type of worms, and a well-ventilated container. Once established, a worm bin is relatively easy to maintain by adding appropriate kitchen scraps regularly and keeping the bedding moist but not waterlogged.
If you have limited outdoor space and mainly want to compost fruit and vegetable scraps, vermicomposting may be a good fit. You can also explore Bokashi composting, another method suited to small spaces.
4 Essential Ingredients of a Healthy Compost Pile

A productive compost pile needs four things:
- Brown matter (“browns”): Carbon-rich materials such as straw, wood chips, shredded non-glossy cardboard, and fallen leaves.
- Green matter (“greens”): Nitrogen-rich materials such as fresh grass clippings, garden trimmings, and fruit and vegetable scraps. Aim for an overall carbon-to-nitrogen balance of about 30:1. For home composting, a practical rule is roughly 2 to 3 parts browns to 1 part greens by volume.
- Water: Keep the pile consistently moist but not waterlogged. It should feel about as damp as a wrung-out sponge.
- Air: Oxygen is necessary for the aerobic microorganisms that break down organic matter. Turning or mixing the pile periodically helps maintain airflow.
Keep in mind that color is not always a reliable indicator of whether a material is considered a green or a brown. Fresh grass clippings, for example, are still a nitrogen-rich “green” even after they dry and turn brown.
Straw, on the other hand, is considered a “brown” because it is relatively high in carbon.
Compost decomposes faster when materials are chopped or shredded into smaller pieces because more surface area is exposed to the microorganisms doing the work.
Avoid packing the pile down tightly. Air is essential to the composting process, and compacted materials are more likely to become wet, oxygen-starved, and smelly.
What Can Be Composted?
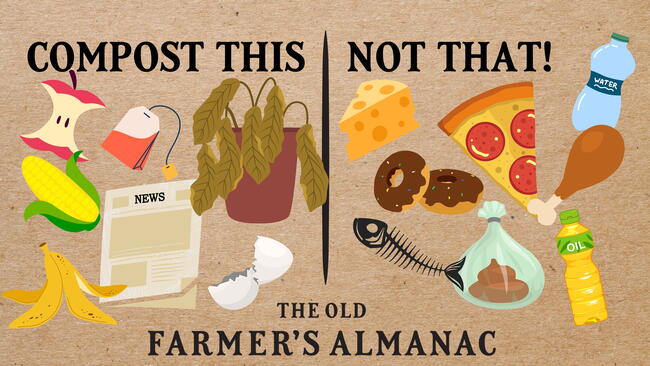
Many organic materials from the kitchen and garden can go into a backyard compost pile. A healthy mix includes both carbon-rich browns and nitrogen-rich greens.
Good materials for a backyard compost pile include:
- Fruit and vegetable scraps
- Coffee grounds and paper coffee filters
- Loose tea leaves and fully compostable tea bags
- Eggshells
- Fresh grass clippings in moderate amounts
- Garden trimmings
- Fallen leaves
- Straw
- Small amounts of untreated wood chips or sawdust
- Shredded non-glossy paper and newspaper
- Shredded non-glossy cardboard
- Nutshells
- Hair
- Seaweed that has been rinsed of excess salt
What Not to Put in a Backyard Compost Pile
Avoiding adding materials that create odors, attract pests, introduce pathogens, or fail to break down properly in a typical backyard compost pile.
- Meat, fish, and bones
- Dairy products
- Fats, oils, and grease
- Dog or cat waste and kitty litter
- Diseased plants unless you are maintaining a properly managed hot compost pile
- Weeds that have gone to seed, especially in a cold compost pile
- Invasive weeds that may regrow from roots, rhizomes, or stems
- Coal or charcoal ash
- Glossy or heavily coated paper and cardboard
- Plastic, glass, metal, rocks, and other inorganic materials
Be cautious with grass clippings or other plant material from lawns treated with herbicides. Follow the product label before composting treated material. Some persistent herbicides can remain active long enough to damage sensitive garden plants even after the material has been composted.
How Do You Know When Compost Is Ready?
Finished compost should be dark, crumbly, and earthy-smelling, with few recognizable pieces of the original ingredients remaining. The pile should also stop heating up after it is mixed or turned.
Once active decomposition has finished, allowing compost to cure for several weeks can help stabilize it before you add it to garden beds, containers, or planting holes.
If you can still identify a lot of the original leaves, stems, or food scraps, give the pile more time.
Composting Problems and Solutions
Composting doesn’t have to be messy, smelly, or complicated, but problems sometimes arise. Most can be fixed by adjusting the balance of browns and greens, moisture, or airflow.
What Should I Do If My Compost Is Too Wet?
A wet, slimy pile usually contains too much moisture, too many green materials, or not enough airflow. Mix in dry, carbon-rich materials such as dry leaves or shredded cardboard, then turn the pile to introduce more air. The mixture should feel damp but not soggy.
Why Does My Compost Smell Bad?
A healthy compost pile should smell earthy rather than rotten. A foul or sour odor usually means the pile is too wet, contains too many greens, or is not getting enough oxygen.
Turn the pile to introduce air and mix in dry brown materials such as leaves, straw, or shredded cardboard until the moisture and ingredient balance improves.
How Do I Keep Pests Away From My Compost Pile?
Avoid adding meat, dairy products, fats, and other foods that commonly attract rodents and other pests. Bury fruit and vegetable scraps in the center of the pile and cover fresh food scraps with a layer of brown material.
If animals continue to be a problem, use a compost bin with a secure lid and consider adding hardware cloth around openings or beneath the pile to limit access.
Can I Compost Weeds?
You can compost many weeds if they have not yet produced seeds. A properly managed hot compost pile can destroy many weed seeds, but a cold pile may not get hot enough.
Be especially cautious with invasive perennial weeds that can regrow from roots, rhizomes, or stems. Plants such as bindweed are often better disposed of rather than added to a backyard compost pile.
See our video on how to fix composting problems:
Take the plunge and get composting! Once you get the balance of browns, greens, moisture, and air right, nature does most of the work.
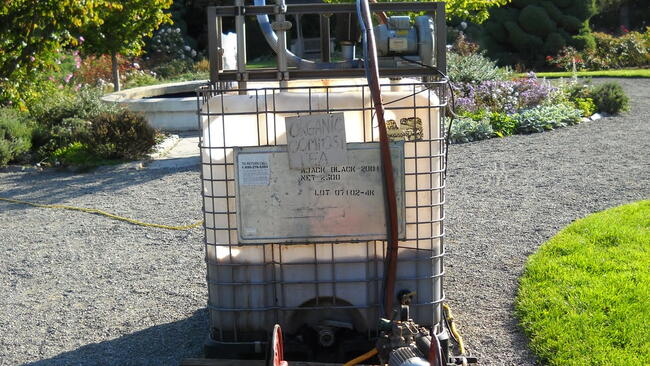
Next, see what you can and can’t compost, or learn how to make compost tea from finished compost.

Comments

You do not need a bin or container to make compost. Piles work well. However, if you'd like a bin, to keep it tidy, it needs to be big enough to hold heat. A pile that begins with about one cubic yard of material is big enough for year-round composting, even where winters are cold. That means a bin about three feet wide, three feet high and three feet deep will be big enough to retain heat. If you Google, "Hot Compost Bin," you'll see some options.

Lasagna beds are designed not to be turned -- they’re a form of no-dig gardening. Composting materials are added in layers -- like in a lasagna -- and not mixed together. They rot naturally and worms and other soil micro-organisms do the mixing. Add as much as you need to create the bed but remember it will sink as the materials rot.
When composting in a bin (rather than piling composting ingredients where you will be planting) you can keep adding material until the bin is full and then leave it to rot - it’s a good idea to have an extra bin or two that you can turn to when the first is full. Composting is a slow process and may take anything from six months to two years depending on many variables such as your climate, the weather, and the materials you’re adding to the bin. In my experience it usually takes around a year. Mixing in grass clippings (not too much though, and not in thick layers) does speed things up a little.