
Planting
When to Plant Tulips
- Plant tulip bulbs in fall, once the soil has cooled but before the ground freezes.
- Give them time to develop roots before winter. Your first fall frost is not the planting deadline—you can still plant afterward if the ground remains workable.
The exact timing depends on where you garden.
When to plant tulips in cold-winter regions:
- Plant during fall as soils cool. October is ideal in Iowa, for example.
- You can still plant later if the ground hasn’t frozen.
When to plant tulips in mild-winter regions:
- Planting may extend into late fall or early winter. Local recommendations vary.
- Georgia Extension suggests October through late December for spring-flowering bulbs.
- LSU suggests late December or early January for pre-chilled tulips in its Louisiana guidance.
For more on choosing and planting spring-flowering bulbs, see our fall bulb planting guide.
If your winters are especially mild, your tulip bulbs may need chilling before planting.
- Buy pre-chilled bulbs or follow your supplier’s refrigeration instructions for your varieties and climate.
- Chilling times vary, so there’s no single refrigeration schedule that suits every gardener.
- Keep tulip bulbs away from ripening fruit, and plant them right after chilling.
Missed fall planting? See our advice on planting tulip bulbs in winter.
Where to Plant Tulips
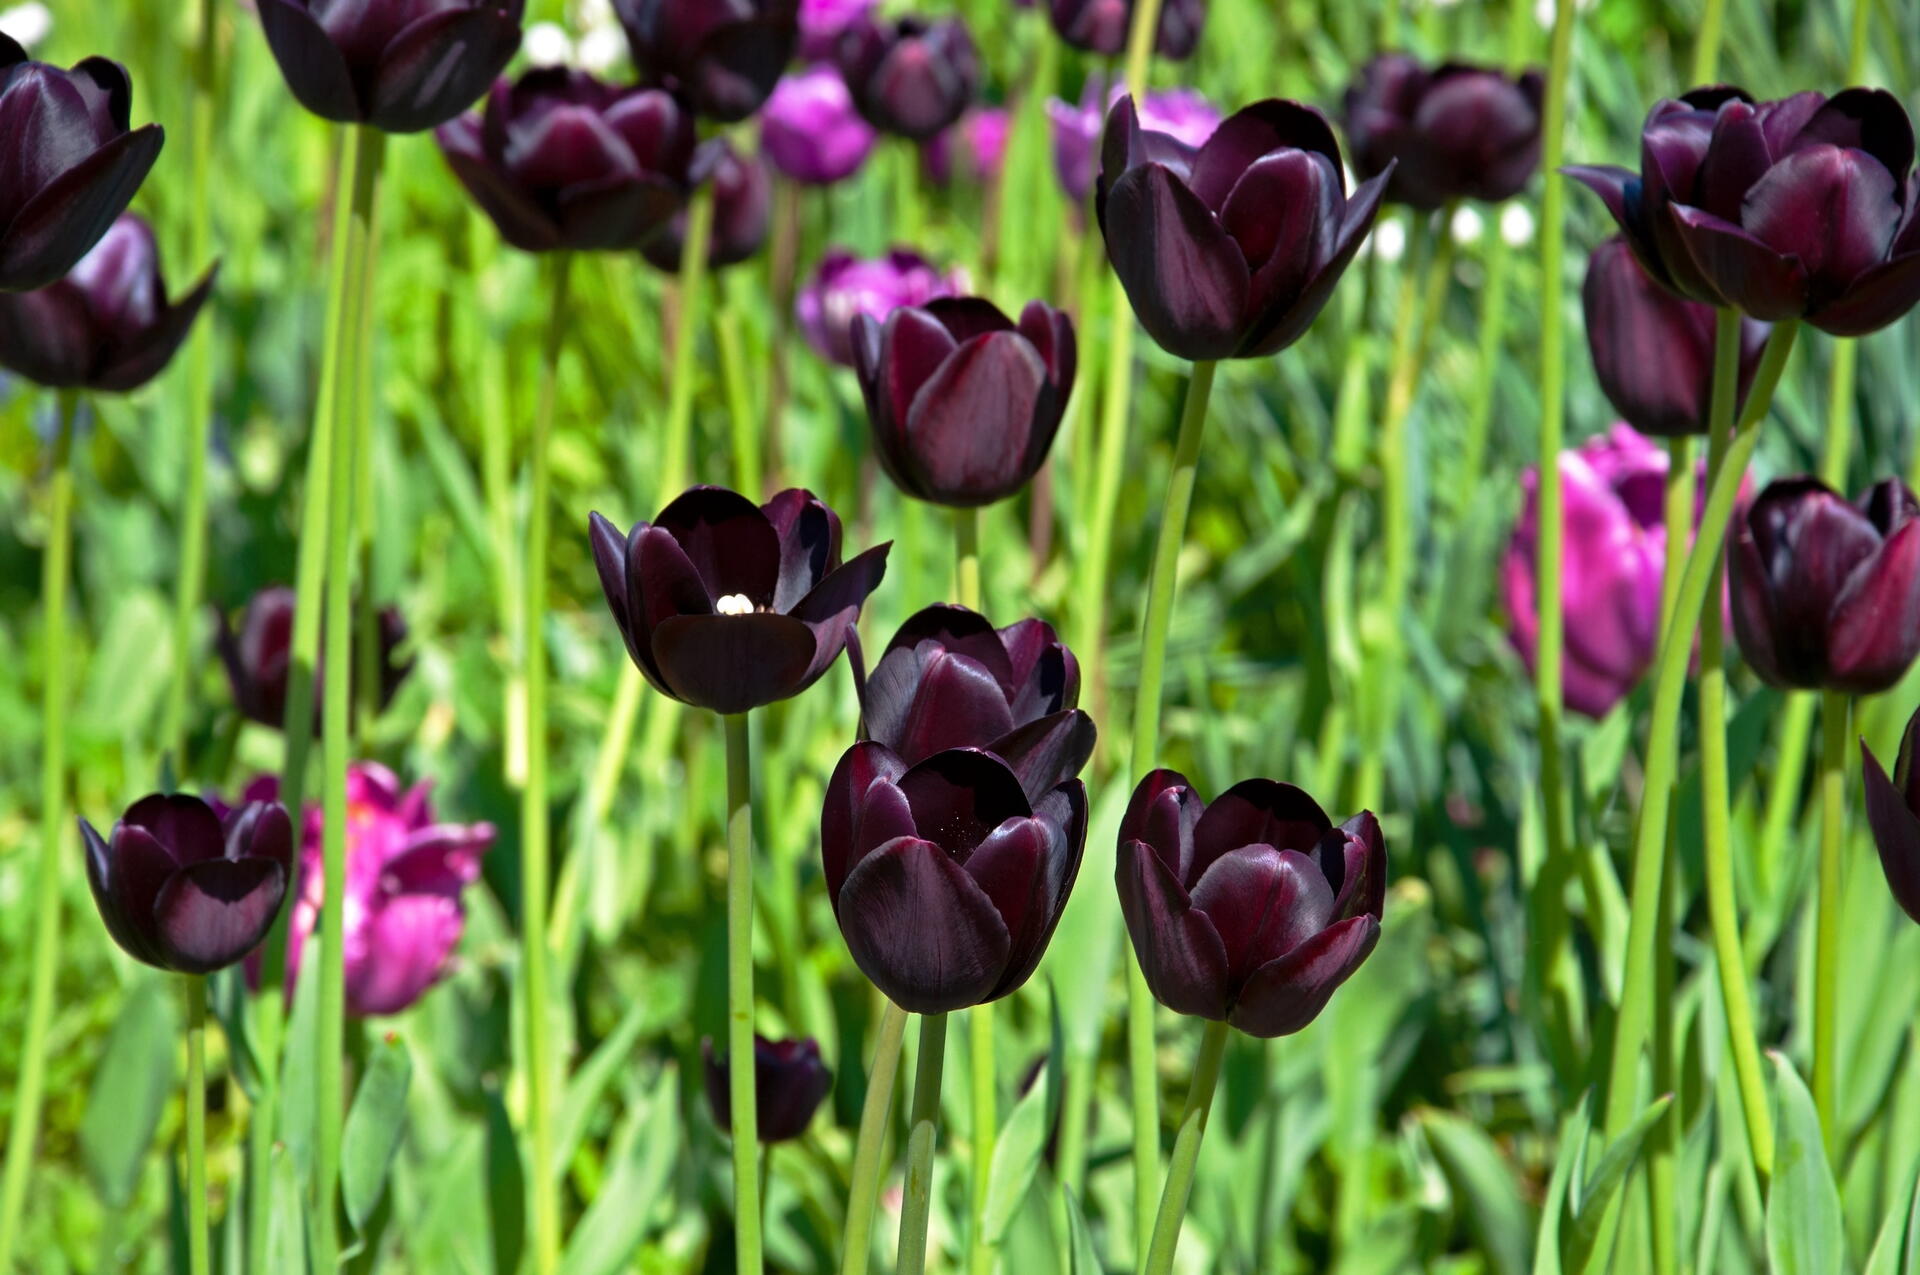
- Sunny location: Plant tulips in full sun or afternoon sun in most regions of North America. In hot climates, the University of California notes that tulips need some shade after they finish blooming.
- Soil: Choose a spot in your garden that doesn’t collect a lot of water—tulips don’t like soggy soil. University of California recommends a rich, sandy soil for the best growing conditions, though any well-draining soil will work.
Need to improve soil drainage? See our guide to testing and improving well-draining soil.
Credit: fedotova
How to Plant Tulips
- Loosen the soil in your garden bed to a depth of about 12 to 15 inches, removing any rocks or sticks that you uncover. University of Minnesota Extension suggests mixing compost or peat moss into the soil with a garden fork to improve growing conditions.
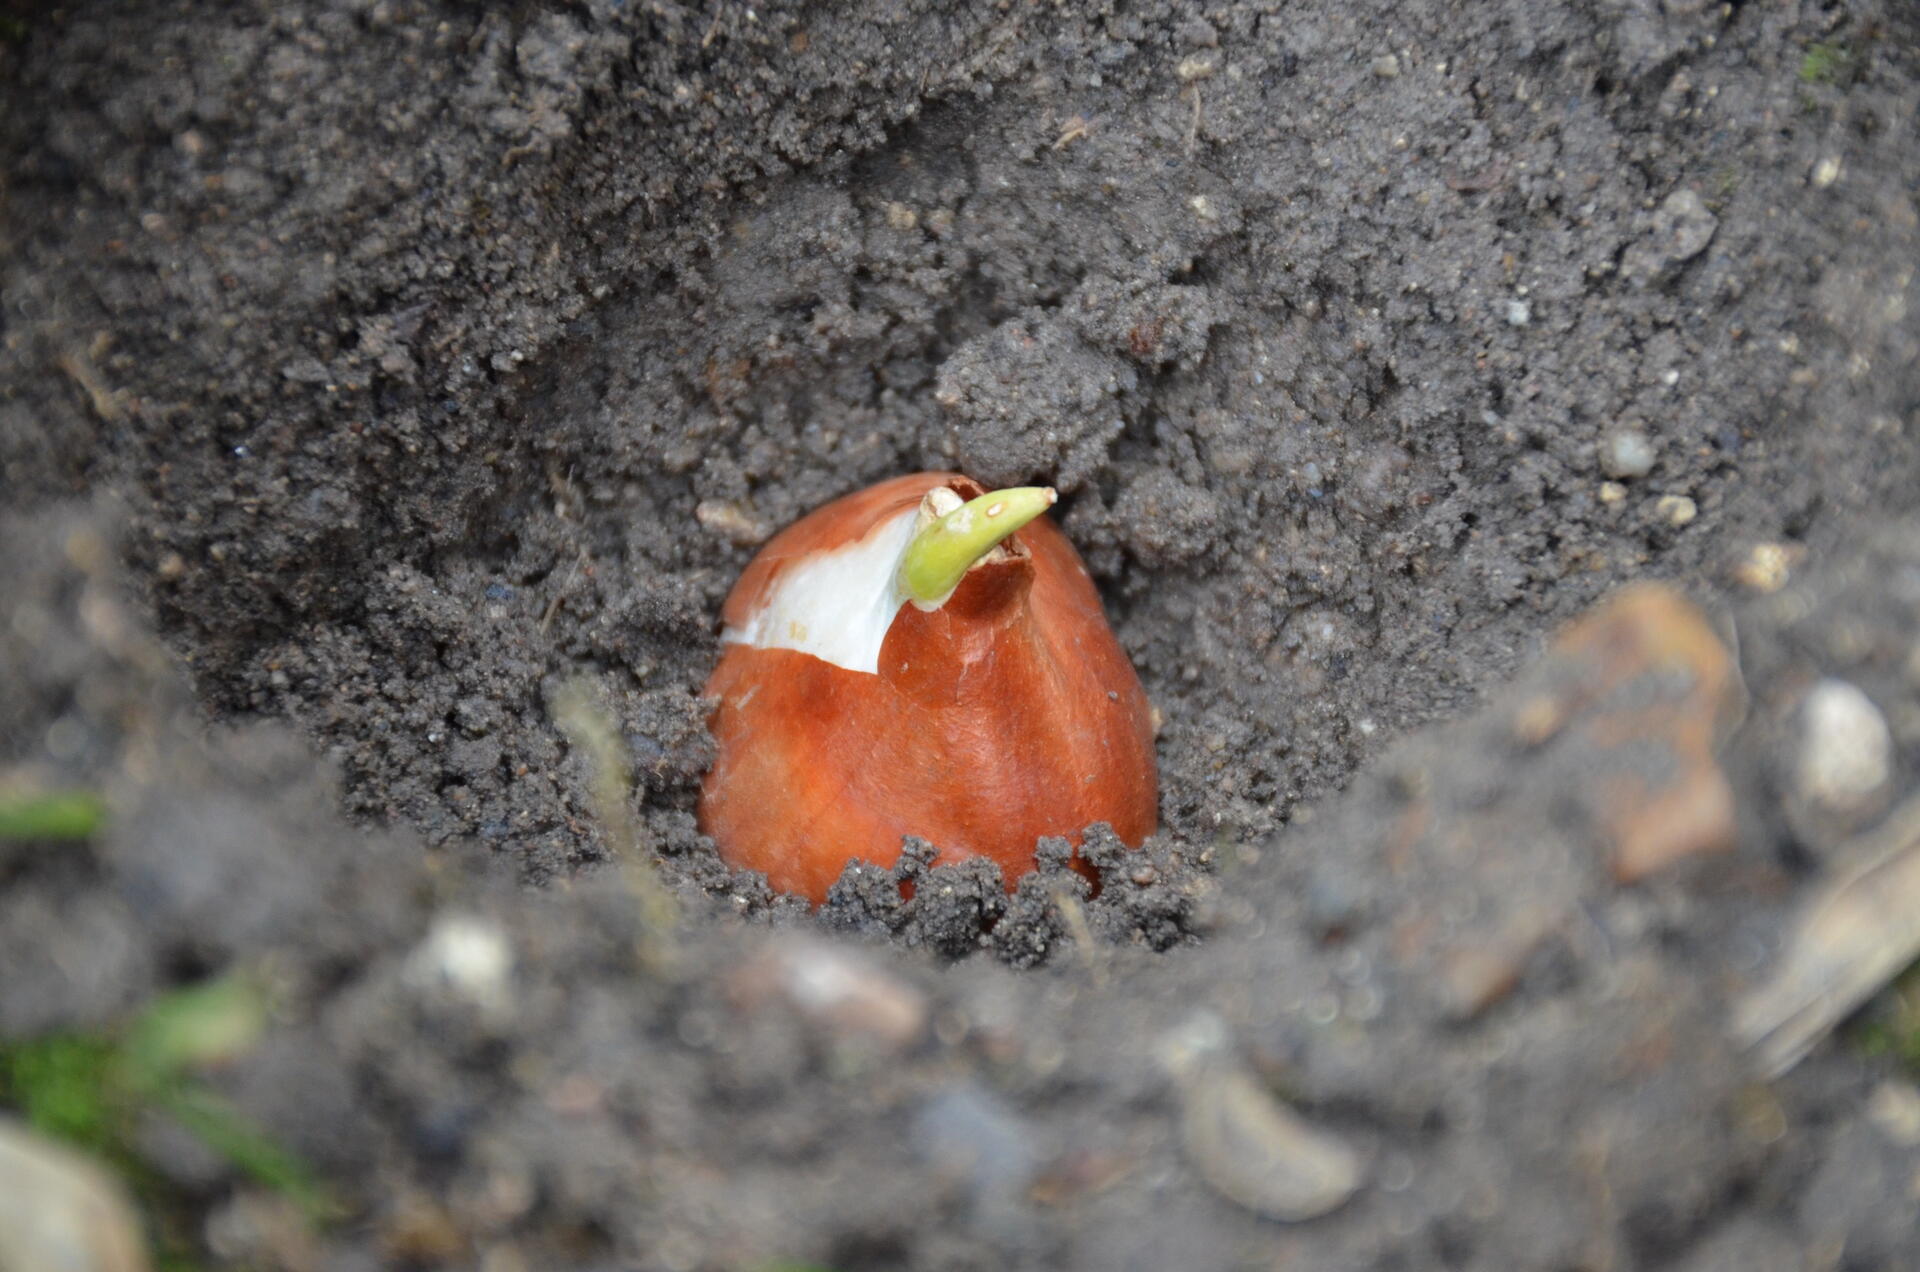
- Plant most larger garden tulips 6 to 8 inches deep and most smaller tulip species 3 to 5 inches deep, measuring the depth from the bulb’s base to the soil surface. Check your bulb’s instructions for the exact planting depth.
- Adjust the planting depth as needed based on your soil. University of Minnesota Extension recommends planting bulbs 1 to 2 inches deeper than usual in light, sandy soil and 1 to 2 inches shallower than usual in heavy clay soil.
- Space larger tulips about 4 to 6 inches apart and smaller tulips about 3 to 4 inches apart. Plant in groups for a generous splash of spring color.
- Set each bulb with the pointed end up. Fill each hole with soil, then water thoroughly to settle the soil around the bulbs and encourage the roots to grow. Avoid leaving the soil soggy.
Credit: Choc’art
Pests and Problems
Although tulips are generally easy to grow, it’s still good to watch for issues.
If you see any of these common problems, here’s what’s probably happening and what to do next.
What You See | Likely Cause | What to Do |
| Floppy leaves but no flowers | Bulbs have become weak over time and don’t have enough energy to bloom—this can happen after a few years. | Dig up the old bulbs and plant new ones in a sunny spot with plenty of sunlight. |
| Leaves turn white and flop over | A hard spring frost hit while tulips were fully emerged or blooming. | Leave the damaged leaves alone—cutting them too soon can deprive the tulips of building the energy to continue blooming. |
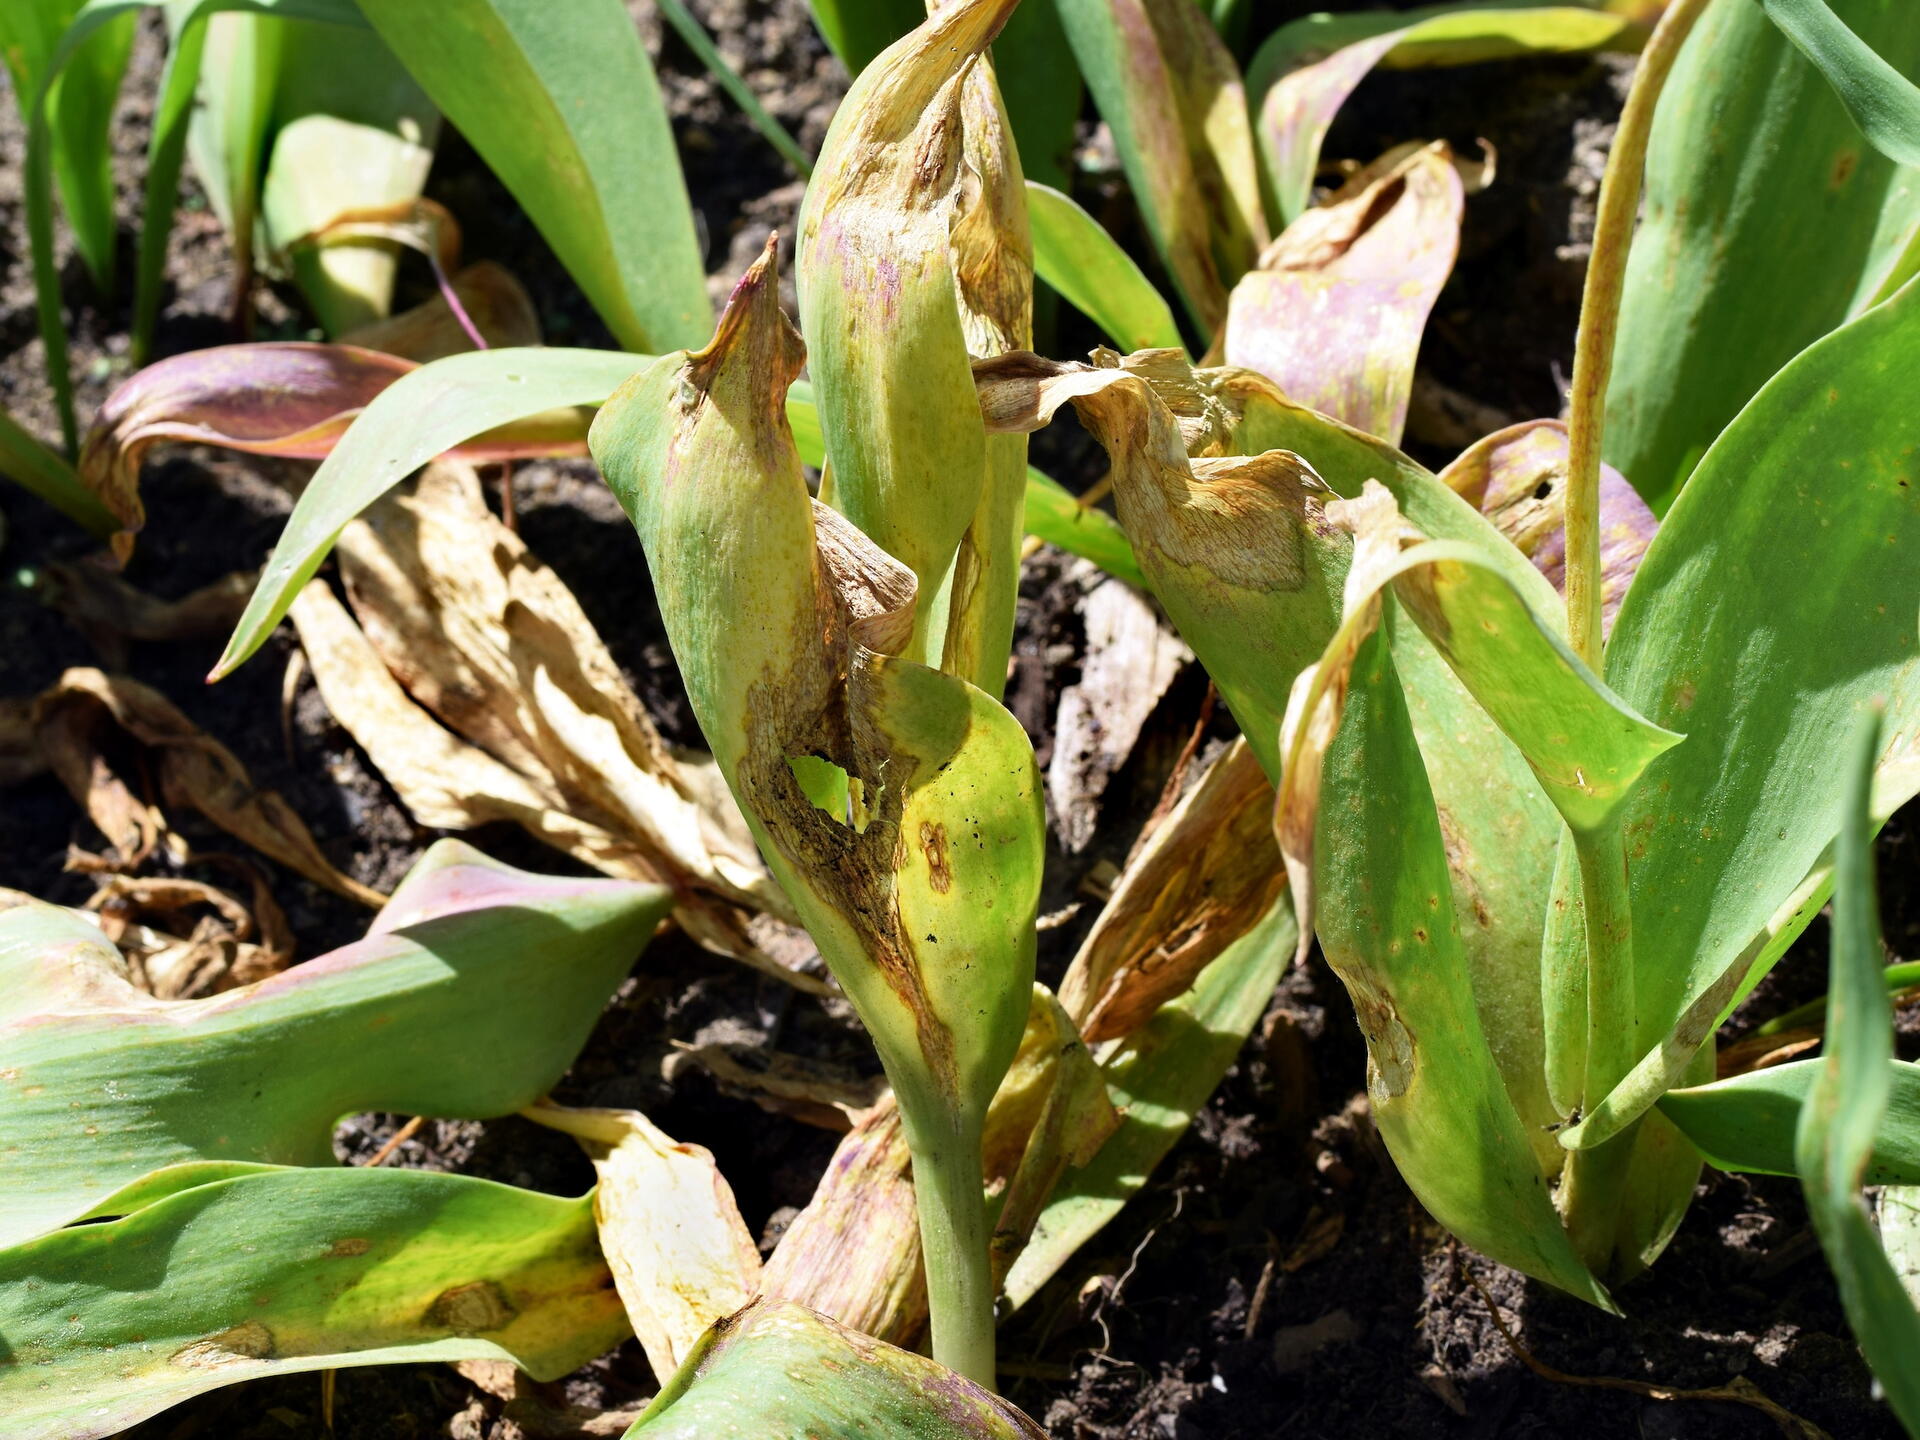
| Leaves are yellow and small, or stems don’t emerge from the soil | Bulb rot resulting from soggy soil and infection by fungi or bacteria. | Dig up and throw away any diseased bulbs and some of the surrounding soil. Plant new bulbs in well-draining soil. |
| Small spots with dark edges on leaves, rotting stems, black patches on flowers, fuzzy gray mold | Botrytis blight (tulip fire). | Remove and discard affected plants and bulbs immediately. Some sources recommend waiting at least 3 years before planting tulips in an area where tulip fire occurred. |
| Holes in leaves or flowers, shiny slime trails | Slugs and snails feeding. | Carefully remove any slugs or snails. Water in the morning rather than evening to reduce overnight moisture. |
| Clusters of tiny insects; curled leaves or sticky substance | Aphids sucking the plant sap. | Knock aphids off with a firm spray of water. Avoid insecticides so natural predators can help control them. |
| Tulips emerging from the ground too early (late winter or early spring) | Unseasonably mild weather led to premature winter growth. | Keep an eye on your tulips—this problem isn’t as bad as it may seem, as tulips tolerate the cold quite well. If freezing temperatures return, it can delay growth, though. |
Credit: matunka
Protecting Tulips From Animals
Protect tulips from animals looking for a yummy snack by creating a physical barrier they can’t get past.
- To prevent squirrels and chipmunks from digging up newly planted bulbs: Cover the planting area with chicken wire or hardware cloth, using stakes or rocks to keep it in place. The flowers can grow through the holes in the material.
- To prevent voles and mice from eating the bulbs underground: Buy or build an underground bulb cage, an enclosure you can bury in the soil around the bulbs.
Types
Tulips come in so many beautiful varieties—these are some beginner-friendly ones you might like:
- Triumph: Classic, cup-shaped flowers that grow in many colors and bloom in midspring. Their sturdy, medium-length stems work well in garden beds, though they may not flower as much after a few years.
- Darwin hybrids: Large flowers on tall stems that bloom in midspring. These hybrid tulips come back reliably each year when their growing conditions are right.
- Double-flowered: Layers of petals that make them look like peonies, available in early- and late-blooming varieties. Give late-blooming doubles plenty of shelter from strong wind and heavy rain to protect the flowers!
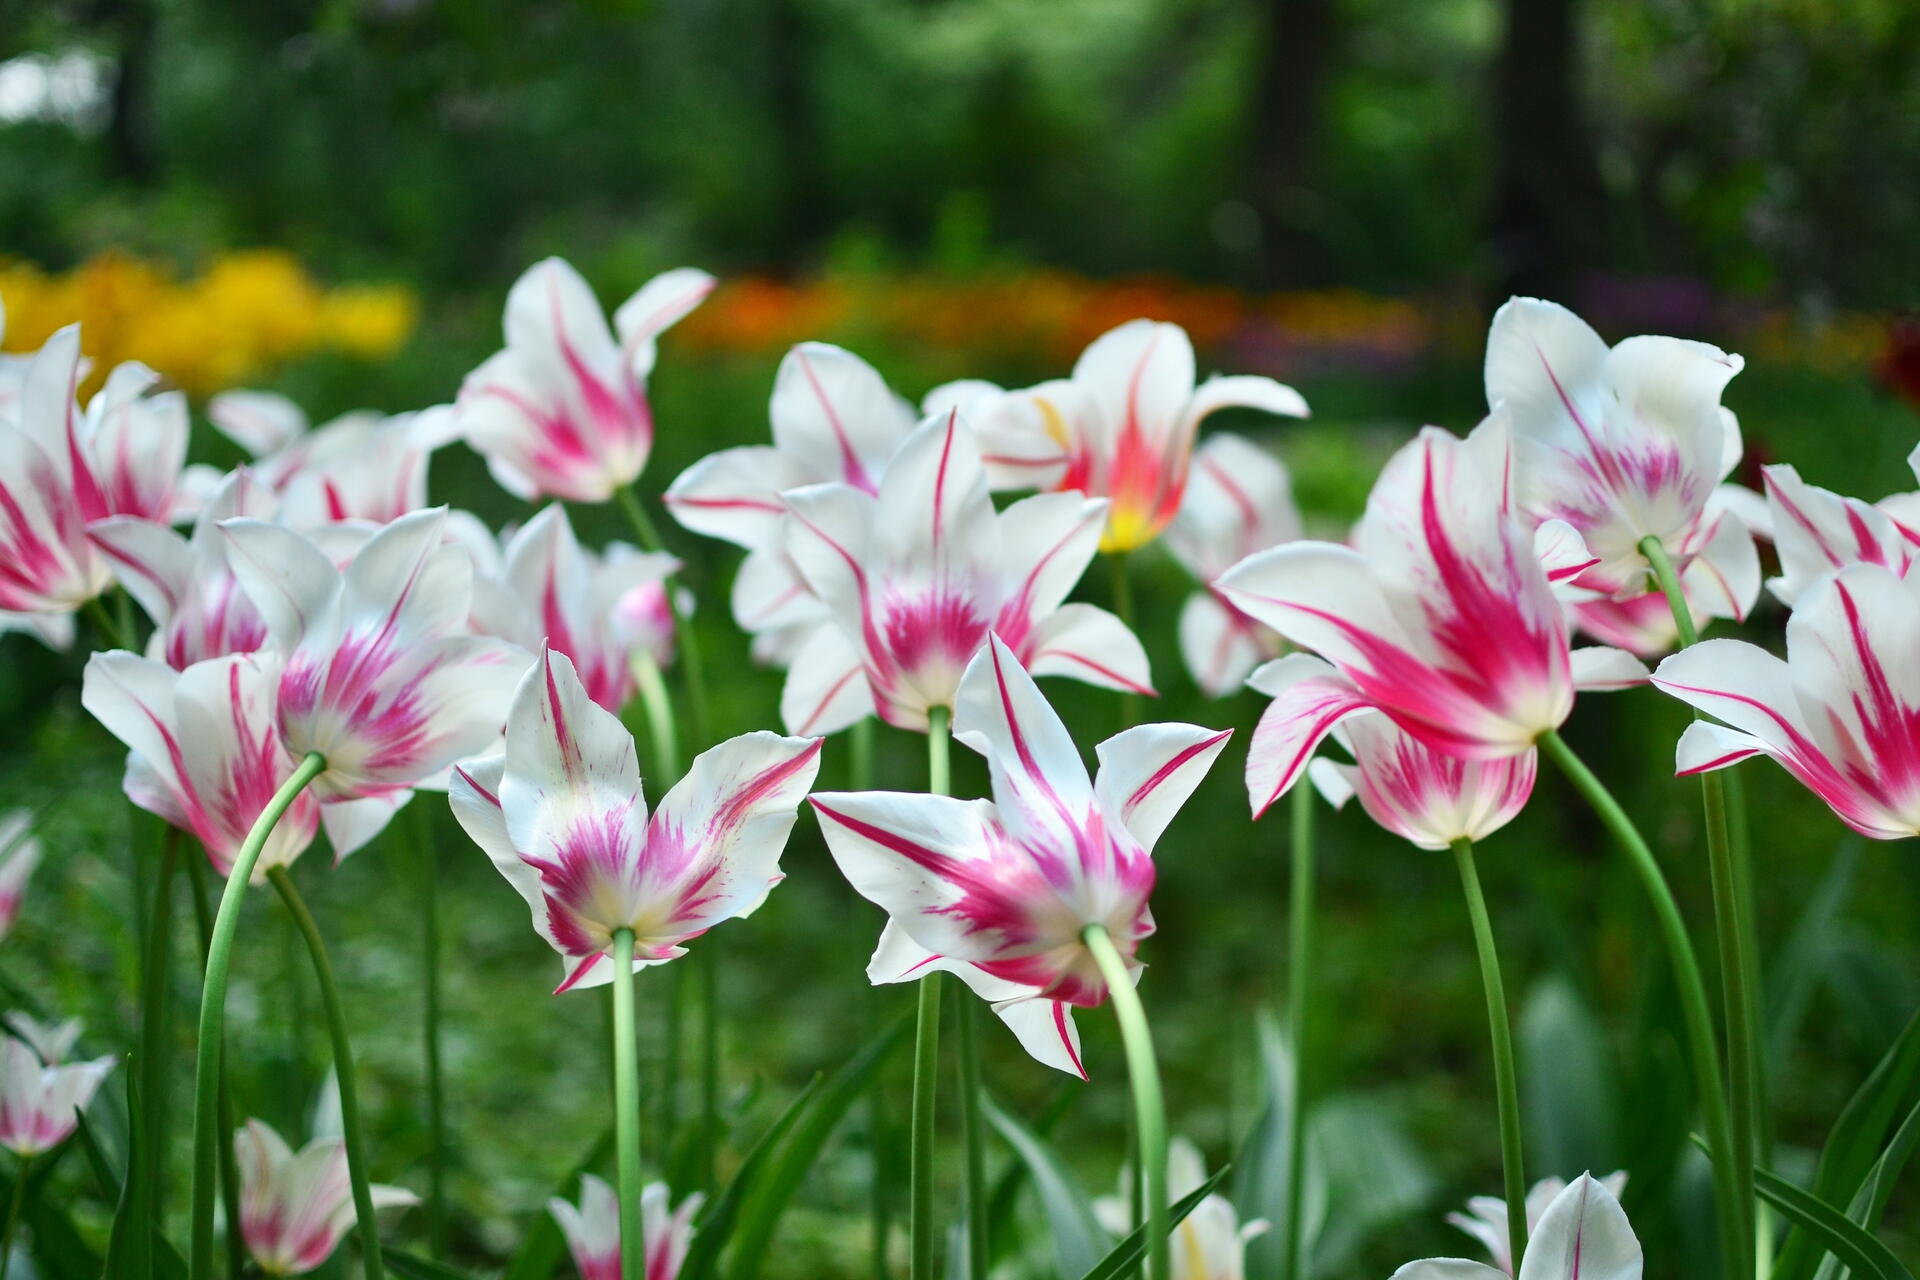
- Lily-flowered: Pointed petals curve outward, giving these late-spring bloomers a slender appearance. Look for the “Marilyn” variety, known for its red-and-white colors.
- Green-marked (Viridiflora): Flowers with notable green streaks or stripes on their petals that bloom in late spring. “Spring Green” is a popular variety.
- Species, or botanical, tulips: Usually on the smaller side and work well in rock gardens or at the front of flower beds. They look stunning when planted in large groupings!
Credit: Genova2500
Sources
- Iowa State University Extension and Outreach — All About Tulips
- University of Minnesota Extension — Planting bulbs, tubers and rhizomes
- University of California Agriculture and Natural Resources — Tulip

More Like This


- « Previous
- 1
- 2
- …
- 10
- Next »

Comments