
Gingerbread House Decorating Tips
December 12 is National Gingerbread House Day! Making your own gingerbread house is a fun way to get into the spirit of the holidays and express some creativity—as well as create memories. See our directions on how to make gingerbread dough and a gingerbread house.
If you’re making the gingerbread dough, we would suggest two different sessions: the first session to bake the dough and the second session to make the royal icing and decorate the house! The dough should be ready at least one or two days ahead of assembly, as the pieces need time to cool and harden.
Before you get started, check the pantry: Have a few (full) soup cans on hand to prop up the walls until the icing dries. The cans are steadier than small hands and can be left in place until just before the roof goes on. Also, for fancier wall trimmings, decorate before the walls go upright, rather than afterward. Working on a flat surface is easier than working on a vertical surface.
Read Next
Once you’ve finished your creation, you might wonder: Can you save it? Preserving a homemade gingerbread house for display next Christmas is an “iffy” proposition, but it has been done. There are two notable threats to the structure: mice and moisture. If you can beat those two and don’t mind making a few last-minute repairs on fragile candies that have fallen off or certain ingredients that may have deteriorated, your chances improve dramatically. One gingerbread village owner suggests the triple garbage bag technique to help lock out any bit of dampness or moisture that might crumble the creation. Fiberfill or other soft packing material is recommended for loosely packing around the walls and peaks. Then put the whole thing, padded and bagged, in a big box to protect it from knocks and bumps.
Basic Gingerbread Dough Recipe
A cool, dry day is best for this activity. If gingerbread is made on a humid day, it will come out soft and crumbly like a cookie, rather than hard and sturdy like a rock. (Humidity will also prevent the icing from hardening.) You can freeze the dough a month or so ahead or store the baked pieces, separated by waxed paper, in an airtight container in a cold area for a week or two.
You’ll need heavy paper and scissors to create a house pattern, a rolling pin, parchment paper, a sharp knife, and a ruler. Because the dough is stiff and difficult to mix, make it in two batches. Make additional batches if you plan to add dormers or additions.
Ingredients:
1 cup brown sugar
1 cup molasses
1 tablespoon ground cinnamon
2 teaspoons ground ginger
1/4 teaspoon ground cloves
3/4 cup (1-1/2 sticks) butter
1 tablespoon baking powder
8 cups all-purpose flour
1/4 teaspoon salt
2 eggs, lightly beaten
6 tablespoons milk, plus more as needed
Directions:
- On heavy paper, draw a pattern for the walls, floor, and roof of your house. Cut out the pieces: Two rectangles, 3x5 inches, to make the front and back of the house. Two rectangles, 3x5-1/2 inches, for the roof. Two pieces for the ends of the house, 3 inches wide at the base, 3 inches to the roof line, and slanted to a peak 5-1/2 inches from the bottom. Four smaller rectangles, 1x1-1/2 inches, for the roof and sides of the entryway. And one piece, 2 inches wide at the base, 1-1/2 inches to the roofline, and slanted to a peak 2-1/2 inches from the bottom for the front of the entryway.
- In a pan over low heat, combine brown sugar, molasses, spices, and butter. Bring to a boil, stirring occasionally. Remove pan from heat; cool slightly. Stir in baking powder. Set mixture aside to cool for 10 minutes more.
- In a bowl, sift together flour and salt. Form a well in the center and pour in cooled syrup, eggs, and milk, stirring until blended. Add additional milk, if needed, to make a stiff dough. Cover the bowl and set aside in a cool place for about 15 minutes. Do not refrigerate.
- Preheat oven to 325°F. Grease a large baking sheet.
- Roll dough on prepared baking sheet to approximately 1/4 inch thick. (Roll the section for the walls slightly thicker than the roof.) Place the paper house patterns on the rolled out dough. Using a sharp chef’s knife, cut out each of the pieces. Leave the pieces that you’ve cut right on the baking sheet.
- Bake for 15 minutes. Dough should feel firm. Let cool on a rack for 10 minutes. Carefully remove pieces with a spatula and cool on a rack.
- Use the pattern again to cut out more shapes as needed.
- When completely cool, assemble your house, using generous amounts of royal icing.
Gingerbread Icing Recipe
Royal icing is the glue that holds the house and materials together. Using a knife or pastry bag, you’ll need enough icing to apply to the edges of the walls, floor, and roof of your house. Additional royal icing will attach candy canes, chocolate chips, and other favorite candies to your gingerbread house. The batter should be stiff enough to work as a glue and hold its shape, but flexible enough to spread easily.
Royal Icing Recipe
You may substitute powdered egg whites for the raw egg whites and follow the container’s instructions to make the equivalent of two fresh whites.
Ingredients:
2 egg whites
4 cups confectioners’ sugar, divided
1 to 2 teaspoons lemon juice
Instructions:
In a bowl, combine the egg whites and 2 cups confectioners’ sugar. Use an electric mixer to beat until smooth. Gradually add the remaining sugar and as much lemon juice as needed for desired consistency, beating until smooth. The icing will harden in about 30 minutes; to keep it workable for up to an hour, cover with a damp dish towel. Use a pastry bag or knife to apply to the gingerbread. Makes enough to assemble about one-half an average-size gingerbread house.
Building the Gingerbread House
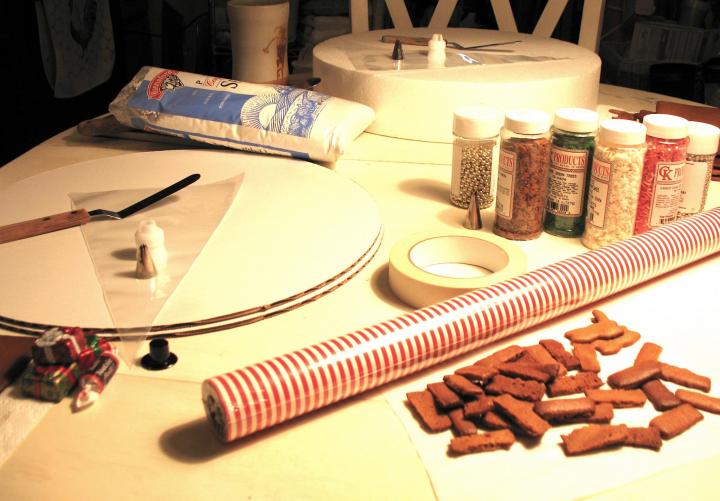
- For supplies, you’ll need spatula, pastry bag, writing tip, royal icing, confectioners’ sugar, and house decorations.
- You’ll also need to think about a cake board or a flat surface for the house to sit on.
- If you use a pastry bag, make sure that there aren’t any air pockets in the icing itself, which will wreak havoc as you pipe it out.
- If you wish to also color icing, use paste food coloring. Liquid food coloring will thin out the icing.
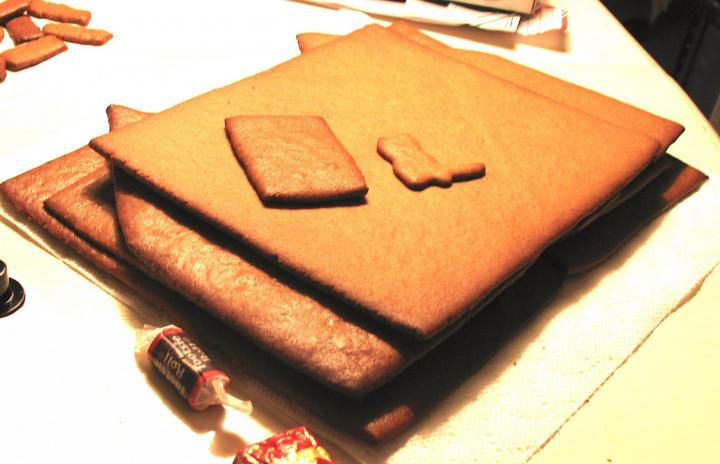
We started with a set of gingerbread house pieces all set to go:
And here are our supplies (mentioned above):
Building the Gingerbread House
We suggest decorating the walls before assembling the house. Place royal icing into pastry bag with a writing tip.
With your house pieces on a flat surface, pipe on windows and doors. Let dry until hardened.
Glue sides, front and back of house together at corners using royal icing. Place cans or jars against the pieces to prop up until icing is dry (it only takes a few minutes).
Glue the two roof pieces to the pitched roofline of the house. Then, similarly, glue the sides and roof of the entryway together with icing. Attach the entryway to the front of the house.
Making a Window Lattice
Here’s a fun idea. Use royal icing used to make window lattice. To prevent freshly made royal icing from hardening, keep a moist towel over the mixing bowl.
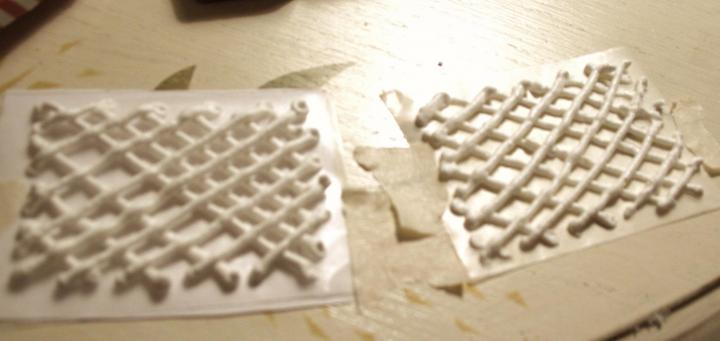
A border of icing secures the window lattice to the gingerbread wall:

Decorating the Gingerbread House
For gingerbread house decorating ideas, there are seemingly endless options in edible materials to produce the effects. For example:
- Pretzels for fencing and doors or log piles
- Cereal for roofing shingles
- Peppermint candies for stepping-stones
- Green gumdrops for bushes
Just peruse grocery stores, candy stores, gourmet shops, baking shops, etc., for supplies. From gumdrops to licorice, anything goes, as long as it is edible.

To make a snowman, whip up a special batch of royal icing and keep adding confectioners’ sugar until the mix becomes doughlike and can be rolled into balls.
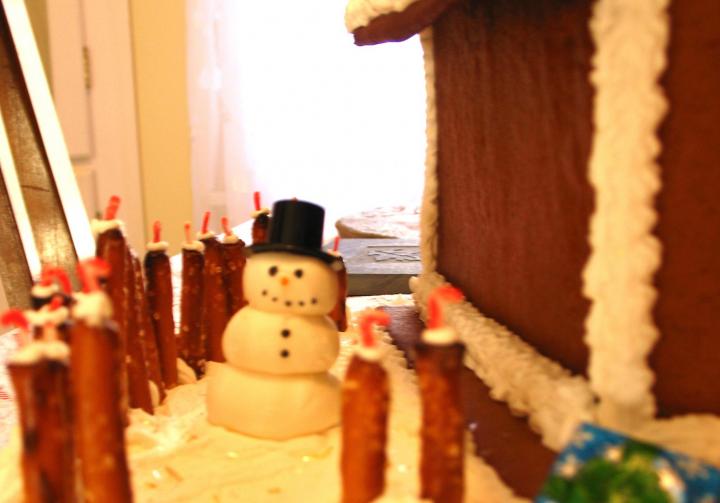
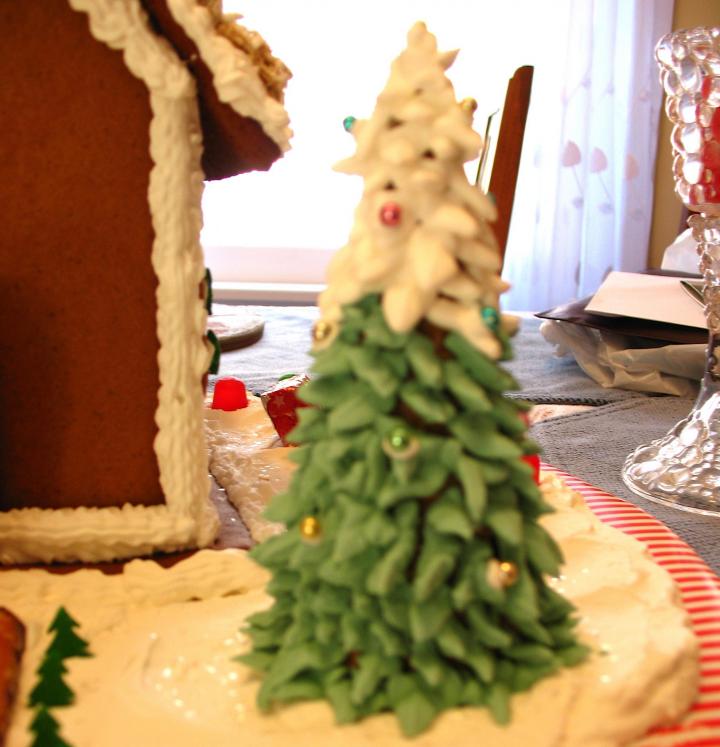
An evergreen tree made from a sugar cone; royal icing was applied with a leaf tip. To color icing, use paste food coloring. Liquid food coloring will thin out the icing.
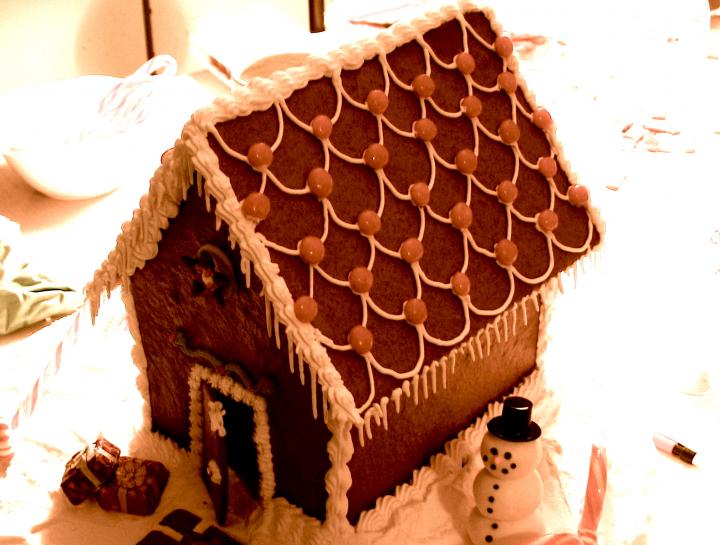
A roof with icicles:
Another roof treatment, using shredded wheat to make the singles of a thatched roof:
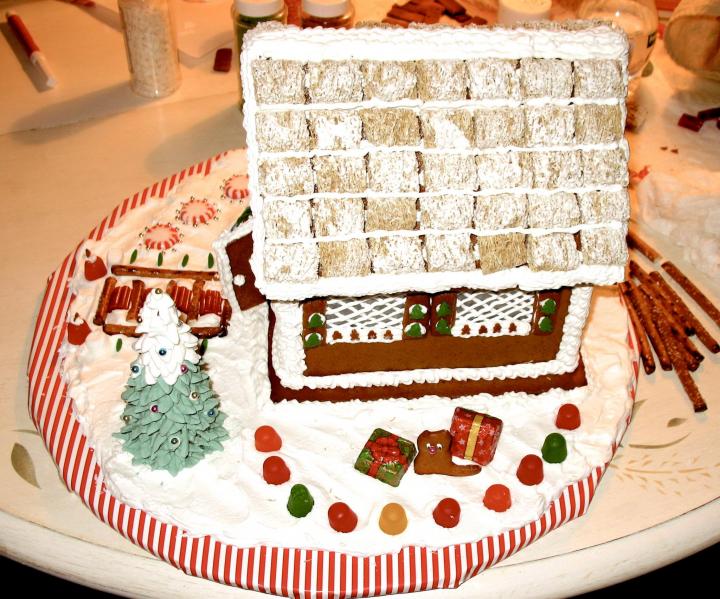
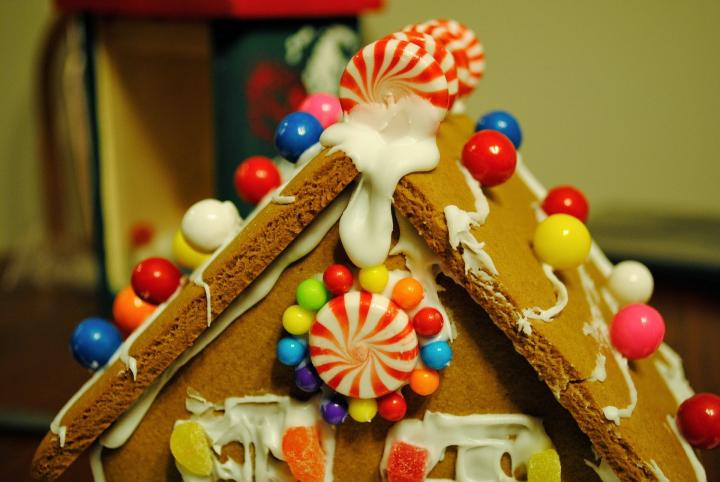
Mission accomplished!

To make “snow” around the house, just thin your royal icing with lemon juice and spoon it over the “landscape” around the house. If you wish to make the “snow” thicker, sprinkle coconut over the icing.
Let your imaginations run wild!
Have you made gingerbread houses before? What treats and techniques do you like to use? Share your thoughts below!
Heidi Stonehill


how did you make the snowman?
I saw a video of a professional baker making a **large** gingerbread cathedral. He intended to light the building from the inside. To give a warm glow to the windows, he simulated candlelit glass by crushing clear yellow hard candies and putting them in the window spaces of the wall sections before they were baked. [I think he used parchment paper to keep the candy from sticking to the baking sheet. Probably best to experiment before committing to your own house.] When the gingerbread was finished baking, the candies had melted to fill the window making a "pane." I imagine it would take careful handling to keep these windows whole and in place, but the final effect was gorgeous and memorable!
My wife helped our private school build them. About 40 kids and most of the mothers. However they used graham crackers to build the houses ahead of time and let the children decorate them. Mostly they used cardboard covered with aluminum foil but some used cake pans or cookie sheets. The kids had a blast!
I learned from a gingerbread site to use the stems from grapes for trees. Allow the stem to dry and then coat with slightly watered down brown royal icing, roll in green dyed rice krispies. I think they look great.