
Saving and Storing Your Pumpkin Seeds to Grow Next Year
You can save seeds from this year’s pumpkins to plant next year! It’s fun to grow your own jack-o’-lanterns. Here’s how to store those seeds this fall and plant in the spring!
You also save money by growing your own. Pumpkins are easy enough to grow and require very little pampering. And if you have a special heirloom variety, you can try to grow it again!
Saving Pumpkin Seeds
1. First, scoop out the seeds from your jack-o’-lantern with a spoon.
Read Next

2. Rinse the seeds in a colander with running water. Don’t let the seeds sit in water.
3. Pick out the biggest seeds. The bigger seeds stand the best chance of germinating. You’ll want to pick out three times the number of pumpkins you wish to grow.
4. Let the seeds dry completely. It’s best to space out on a paper towel; if the seeds touch, they’ll get stuck together.
5. Store the seeds in a paper envelope in a cool, dry place. Some people keep the envelopes in an airtight container in the fridge.
You’ll have plenty of extra seeds, so roast the rest of the pumpkin seeds for eating!
Replanting the Pumpkin Seed
If you have a long-enough growing season, just plant your seeds directly in the ground once the soil has warmed up in the spring (to about 70 degrees) and all threat of frost has passed!
If you live in an area that has a short growing season, you should start your seeds indoors next spring about 4 weeks before your last frost date. Peat pots are handy for this since pumpkins don’t like having their roots disturbed during transplanting. Sow 2 to 3 seeds in each peat pot. Once they have germinated and are growing well, choose the best one to keep in each pot and clip the others off with scissors. After the soil has warmed, pop the plants—pot and all—into the ground.
Pumpkins are heavy feeders, so enrich the soil with plenty of compost and well-rotted manure. A spot in full sun with soil pH of 6.5-6.8 is ideal. Pumpkin vines can grow quite long, so give them plenty of room to run. Cover the new plants with a lightweight row cover to keep them warm and protected from insects early in the growing season. Once they have started to blossom, the covers need to come off so that bees can pollinate them.
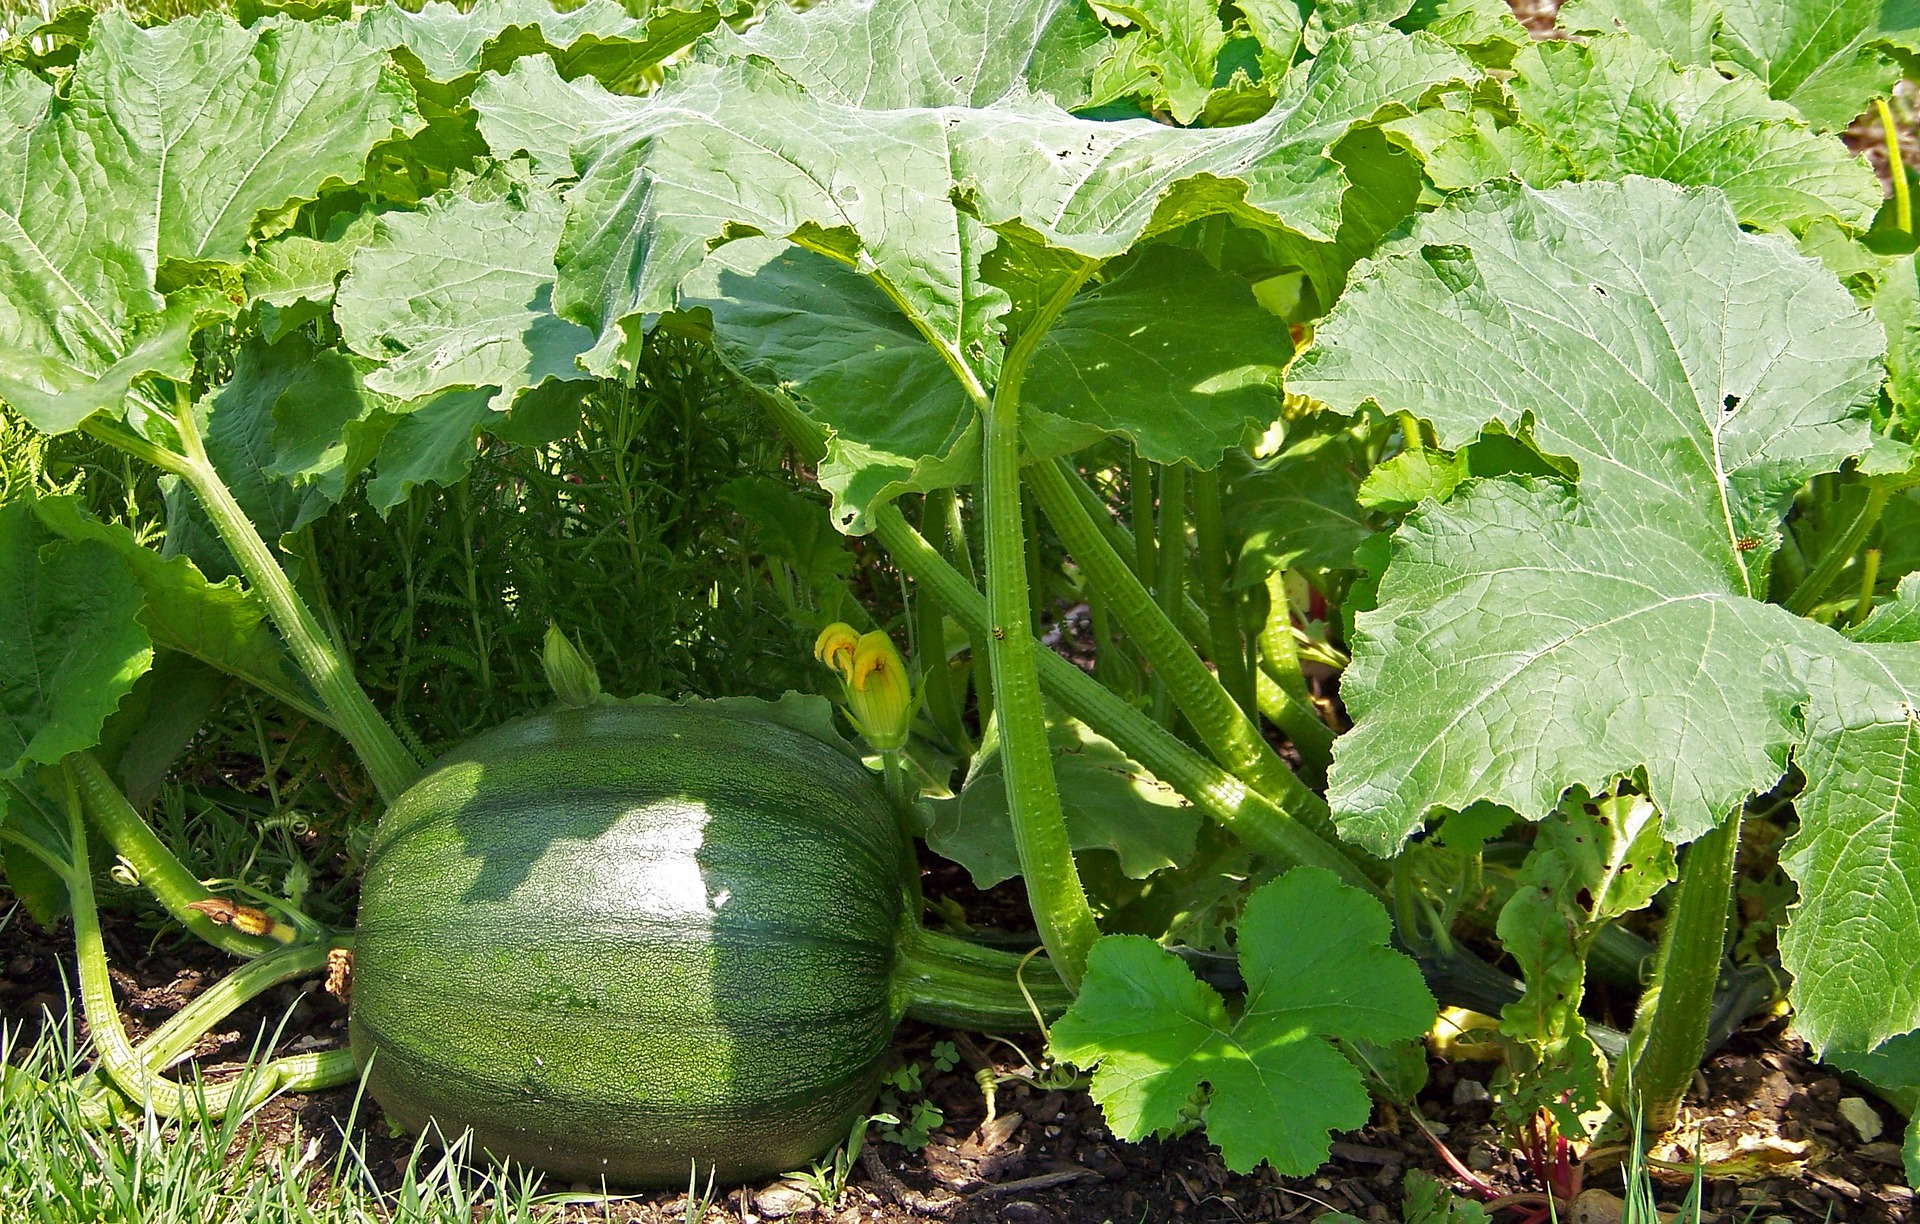
Since much of a pumpkin’s weight is water, make sure they get about 2 inches of water a week. Mulch helps to keep the soil constantly moist. Side-dress your growing plants with more composted manure during the summer, and foliar feedings of liquid fertilizers like fish emulsion and seaweed are excellent for supplying trace minerals.
Harvesting Your Pumpkins
Once your pumpkins have turned orange and the rind has hardened enough so that you can’t pierce it with your fingernail, they are ready to pick.
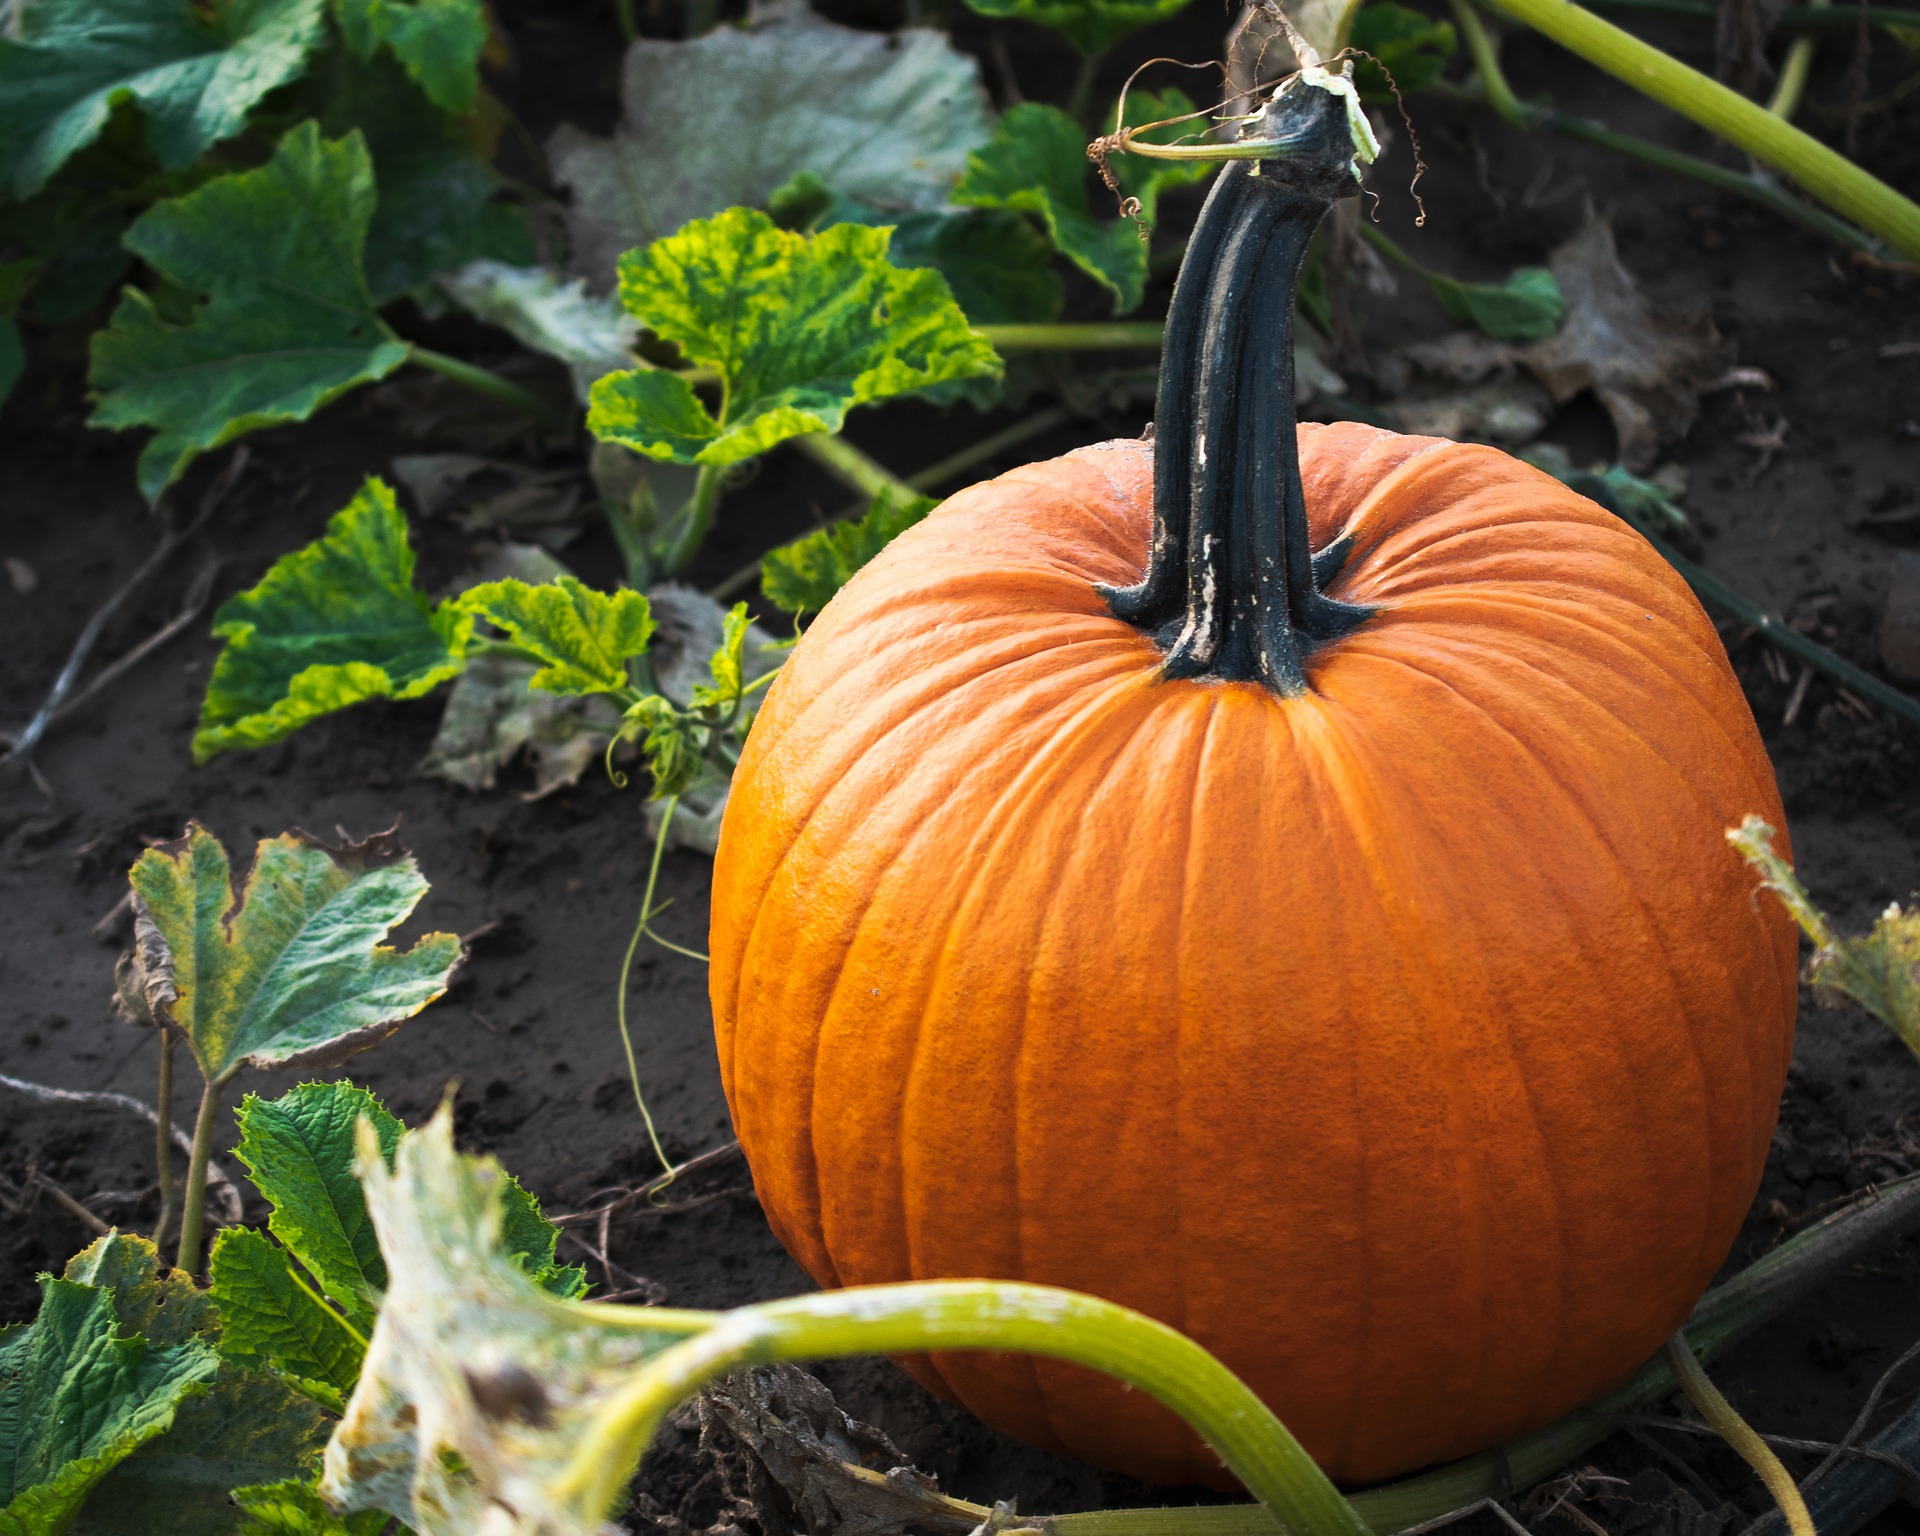
Mature pumpkins can stand 1 or 2 light frosts, so you can leave them in the garden until frost kills the vines. To harvest, cut a long stem and pick the pumpkins up by their body and not the stem to keep from snapping it off. A pumpkin with the stem intact will last longer.
Your pumpkin will also last longer if it is cured outside in the sun for 5 to 7 days after harvesting or indoors in a warm—85 degrees F—spot for 7 to 10 days to further harden the skin.
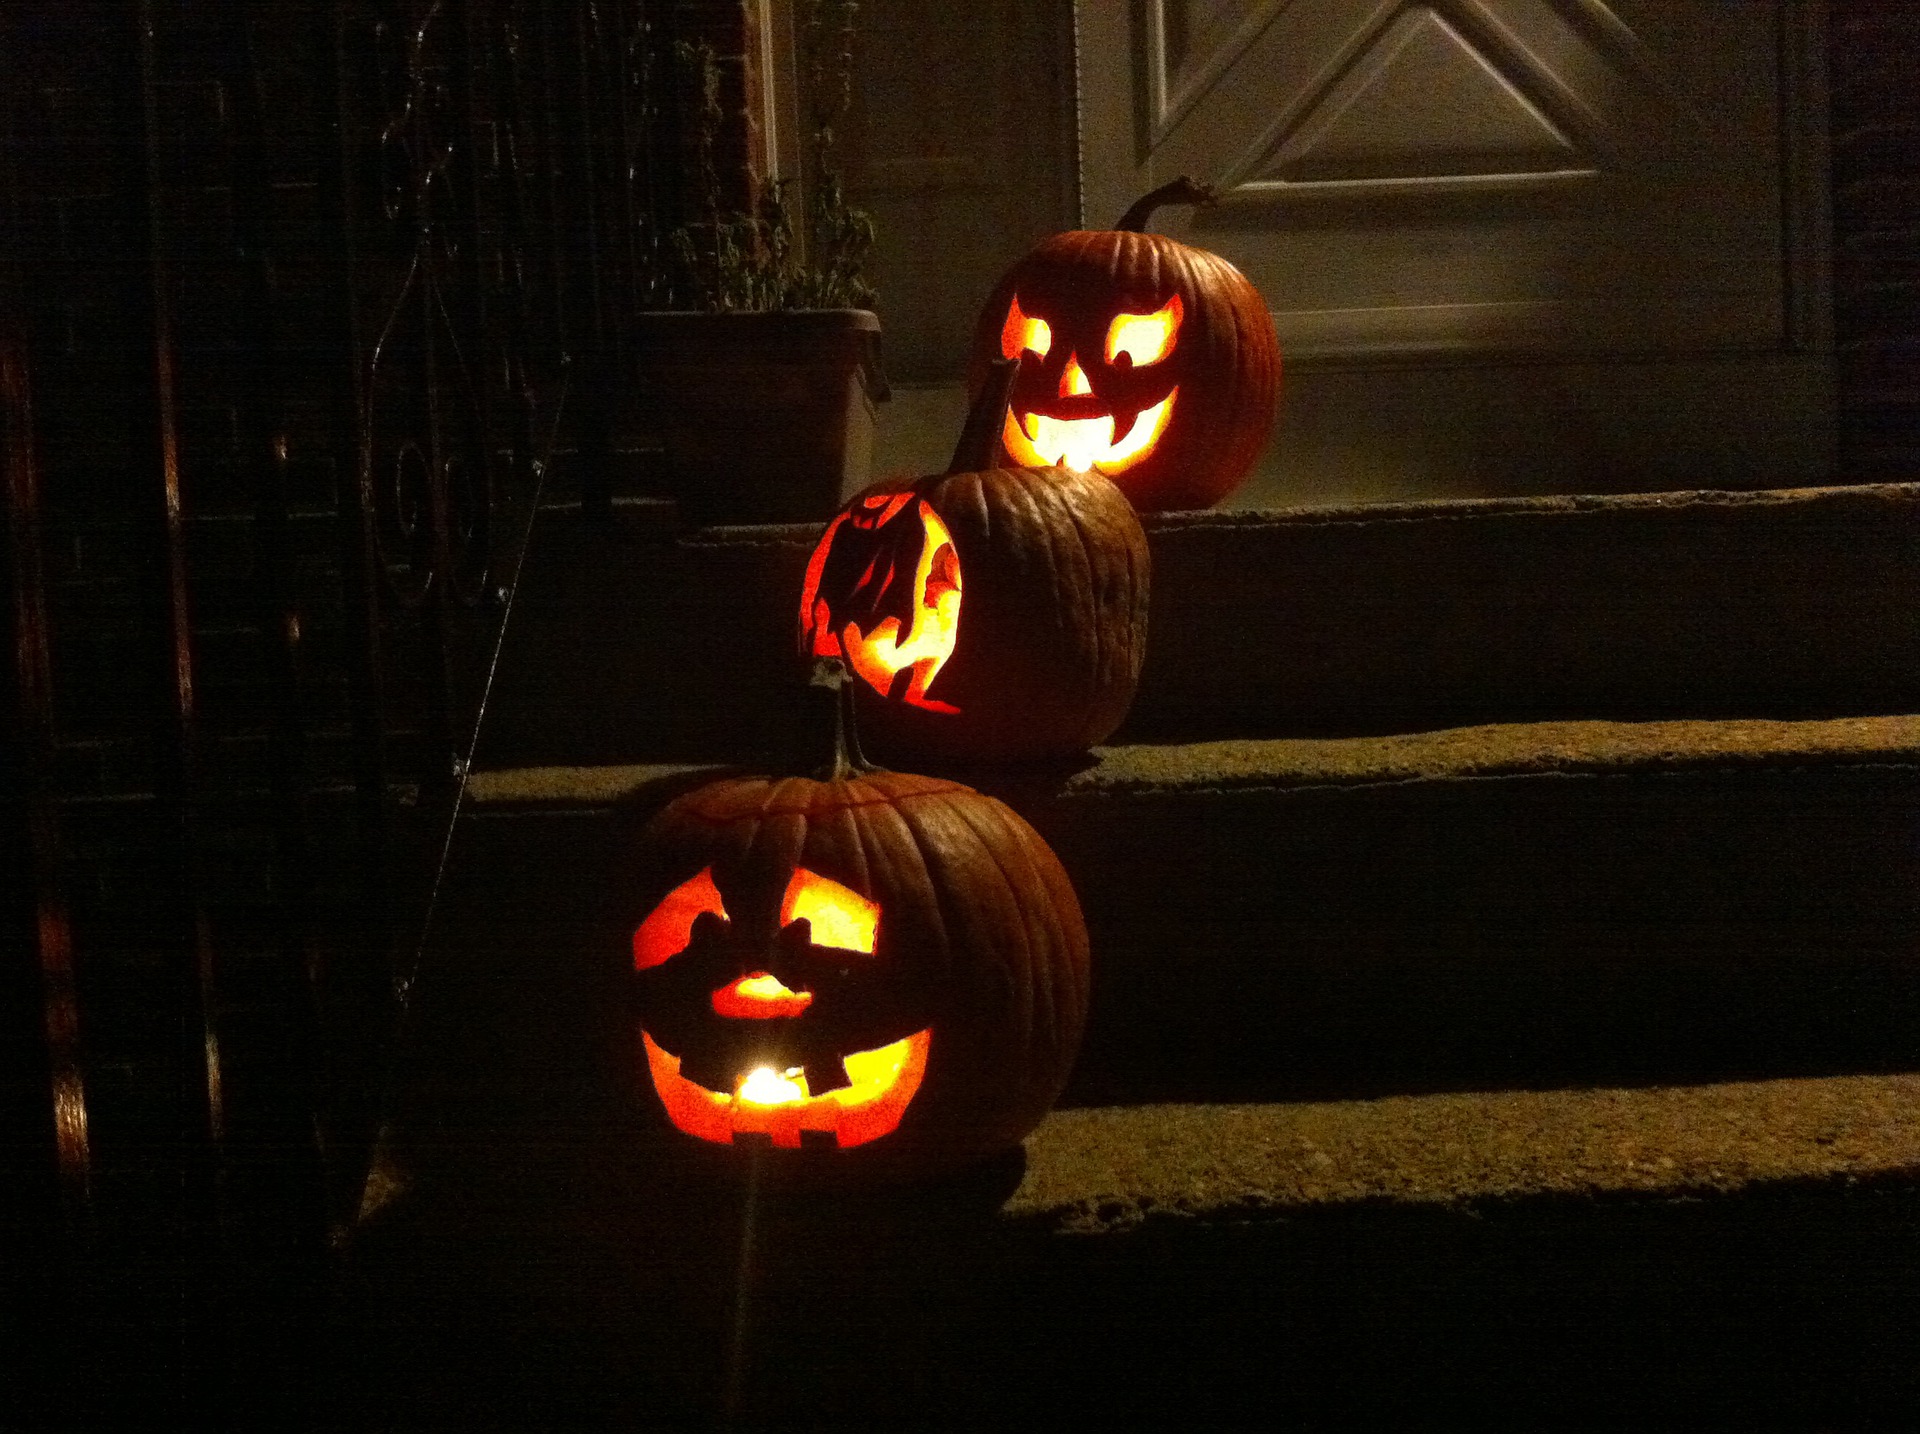
After curing, keep them in a cool, dry place until you are ready to carve them! Learn how to keep your carved pumpkins looking their best!
If you have had a bumper crop, be sure to share them with friends and family or you could even sell them! Also, be sure to save some more seeds for next year!
See the Almanac’s Complete Guide to Growing Pumpkins.
Robin Sweetser


ADVERTISEMENT
I've read almost any Wildlife can eat pumpkin seeds; deer; bears; birds squirrels; chipmunks~