
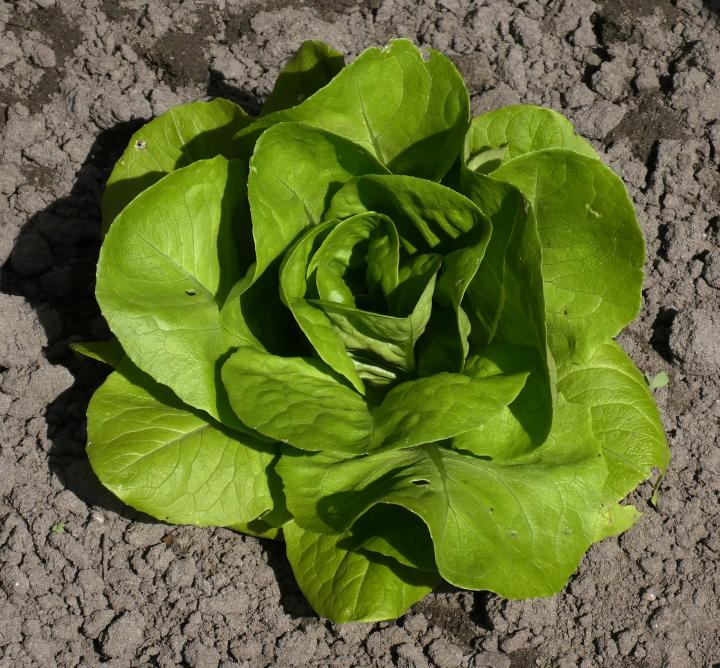
Lettuce and beets grow well in partial shade.
Which Vegetables Grow Well Without a Lot of Sun?
A shady yard shouldn’t keep anyone, especially beginners, from growing vegetables! Most crops need lots of sun; however, there are both vegetables and fruit that grow well in the shade. We’ll help you make the most of the available light!
Although fruiting vegetables such as tomatoes, peppers, cucumbers, and squash need at least 6 hours of full sun daily to give you a good harvest, most crops can “get by” with part sun or part shade (3 to 6 hours of direct sunlight).
Assessing Your Garden’s Light Levels
Before you even think about what to plant, make a note of just how much sun your site actually receives; you might be surprised! There are different levels of shade, and it will often change with the seasons. Here are the common terms associated with light levels in the garden:
Read Next
- Full sun is considered to be 6–8 hours (or more) of direct sunlight per day. Peak sunlight hours are between 10 a.m. and 2 p.m.
- Partial sun is 3–6 hours of direct sunlight per day.
- Partial shade is about 3 hours of direct sunlight per day.
- Full shade is less than 3 hours of sun and dappled light for the rest of the day.
- Light shade or dappled shade is bright sun filtered through the leaves of trees overhead.
- Deep shade gets no sun at all. You won’t be growing any vegetables here (Sorry!).
Once you have figured out how much sun you have, you can start planning! Morning sun with afternoon shade is the best situation for many plants, whether vegetables, annual flowers, or perennials.
Which Types of Vegetables Do Well in Shade?
- Cole crops are tolerant of partial sun or partial shade. Broccoli, cauliflower, kohlrabi, turnips, kale, and rutabagas will grow well with less than a full day of sun but may take longer to mature. Cabbage will also grow in the shade, but they may not form tight heads.
- Root crops such as radishes, carrots, potatoes, and beets can grow in as little as 3-4 hours of direct sun with light or dappled shade for the rest of the day.
- Leafy greens such as lettuce, arugula, kale, bok choy, and chard are happy with just a few hours of sunshine each day. In fact, keeping them out of the midday sun can prevent their tender leaves from wilting.
- Climbing vegetables do well in areas that are shaded in the morning but sunny by afternoon. Cucumbers and pole beans will clamber up supports into the sunshine.
- Perennial vegetables such as rhubarb, asparagus, and Jerusalem artichokes can be grown in partial sun or partial shade.
- Vegetables that are susceptible to bolting, like broccoli, cauliflower, and spinach, can benefit from being grown in partial sun, particularly in hotter climates.
- For areas that receive morning sun and then afternoon shade, try vegetables such as celery, carrots, and bush beans.
Vegetable Growing Guides for Shade
Here is the list of our Growing Guides for shade-tolerant vegetables and herbs:
- Arugula
- Beans
- Beets
- Broccoli
- Cabbage
- Carrots
- Cauliflower
- Chard
- Cilantro
- Garlic
- Kale
- Kohlrabi
- Lettuce
- Parsley
- Parsnips
- Potatoes
- Radishes
- Rutabagas
- Spinach
- Turnips
Fruit to Grow in Shade
- Sour (acid) cherries actually fare better in shady plots, as they don’t need the sun to sweeten them. Plus, they look very pretty when trained on a north-facing wall.
- Currants and gooseberries also grow and crop quite well in partial shade. Train them as cordons or as fans against a wall to ensure the branches are well-spaced and that light can reach all parts of the plant.
- Cane fruits such as blackberries and raspberries can also cope with some shade but will fruit better in more sun.
- Rhubarb is another great crop for a shady spot.
- In terms of fruit trees, pears and plums are your best bet. Pears do need a few hours of sun, preferably in the afternoon. Plums are a great choice for a landscape that gets morning sun and afternoon shade. Just remember, many varieties of pear and plum trees need a cross-pollinator to fruit, so you may need more than one tree.
- Wondering about strawberries? Alpine strawberries are much tougher than normal strawberries. Try a variety called ‘Alexandria’ for shade.
See all of our Fruit Growing Guides.
What NOT to Grow in Shade
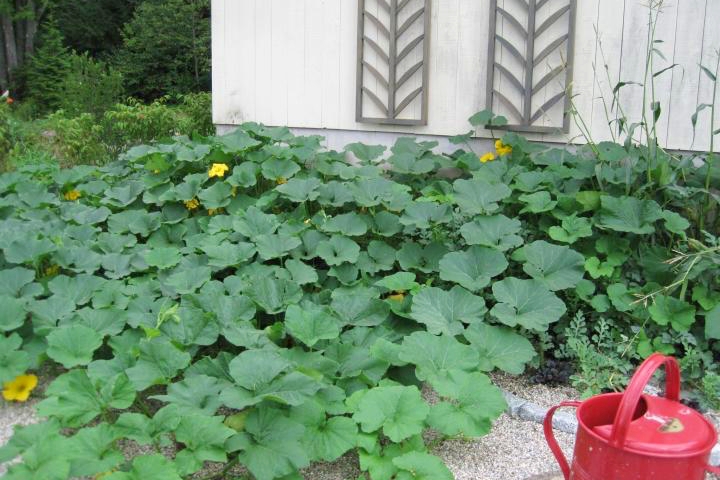
Heat-loving crops such as tomatoes, peppers, eggplant, squash, and melons simply won’t grow without full sun. They need hot, sunny days in order to produce bountiful fruit.
Most fruit trees need LOTS of sun. Citrus, peach, nectarine, apple, and apricot trees all need direct sun and won’t thrive in the shade.
6 Tips for Growing in Shade
- In all but the hottest climates, use the sunniest parts of the garden to start seeds in a seedbed or in pots or modules, then transplant them to another bed once they are larger and more able to cope with shade. Using grow lights indoors can give early-sown seedlings a boost.
- Reflect any available light into shadier parts of the garden by painting walls and fences white or using mirrors and other reflective surfaces such as shiny metal or foil.
- Shadier corners are slower to warm up in spring and quicker to cool down in fall, so use cold frames or row covers to warm up the soil earlier and extend the growing season later on.
- Slugs and snails often lurk in shady areas, so use beer traps and delay laying mulches until the weather warms up.
- Leave plenty of space between plants to help maximize light penetration.
- You may not need to water as often when gardening in the shade since less moisture evaporates. Do take care when gardening directly under trees, however. Their roots tend to compete for available water and nutrients, and their leafy canopy will block some rainfall from reaching the ground.
Read about flowers and ornamentals that grow in the shade.
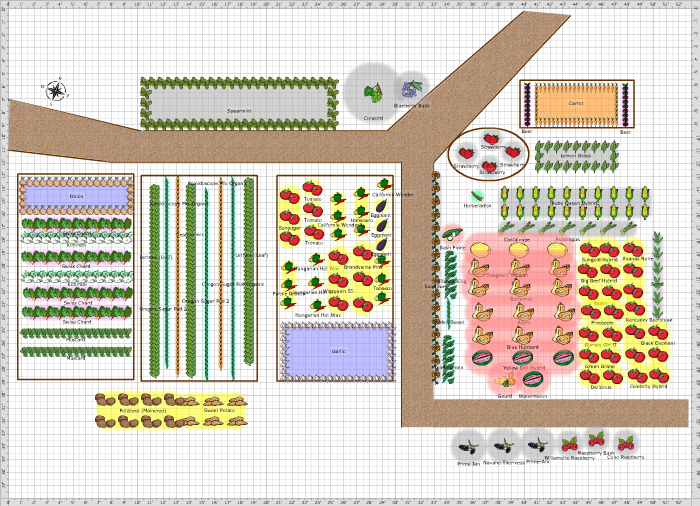
3 Garden Plans for Partial Shade
The garden plans below are “partial shade,” so they will also have sun-loving plants in them. For example, the first plan has shade on the left where the leafy greens are, but the squash and tomatoes on the right will need full sun. Likewise, the third plan has shade at the top but full sun elsewhere because corn, beans, squash, and tomatoes all like full sun.
After you review the examples below, enjoy hundreds more garden plans with a free 7-day trial of the Almanac Garden Planner here.
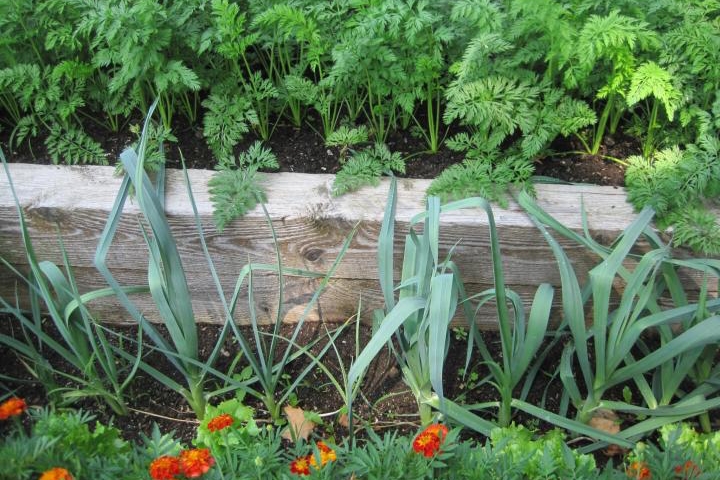
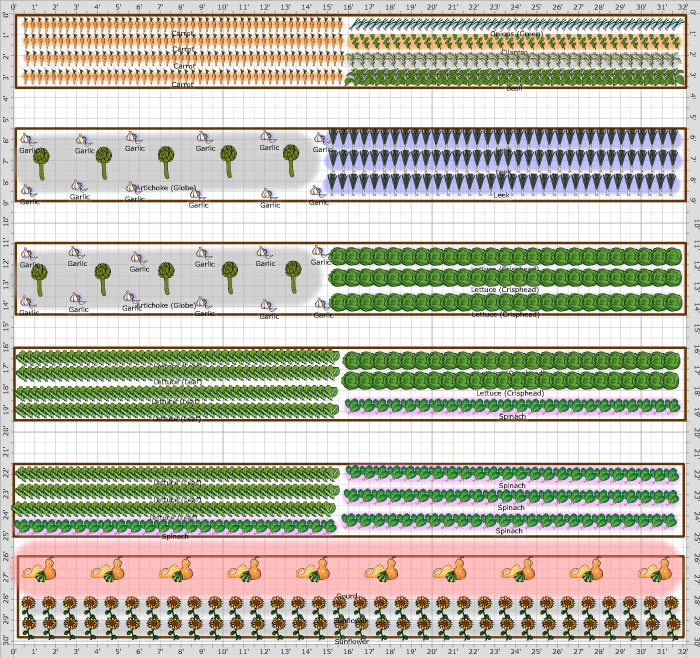
1. Partial Shade Garden Plan: Home Garden
See the plant list and more details about this garden here.
2. Partial Shade Garden Plan: Traditional Rows
See the plant list and more details about this garden here.
3. Small Garden Plan: Community Garden
See the full plant list and more details about this garden here.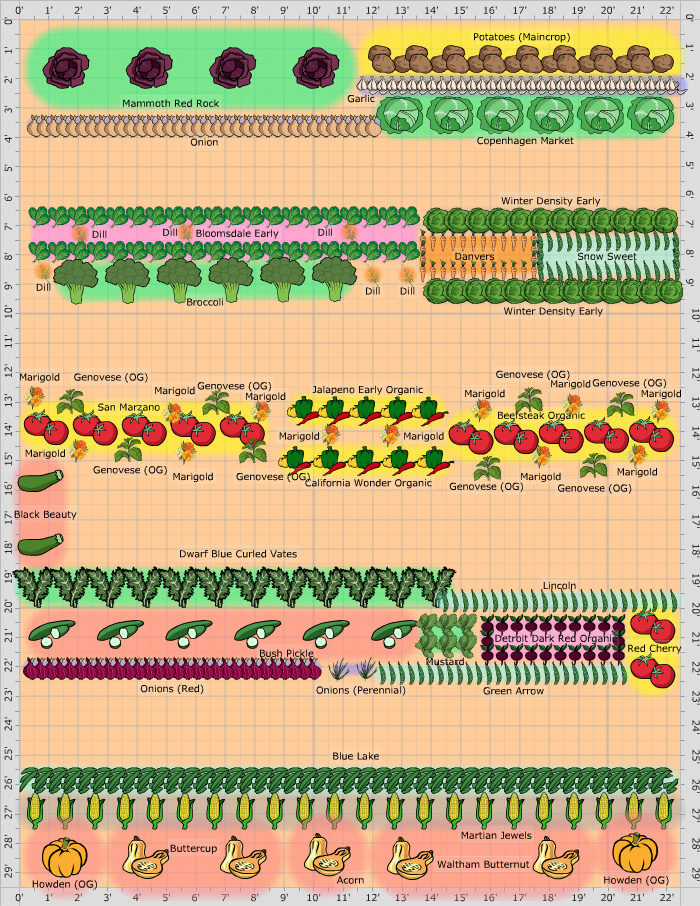
For more free garden layouts, return to our main page of free garden plans.
Try the Almanac Garden Planner
The Old Farmer’s Almanac Garden Planner makes it simple to choose crops suitable for shadier spots. Click on the Custom Filter button, select the ‘Partial Shade Tolerant’ option, and click ok. The selection bar will then display just those crops suitable for growing in these conditions. Easy!
Importantly, the Garden Planner will also calculate your local planting dates, calculate plant spacing, provide you with a printable planting calendar, and so much more!
Robin Sweetser


ADVERTISEMENT
Please send non prodactyl pdf with all vegetables concerning shade and non shade.
Like to see full article including vegetables for all sun conditions. Full pdf format would be useful.
I have both advance rheumatoid arthritis and prostate cancer with only a good prognosis if I continue to eat 95% vegetables and fruit in my diet. It is hard for my hands to make individual pdfs on all the vegetables that require input. Been gardening from age 10 to age 70. I have three gardens which I rotate but new neighbor on one side put up thick pine 40 foot trees which is making my life difficult again. Help is needed on latest science in choosing best crops.
great article,I have mostly shade on my land, but I think you poked the bear with (the garlic people)
Garlic is included in the list for shade tolerant plants, but when you click on the link for more info it says garlic prefers full sun.
I am in western Michigan. I plant my garlic in October for a July harvest. I plant in area of Full Sun. I have never planted in shady areas. So not sure that you would have as large bulbs or as successful crop. I plant about 500 to 600 cloves per year. I usually get 100% harvest of healthy Bulbs. Save about 75 to 100 of the largest and best for replanting in the fall. Its the harvest gift that keeps giving every year.
Garlic grows best in full sun (as do most crops), but is considered shade-tolerant because it will grow in partial sun (aka partial shade) as well.
My Grandfather, Great Uncle and my Father all have used the Farmer’s Almanac. I picked it up when I was a child and was fascinated by all the interesting information and stories and jokes! I still read it today and it has helped me guide others in community and school gardens. Of course I use it for my own garden plans as well! Thank you so much for keeping the magazine going for decades!! It’s wonderful!!
I would like all the help I can get on a companion garden program. Can I buy an almanac that I can put on the toilet door so I can see what I need to do in the garden and when..... Cheers.
Hi Naomi, Thanks for asking! The Old Farmer’s Almanac paperback edition (with the hole) is sold in most major stores where books and magazines are sold. Here’s a full list: www.almanac.com/content/where-buy-old-farmers-almanac
Thank you very much for the very useful article and information 👍😊