Five most important things you need to know before starting a new garden
So, you’ve decided to grow a vegetable garden this year? Good for you—it’s the best decision you’ll ever make, trust us! But there are some pitfalls to avoid. Know the five most important garden principles before starting a new garden—things we all wish we had known when starting out!
We savor the planning phase of gardening. Even those of us with “plenty of dirt under our fingernails“ could use a refresher on the basics every so often. Get the key garden principles right and you’re well on the way to abundant harvests. Let’s get started.
1. Get the Location Right
- The first thing to consider is light. It’s important to have 6 to 8 hours of direct sunshine for most crops, particularly in cooler, temperate climates. Track where shade is cast throughout the day. You can do something about overhanging branches or trees within your boundary, but you can’t, of course, move buildings or objects beyond your control. Bear in mind exposure to buffeting or prevailing winds. The ideal location will be sunny for at least part of the day and sheltered from the worst of the wind.
- Next up is soil. Avoid areas that aren’t well drained. If the lower areas of your yard get saturated in winter, locate your main vegetable growing area uphill from this. Conditions at the roots are further improved by using raised beds, filled with a mix of soil and compost.
2. Plan Your Garden Layout
With the general location decided on, the next step is to consider is the layout of the garden itself.
- Many gardeners, especially those without perfect soil, prefer raised beds. They help with improving soil because they allow for for better drainage, so beds are less likely to become saturated during the often very wet winter months.
- If you don’t need to use raised beds because your soil is already free draining, or you just don’t want them, still take the time to mark out paths so the soil doesn’t get compacted by walking on it.
- Whether you used raised beds or traditional rows, a maximum width of four feet is a good rule of thumb so the middle of each bed can easily be reached from the sides. It means you will never step on the beds or get a sore back from overreaching. This will make weeding and harvesting easier, too.
- Also, the paths between the beds are wide enough to easily tend the beds face-on while enabling a wheelbarrow to pass by with, for example, loads of compost for mulching,
- Watering can be a big job in the summer. It will make irrigating thirsty crops a lot easier if you can locate your vegetable garden near a water source or, if that’s not possible, install more areas for water collection close by. Another idea: Install as many water collection barrels as you can and get them in now, so you can have the best, plant-friendly water to irrigate with.
- It is also worth investing in a high-quality hose with a decent nose spray attachment.
- Other things to include in your layout include a composting area and a seating area so you can enjoy your new garden, because it’s important to stop and admire your hard work from time to time!
3. Clear the Weeds
With your location and layout decided on, your next priority should be to start work on your beds and growing areas as soon as possible, so you’re primed and ready to plant when the time comes. Why we clear weeds is probably obvious; it sets your new vegetable garden up for life: less competition, clean and orderly growing areas, better crop growth.
- The easiest way to get rid of weeds is to cover them. If light can’t get to the weeds, they’ll eventually run out of resources and die, it’s as simple as that.
- Cover with at least 4 inches of organic matter, perhaps with a layer of cardboard on the underside as an extra barrier.
- You’ll need to cover the paths over too, so weeds don’t creep in from the sides and into your beds.
- Of course, be sure to remove any larger rocks and debris, before getting on and tackling those weeds!
- When weeds poke through cardboard and compost, then simply hoe or pull out weed leaves and the weed roots will eventually give up. But a more thorough option is to cover the area with a light-excluding material such as dark polythene. Keep this in place for as long as possible to severely weaken and ideally kill the weeds.
• Weeds grow faster when it’s warmer, so are exhausted quicker in the growing season. But equally, with little happening in the winter months, it’s sensible to get covers in place now in anticipation of that growth.
4. Start Improving the Soil
Perhaps the area for your garden is already clear of weeds or you plan to simply smother them out of existence. Well, the next thing to turn to is improving your soil. Very few soils are absolutely perfect for growing vegetables, but almost every soil can be improved… by adding plenty this stuff: beautiful, rich organic matter, such as garden compost, well-rotted manure or leafmold.
The earlier you get on and improve the soil, the more time it has to settle down ready for sowing and planting.
- One method we favor is “No-Dig Gardening.” This has a number of advantages: soil is left undisturbed, so its intricate network of soil life can thrive, which will in turn support superior crop growth. By not digging the soil, you’re leaving weed seeds buried, which means fewer weeds. And, of course, it saves a lot of time and effort digging! It goes hand-in-hand with the smothering method of weed control, because in most cases you won’t have to wait for the weeds to die before getting on and planting.
- So, when starting new no-till growing areas, improving the soil is simply a matter of dumping the organic matter on top of the existing soil and then letting the worms ‘dig’ it in for you. Get your organic matter onto growing areas right now, so the worms can get started.
- A thriving vegetable garden can take a surprising amount of compost, so it pays to make as much of your own as you can. As well as getting on and improving your soil, usually with bought in bags of compost or manure, you should definitely make setting up your composting area a priority too. Ideally, you’ll have more than one compost heap – one active and one maturing. See this video on making compost.
- The first season of your new vegetable garden will see the compost heap fill up quickly: cleared weeds, grass clippings, leaves and kitchen waste. Locate it within your vegetable garden if you can, or at least close by, so you won’t have far to carry both composting ingredients coming off the garden and mature compost going back on.
5. Begin Your Planting Plan
With growing areas set up, you are now free to begin your planting plan. We’ve done lots of videos on how to choose what you should grow, with ideas for just about every location, including shady areas.
- Our priority when starting a new vegetable garden would be to plant those crops that are going to be in the ground for many years: perennial vegetables like asparagus and rhubarb, as well as fruit bushes and so on. Take your time in planning where these will go, because you won’t want to move them once they’re planted. Locating these permanent plantings to the edge of the garden makes the most sense, bearing in mind the shadow that will be cast by taller crops like fruit trees and canes.
- As for the rest of your veggies? Well, start by prioritizing what you like to eat and, particularly important in smaller gardens, what will be most productive: so that means crops like climbing beans, zukes, tomatoes, salad leaves, and roots like carrot and beets.
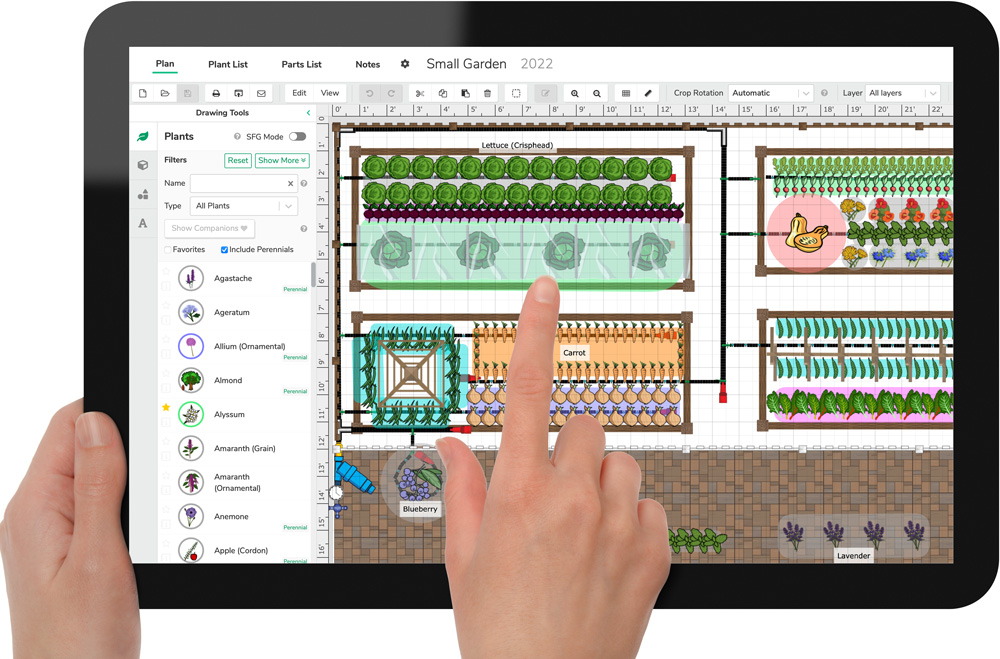
If you’re new to vegetable growing – and how exciting! – consider using software like the Garden Planner, which we use. It’ll help you to get the spacings between plants right, so there’s no risk of overcrowding – a rookie mistake every gardener has been guilty of. In doing so, this will help you minimize waste by showing you exactly how many plants you will need and, crucially, when to sow or plant, and when you can expect to harvest. The Garden Planner can even help you choose what crops grow best together. Companion planting like this will really turbocharge your success, and we’ll be looking into this underrated method of growing in our next video, so watch out for that. Check out the Garden Planner here for more information.
To learn more about what was mentioned in the video, go to:
What to Grow in the Shade
Coping with Hot, Dry Conditions
Ideas for Small, Container Gardens
You don’t have to learn from your mistakes: make your gardening work a lot easier by learning the secrets of success from an expert!
Catherine Boeckmann


ADVERTISEMENT
How an old gardener makes a garden...
1. start watching how the sun hits the places you are planning to plant at least one year early, from winter to fall.
2. use cardboard like walmart and amazon boxes, no boxes with shiny colors on the outside.
You do not have to use boards to make long boxes, that is just to keep it looking tidy
Winter
3. cover everything with cardboard, planting area, walking area, at least 6 inches to either side of each to smother grasses/weeds
4. cover planting areas cardboard with soiled straw from goats, chickens, cattle, horses at least 6 inches thick, weigh it down with pallets to prevent the wind from scattering and the animals from using it as a potty box
5. Sort thru seed catalogs to find what you would like to plant. Check your local plant nursery to see what works for your area as soon as they open. Dollar stores have the same seed, only cheaper. Check package for the current year.
Early Spring
If you want to start your seed in the house, know it takes more time, effort and money, plus room. I never have started seed
1. put more soiled straw on planting areas. Get to know farmers with livestock, they are usually happy to have you cart it off.
2. Start a compost pile with the extra soiled straw. Put grass clippings, torn up cardboard, all non meat or dairy ends and pieces of plants used for meals. Coffee grounds and crushed egg shells work great. Turn this pile at least once a month to give it air and to get it to do it's magic. Compost piles will take a year or more to make usable compost. If you need manure, buy a bag that has been made to be used in holes for squash, etc. you can put soiled straw in the holes instead.
The only thing I buy is seed that I haven't saved from the previous year. Anyone who donated the boxes, etc gets a portion of the harvest. I also use old plastic swimming pools, grow bags, planters, and even an old tree stump.
Ben, Are you in England or U.S.A.? Do you actually hand water your entire garden? I don't see any irrigation system in your videos. BTW thanks for all your great videos!