
Seed-Saving 101 Guide for Gardeners
The Almanac Garden Planner - Use It Free for 7 Days!
Plan your 2025 garden with our award-winning Garden Planner.
Gardeners tend to be a thrifty lot, and saving seeds from one year to another just makes sense. It’s what the old-timers always did. See our Seed-Saving 101 Guide on the benefits of saving seeds, which seeds to save, and how to save seeds from common vegetables.
What Is Seed-Saving?
With seed-saving, you grow some extra vegetables which you save just to harvest their seeds. Then you store those seeds over the winter to replant them in the spring. Seed-saving helps to preserve heirloom varieties and promotes genetic diversity.
Why Save Seeds?
There are three good reasons to learn the technique of seed-saving.
Read Next
- Saving seeds ensures that you’ll always have seeds of a favorite variety. Just because you’ve been able to order a seed variety from a commercial source in the past doesn’t mean it will always be available.
- Saving seeds is cost effective. It makes no sense to buy seeds that you can grow yourself. You have to be realistic, however. If you don’t have the space or inclination for biennials such as cabbage, just save seeds for annual vegetables.
- Savings seeds opens a whole new world of seed trading. At least half the vegetable varieties being grown today have no commercial sources. If you’d like to try them, you have to trade seeds that you have for seeds you want. Saving and sharing seeds is essential to the cultivation of sustainable heirloom gardens and healthy living.
Using seeds from your own plants also connects you with the Earth’s natural cycles, and many gardeners find this activity rewarding!
Save Heirlooms, Not Hybrids
Save seeds only from open-pollinated versus hybrids (which are very common from local garden stores).
- An open-pollinated plant is one in which the offspring replicates the parents so you’ll harvest the same wonderful vegetable year upon year. Open-pollinated plants may be “heirlooms,” which have been passed down through generations, with nature keeping only the best traits.
- Unfortunately, modern hybrids, which are produced by crossing two or more inbred varieties to obtain specific characteristics, won’t work. The new plant will end up being an unknown combination of the good and bad traits of the plants from the initial cross, and most often results in poorer quality.
Also, remember that some crops can cross-pollinate (via insects) if they are planted too near each other. Examples are cucumbers, peppers, melons, and squashes. Cross-pollination often results in inferior flavor.
Which Vegetable Seeds to Save
Some crops are easier to save than others. If you are a beginner, we would highly recommend that you start with vegetables that are self-pollinating and require no special treatment, such as:
- Tomatoes
- Peas
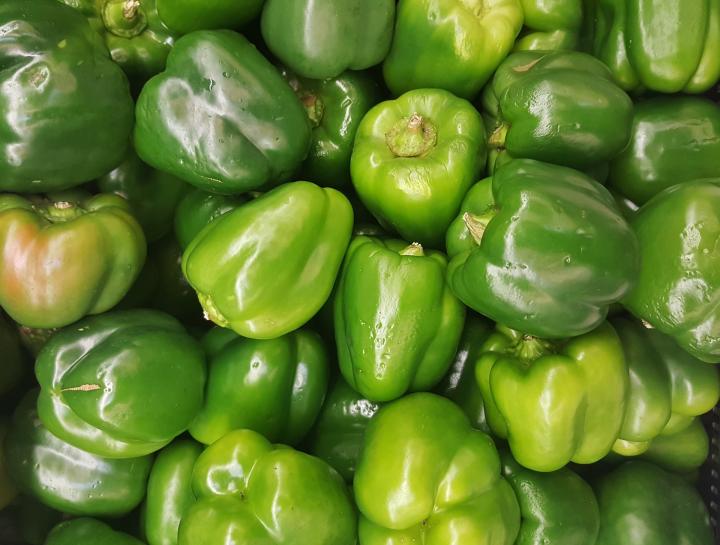
- Peppers
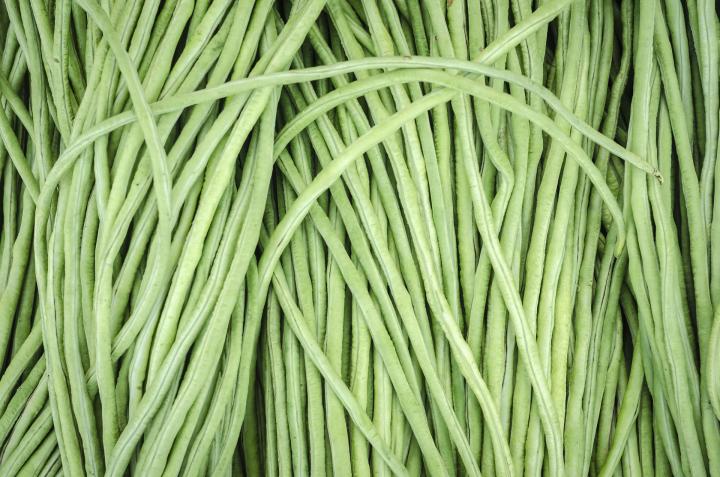
- Beans
Seeds from biennial crops are not advised because it takes two seasons to set seed and gets complicated; this includes cabbages, beets, carrots, cauliflower, onions, and turnips.
Again, only save open-pollinated types. Examples of open-pollinated tomatoes are ‘San Marzano’ and ‘Brandywine’. Examples of hybrid tomatoes are ‘Big Boy’, ‘Beefmaster’, and ‘Early Girl’.
Examples of open-pollinated peas are ‘Lincoln’, ‘Little Marvel’, and ‘Perfection’. Examples of peppers are ‘Habanero’ and ‘Corno di Toro’. Examples of beans are ‘Kentucky Wonder’, ‘Blue Lake’, and ‘Tendercrop’. All come true from seed.
Good sources of open-pollinated vegetables seeds include Johnny’s Selected Seeds, Seeds of Change, Seed Savers Exchange, and Territorial Seed Company.
When Is a Seed Ripe?
From a plant’s point of view, ripeness is when the seeds are viable, which is not always when the plant is most edible and you would harvest for eating.
- Peas and beans are ready when the pods turn brown on the vine and shrink against the seeds.
- Pepper seeds are ripe when peppers are at their full color—depending on variety, this could be red, orange, yellow, purple, or black—and start to shrivel.
- Tomato seeds are ripe when fruit are firm but tender. If you press them, they have some give, unlike the hard feel of green ones. Like peppers, they will also have reached their full color.
- Cucumber seeds are ripe when the cuke turns fully yellow—overripe for eating. Harvest it and put it in a safe place for another 20 days.
- Winter squash seeds are ripe when the skin turns hard.
- Summer squash seeds are ripe when the squash is past the edible point, with a hard rind. Then treat the same as winter squashes.
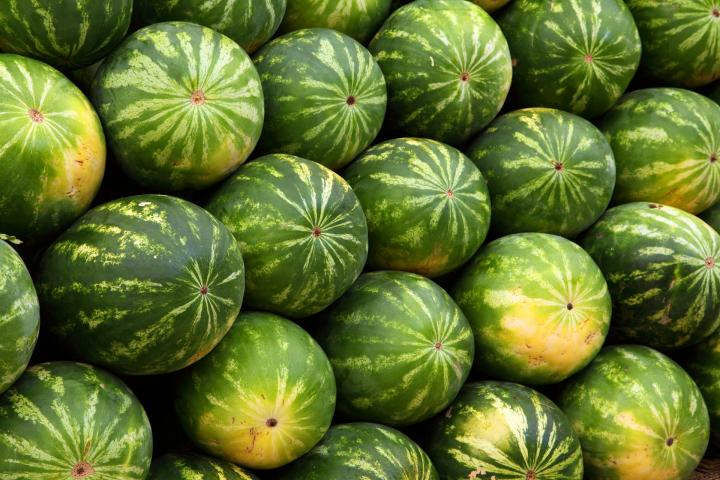
- Watermelon seeds are ripe when the tendril directly opposite the stem turns from green to brown and becomes dry.
- Cantaloupe and muskmelon seeds are ripe when the stem turns brown and dries, and the melon readily separates from it.
When Is a Seed Dry?
Proper drying is a key to saving seeds. Here’s how to test if seeds are fully dried:
- Squeeze one seed with pliers or hit it with a hammer.
- If it’s dry, it will shatter.
- If it just crushes or feels soft or spongy, then your seeds still need more air-drying before being stored away.
Steps on How to Save Seeds
Below is a rundown of gathering, treating, and storing the most commonly-saved garden vegetable seeds. No matter which type of open-pollinated seed you are saving, the general guideline is to select only the most vigorous plants with the best-tasting fruit as parents for the next year’s crop. Do not save seeds from weak or off-type plants.
Saving Tomato and Cucumber Seeds
Because tomatoes and cucumbers have seeds that are coated with a gel, the first step is to remove it by fermentation. The process smells bad, however, so don’t do it in an enclosed room in the house. Follow these steps:
- Squeeze or spoon the seed mass into a waterproof container (glass, jar, plastic cup, or deli container).
- Add enough water to equal the volume of the seed mass, and put the container in a warm spot out of direct sunlight.
- Stir the contents at least once a day.
- In a couple of days, the viable seeds will sink to the bottom and bad seeds and debris and white mold will float to the surface.
- Wait 5 days for all the good seeds to drop, then rinse away the gunk at the top.
- Wash the seeds in several changes of water, and lay them out in a single layer on a glass or plastic plate or screen.
- Put the plate in a warm place until the seeds are fully dry, which can take several weeks.
See a demonstration of saving tomato seeds below.
.
Saving Pepper Seeds
- Cut peppers open to find the seeds in a mass on the central stem.
- Brush them off the stem onto a plate or screen.
- Put seeds aside to dry.
Saving Pea and Bean Seeds
- Pick the brown pods from the vines and remove the seeds, which will require about 6 weeks of air-drying. One way is to put them in loosely woven baskets and stir them once a day.
- If frost or other inclement weather threatens legumes that are ripe but not dry, pull up the vines by the roots, and hang the plants upside down in a warm area, such as your basement or barn. The pods will draw energy from the plants for another few days, which will increase the seed viability.
Saving Melon Seeds
- For watermelons, simply rinse the seeds under running water to remove any traces of flesh or membrane. For cantaloupe and muskmelon, seeds will have more fibers and membrane attached to them. Wash this off, rubbing the seeds between your fingers to remove as much of the debris as you can.
- Then put the seeds in a container of water, and the good seeds will sink to the bottom.
- Remove what comes to the top, give the good seeds another rinse, and dry them on a plate or screen.
Saving Lettuce Seeds
Radishes, lettuce, and Asian greens also produce seeds in pods after the plant has flowered. With these vegetables, too, it is best to let the pods dry on the plant.
These plants, however, tend to dry from the bottom up, a few pods at a time.
The dry ones are prone to shattering and spreading their seeds all over the ground, so either bag the seed heads—literally putting a paper bag tied at the base over the plants to capture the seeds—or pick the dry pods on a daily basis. Old nylons or row-cover materials work well for bagging because you can still see what’s going on with the plant.
Saving Squash and Pumpkin Seeds
- When squashes are ready, break them open and remove the seeds.
- Hold the seeds under running water, rubbing them between your fingers to remove any stringy material and membrane.
- Then lay them out on a plate or screen to dry.
Storing Saved Seeds
Once your seeds are completely dry, they can be stored in any dry, secure container and kept in a cool, dry area. Keeping them dry is very important (as you probably could have guessed by now).
- For large seeds, such as beans, you can recycle the cardboard canisters that certain snack foods come in.
- For small seeds, such as peppers and tomatoes, washed-out pill bottles work well.
How long a seed remains viable depends on its type and the environment it’s kept in. Tomato seeds may last for more than 5 years, while squash seeds typically last for less time. You can extend seeds’ viability by freezing them, especially if you have a zero-degree freezer. Properly dried and frozen seeds can remain viable for at least 40 years!
Seed-saving isn’t hard but it really helps to see how it’s done. See Ben’s video demonstration as he saves seeds from his vegetables and shares some great tips and tricks.
Another way to save seeds is when veggies “bolt” (run to seed) during the summer! See our video on how to collect seeds from bolted vegetables.
We hope that you will enjoy saving the seeds from your favorite plants! If you have any tips, please post below!
Catherine Boeckmann


ADVERTISEMENT
Great information that appears hard to find. Thanks.
I bought tomatoes on a vine from the store and one sat on the counter for a week. When we cut into the tomato the seeds were sprouting. I swiped the seeds a sprouts across some potting soil in the bottom of a strawberry container box, put a dusting of soil across the top, and in about a week they were sprouting. We got about 30 tomato plants from that one tomato. Don't throw anything away. I might be your next garden.
Hi Gerald,
I can confirm seeds sprouting. I left my tomato on the counter for months! I was concerned that the tomato was not rotting!? My Dad always grew our food and I remember tomatoes rotting if left too long. The top of the tomato actually got bumpy because the sprouts were that large. I cut it open and yes there were sprouts. I wonder if those tomatoes are gmo'ed and NOT fit to eat? I'm a younger senior citizen, so when my Dad was growing food, things weren't being tampered with, the way they are at present. Happy that I'm not the only one to encounter this.
Lynn
I once planted a fresh ear of corn horizontally in a garden; in about a week every corn-kernel had sprouted; I'll try the tomato-slice idea; I know Pumpkin seeds can be saved to sprout the next spring;
I take a thin slice of tomato, place it under about 3/4" soil and plants come up like crazy! Don't forget to amend the soil with egg shells for magnesium. (I pulverize mine into bits and save in an old coffee can.)
Can you use a faster method such as food dehydrator to dry seeds?
Because dehydrators use heat to dry their contents out, it wouldn’t be a good idea use one to dry seeds, as it might cook the seeds and cause them to no longer be viable. It’s best to let seeds air-dry for a week or so in a dark, dry place and then store them in paper envelopes.
two years in a roll I have tried to plant corn. The plants come up very nice, butstop growing at about tow to three feet tall, the fruit is little and uneatable. Is the some thing I am do doing or not doing to the corn. it is keep watered but still nothing. Please help!
Check out our page on Corn for growing advice: https://www.almanac.com/plant/corn
Hi there Im currently drying squash seeds and would like to know if I can plant them in 6wks time?
Thanks So Much.
Happy Gardening!