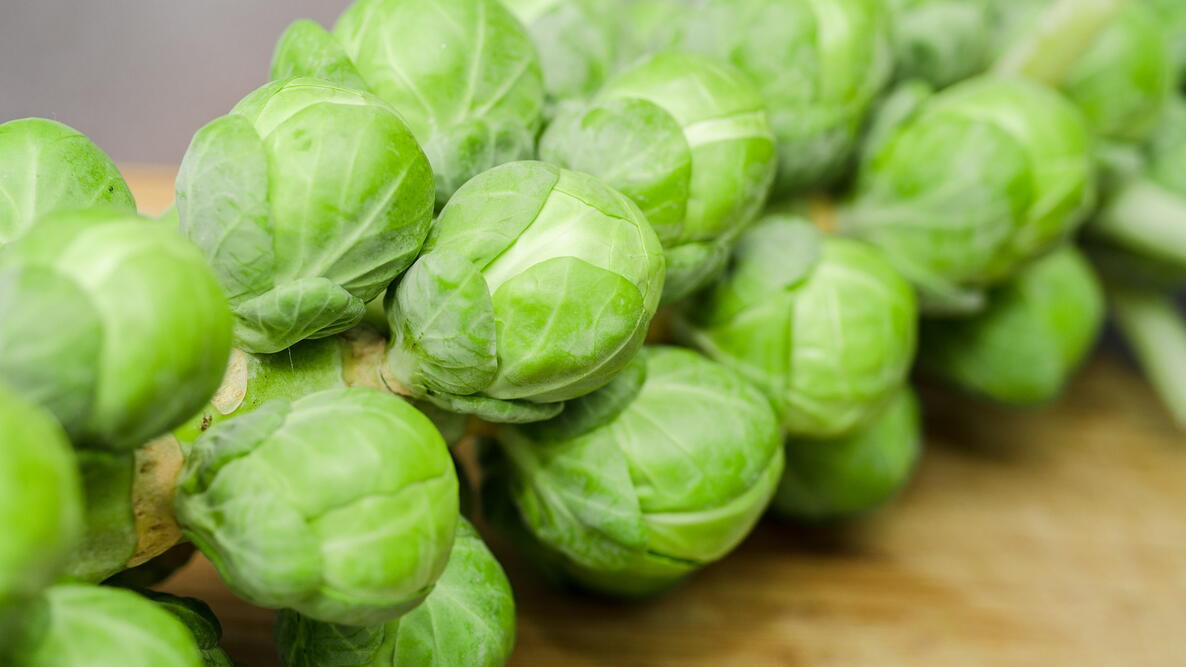
Planting
When to Plant Brussels Sprouts
Brussels sprouts are a slow-growing, long-season crop that grows best in cool weather and can turn bitter when temperatures get too high.
Most varieties take between 80 and 100 days to reach a harvestable size when grown from transplants, which is the recommended growing method. I get the best results by planting nursery-grown transplants outdoors about 90 to 110 days before the first fall frost.
If you’re a reasonably savvy gardener, you can also start plants indoors from seed by sowing the seeds about 6 to 8 weeks before your last spring frost date. However, this is a trickier process!
Where to Plant Brussels Sprouts
Choose a planting site that gets full sun or about 8 to 10 hours of direct light per day. Raised beds are especially good for cool-season vegetables—particularly in the spring and fall when temperatures are irregular.
Brussels sprouts crave lots of nutrients, so be sure to work several inches of aged manure or compost into the soil before planting.
How to Plant Brussels Sprouts
To plant, work compost into the soil and then plant transplants at the same depth they were growing in their nursery pots. Firm the soil around the base of the transplants, space multiple plants 18 to 24 inches apart in rows located about 24 to 30 inches from each other, and water well. Adding mulch around the base of your plants will keep weeds down.
If you’re growing sprouts from seed, plant 2 seeds 1/4 inch deep per pot or planting cell and thin the weakest seedling out with fingernail scissors once true leaves form. Remember to harden off indoor plants before transitioning them outside.
Growing
Watering
Inconsistent moisture can lead to subpar sprout development. To avoid this, provide Brussels sprouts with about 1 to 1½ inches of water per week, and add mulch around the base of your plants too.
Fertilizing
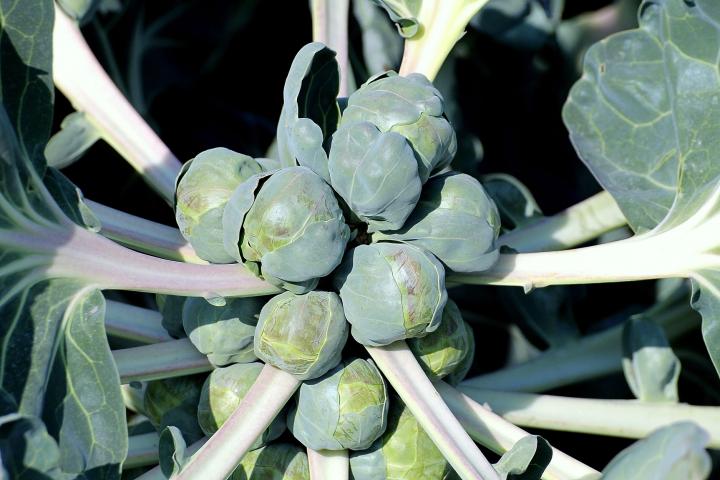
Brussels sprouts are heavy feeding plants. For bigger sprouts, side-dress plants 2 to 4 weeks after planting or when the plants are 12 inches high using an organic, high-nitrogen fertilizer. Reapply the fertilizer every 3 to 4 weeks after that.
Pruning or Maintenance
As they grow, Brussels sprout stems can easily reach over 2 to 3 feet tall and may require staking. Removing the yellowing leaves at the bottom of the plant boosts light levels around the plant’s stalk and helps increase sprout size. When working around your sprouts, take care not to disturb their roots as they’re shallow and easily damaged.
Seasonal Care
Like other brassicas, Brussels sprouts are prone to pests like cabbage loppers—especially right after planting. Protecting young plants with row covers can help. You can also try out organic pest control measures like BT thuricide.
- If you want to encourage sprouts to mature faster, cut off the top leaves 3 to 4 weeks before harvest.
- If you intend to harvest sprouts into winter, leave the plant’s top leaves intact as they provide protection from snow. Then, cover plants with 10 to 12 inches of mulch.
Harvesting
When to Harvest
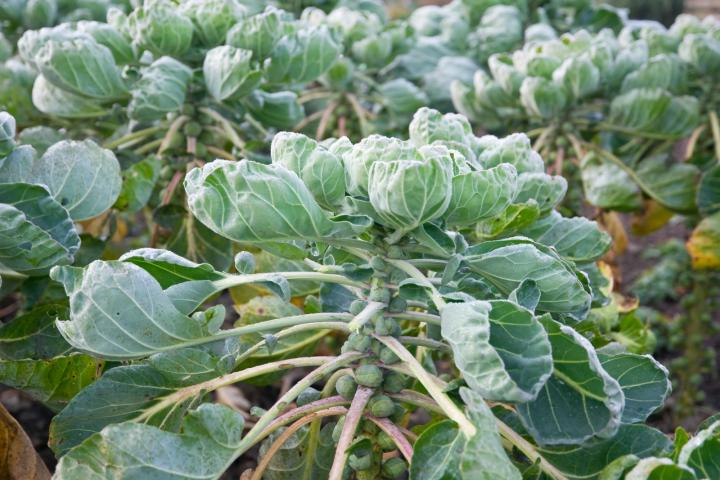
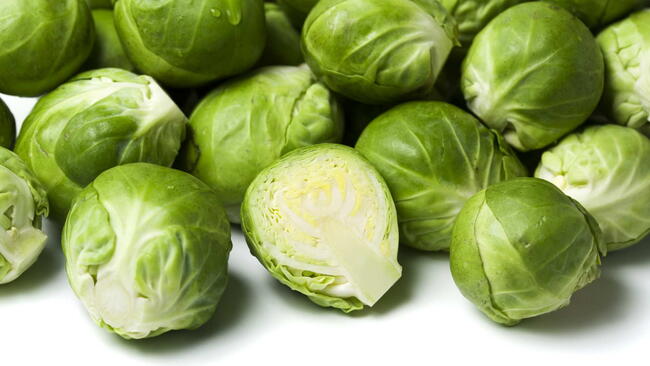
Brussels sprouts are typically harvested from fall to early winter and taste sweeter after a light kiss of frost. Sprouts mature from the bottom of the stalk upwards and are ready to pick when they’re about 1 inch in diameter. Ripe sprouts should be firm and green and have tightly closed leaves, while overripe sprouts will look yellow and open.
How to Harvest
Individual sprouts can be snapped off the plant’s stems with your fingers or cut free with a sharp knife. You can also pull the entire stalk of the plant up, roots and all.
Storage
Stalks of harvested Brussels sprouts can be stored in a root cellar or basement for about a month once you trim the roots free. Individual sprouts last about 1 to 2 weeks in the fridge when stored loosely in a plastic bag, but they’ll keep even longer if you blanch and freeze them. For longer storage, don’t wash Brussels sprouts until just before use.
Types
Different varieties of Brussels sprouts come in different colors, mature at different rates, and offer other specific perks. Here are a few of our favorite picks and what makes each stand out.
- ‘Diablo’ is a famously heavy producer and excellent pick if you want a bumper crop of sprouts.
- ‘Falstaff’ produces striking reddish-purple sprouts that hold their color even after cooking.
- ‘Jade Cross’ is a high-yielding and compact plant with resistance to some diseases and better heat tolerance than most.

More Like This

The sprouts appear underneath the leaves—look at the bas of each leaf and a small sprout should be forming.
Brussels sprouts are heavy feeders, so they need a rich organic soil of aged manure and compost. (There can almost never be enough!) They tend to do best in cool weather, from the time they are set out to the fall, when a frost sets on them. You also need to check the soil pH; it should be more or less in the middle. The hot weather (yes, it's summer, it's going to be hot) may have slowed them down but I/we suspect it's a soil-based problem. We've experienced it too. You could try to amend the soil as soon as possible and see if you see any change but it may be too late to expect a luscious golf-ball-size sprouts.
- « Previous
- 1
- 2
- …
- 10
- Next »

Comments