
Planting, Growing, and Harvesting Winter Squash Varieties
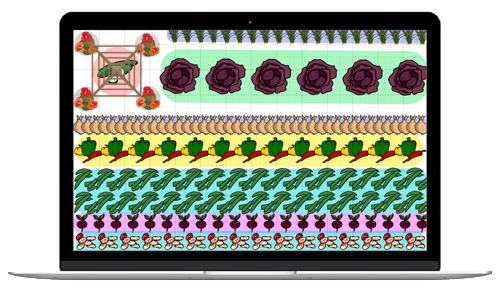
The Almanac Garden Planner - Use It Free for 7 Days!
Plan your 2025 garden with our award-winning Garden Planner.
Types
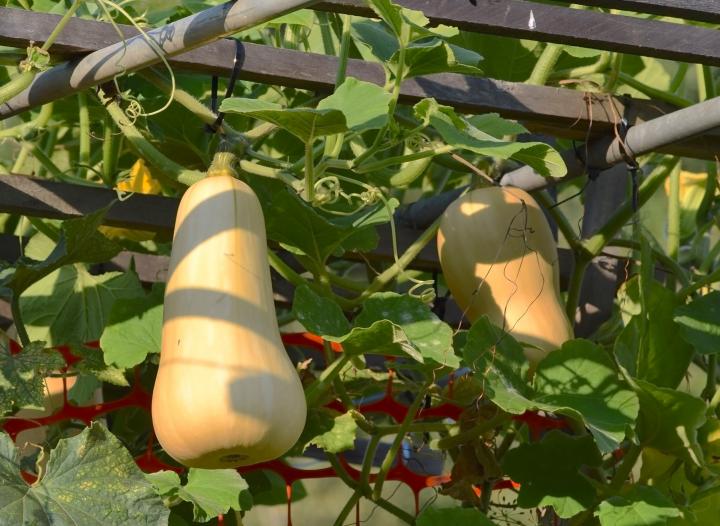
- ‘Waltham Butternut’: A large, tan fruit; this butternut squash is sweet and thin-skinned; harvest when it’s on the smaller side; flavor improves with storage
- ‘Honeybaby’ or ‘Honeynut’ butternut squash plants are compact and ideal for small spaces, raised beds, or containers. Expect about 8 small squash per plant. They’ll weigh a quarter to a half pound and perfect for steaming or baking.
- ‘Butterscotch’ butternut squash produces 1 to 2-pound fruits on short vines. The sweet flesh is rich and smooth. Each plant yields 3 to 4 fruits and the plant is resistant to powdery mildew.
- Blue Hubbard squash is an heirloom known for its huge size, blue-gray color, and very hard skin. The flesh inside is orange, flavorful and smooth. It is great for pies and soups and stores well. Give this variety plenty of room to grow.
- ‘Buttercup’: A round fruit with long vine, Buttercup has deep, bright orange flesh, a dark green inedible rind, and flat top. This heirloom has a sweet, nutty flavor.
- ‘Delicata’: This bush type squash almost looks like a summer squash. It’s very moist and even good raw. Plus, its thin skin is edible, too. Delicata is also tolerant of powdery mildew.
- ‘Tuffy’: An acorn type of squash, expect five or six fruit per plant. Acorn squash is bowl-shaped and has a nutty flavor and more fiborous texture than some squash.
- ‘Sugaretti’ spaghetti squash has eye-catching striped fruits. Each medium-sized squash grows up to 10 inches long and has a sweet nutty flavor. The plants are compact and are resistant to powdery mildew. Bake the squash and use the flesh as a pasta substitute.
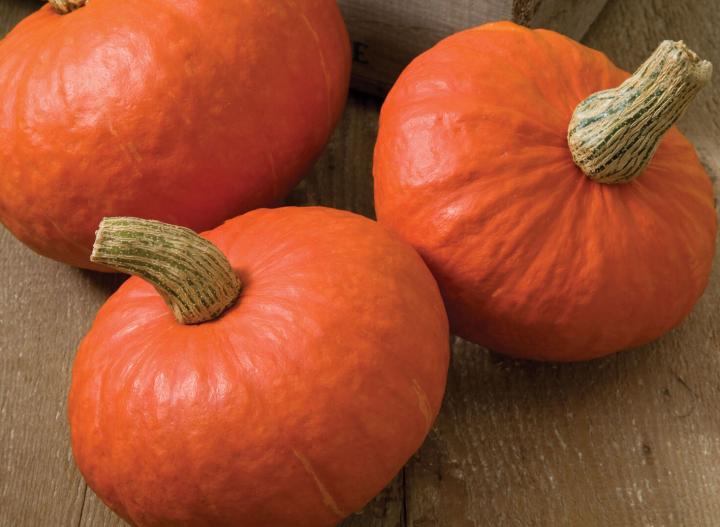
- ‘Sunshine’: An award-winning kabocha squash with orange-red skin and bright orange flesh. The compact vine yields about 3 to 4-pound fruit that have a round, flattened shape. The flesh has a sweet nutty flavor and creamy texture. The fruits can be stored for months.
Credit: By Ratda/Shutterstock.
Cooking Notes
- Winter squash is often baked in casseroles or on its own. Cook all types of squash only until tender to keep the nutritional content.
- Mmmm, Pumpkin Pie! See our collection of Best Pumpkin Recipes!
- Winter squash is a good source of vitamin A and has fair amounts of vitamin C. The darker the flesh, the more beta-carotene the squash has to offer. Learn more about winter squash’s health benefits!
- One cup of cubed winter squash contains about 80 calories, virtually no fat, and very little sodium.
Catherine Boeckmann


ADVERTISEMENT
Why isn't information about how/what/when to prune included?
Your coverage of that is negligent at best
Thank you for the critique. Information about the best practices for pruning winter squash has been added to the article.
Hi - thanks for the informative but concise video - ideal! I just thought I'd tell you about the squash plant I lost track of when it climbed up into a cherry tree. Found it again later in the year when the cherry blossom had died off. It had grown up and over the tree and down the other side. It had actually 'escaped' into my neighbours garden, so I had to climb the fence to pick the ripe squashes hanging off the far ends of the stem. Must have been over 10 metres long in total!
My grandson brought us a small plant and said that it was a a fig gourd. Apparently his Portuguese grandmother said that these grow in Portugal and he wanted to see if he could grow one. We planted it and it had over ten small gourds; however, many fell off and only 6 are left and they look like watermelons. They are hanging from a dead tree where the plant climbed. I don't know if these can used for soups, my grandson said his other grandma uses them for baking, i.e. turnovers, pies, etc. Any information on these gourds? Thanks very much.
Great web site you have here.. It's difficult to find good quality writing like
yours nowadays. I truly appreciate people like you! Take care!!
Here is my webpage - Login portogel
Actually I find winter squash ridiculously easy to grow. I didn't intentionally plant any, they just grew in a mound where I had incorporated compost. One plant produced a huge 20# banana squash and another several large (12#) spaghetti squashes. Just threw the vines over old lawn chairs as they were sprawling everywhere.