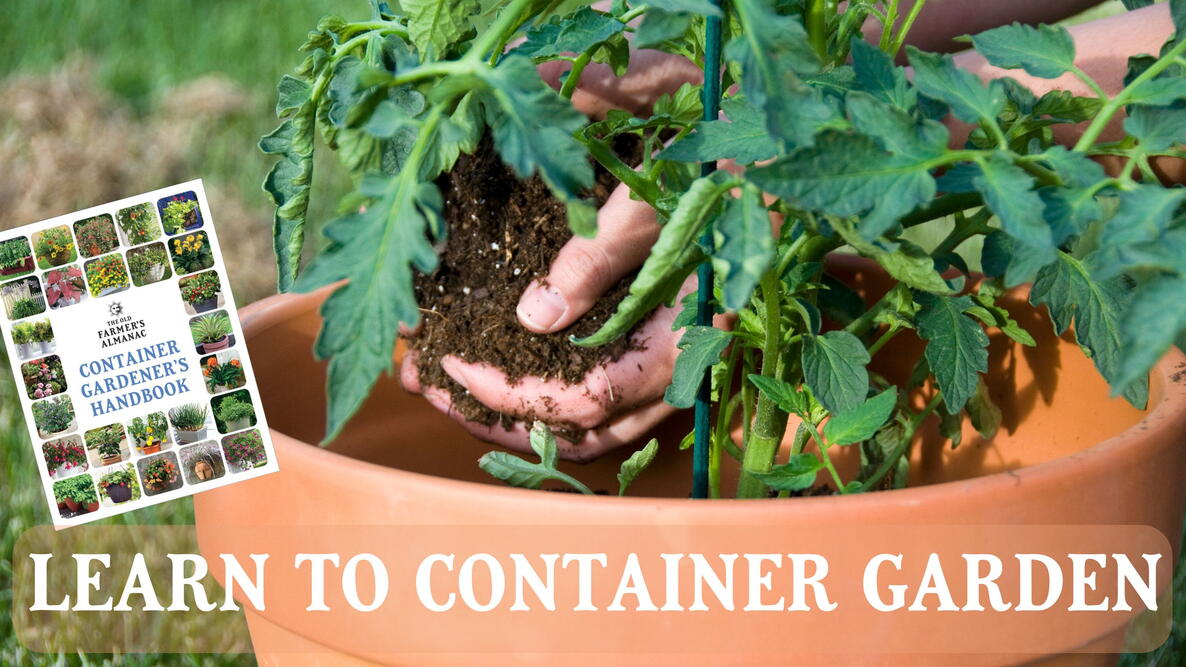
Container gardening makes it easy to grow fresh, homegrown vegetables just about anywhere—from balconies to back steps. But unlike flowers, vegetables need a little more TLC: richer soil, bigger pots, and plenty of nutrients to fuel all that tasty growth. Lettuce show you how it’s done! This guide walks you through everything you need to grow veggies in containers—including size of pots and best veggies for containers.
What is Vegetable Container Gardening?
Vegetable container gardening means growing your favorite veggies—like tomatoes, lettuce, or peppers—in pots instead of planting them in the ground. It’s perfect if you don’t have a yard or if your soil isn’t great. But remember, when it comes to containers, size does matter! You can use all kinds of containers, from big flowerpots to buckets or window boxes—anything that holds soil and lets water drain out. With plenty of sun, good soil, and regular watering, you can grow fresh, tasty vegetables right on your porch, balcony, or patio.
The Benefits of Container Gardening
- The great thing about growing in containers is being able to pick up pots and move them where you know they’ll thrive. Even if it’s only one or two pots on the side of your driveway or in the corner of your balcony, gardening in containers allows you to maximize all of your available space.
- Containers can be placed close to your back or side door; if you can easily access your plants, you are more likely to take care of them and harvest them in a timely manner, too.
- Container gardening also gives you much more control over your growing. Not only do you avoid poor soil, but also you can have an ideal growing medium with the right amount of nutrients. You can also tailor the potting mix to special crops.
- You’ll certainly have fewer weeds or none at all, and you can streamline your gardening tasks. Harvesting is much cleaner and easier, too.
- Another benefit of containers is that they raise plants above the ground, so your vegetables avoid being shadowed by other crops.
Of course, the one thing to know about containers is that they usually need more watering than a plant in the ground. This relates to the location that you choose for your containers …
Where to Put Your Pots
Similar to a regular garden in the ground, it’s important to determine where to put your containers, and consider things such as sunlight exposure, water accessibility, and protection from wind.
- To maximize your veggie harvest, you’ll want to place your pots in an area that gets full sun (i.e., 6 to 8 hours of sunlight per day). Lettuce, spinach, and other greens can grow well in less sunlight (3 to 5 hours per day), but for fruiting plants like tomatoes, peppers, squash, or eggplant, full sun should be the goal. Southern and western exposures will provide the most sunlight and warmth, while northern and eastern exposures will be shadier and cooler.
- It’s also a good idea to put your pots somewhere that you can reach with a watering hose. Keep in mind that container gardens tend to need more water than standard in-ground gardens, and there’s nothing worse than having to lug a gardening can across your yard a dozen times every morning—and then having to do it again in the evening! Having an easily accessible source of water nearby will save you a lot of time and effort.
- Protecting containers from direct wind keeps them from drying out as much and prevents accidental tipping over. Depending on the size of your containers and the plants you’re growing, they may get top-heavy as the season goes on, which makes them more vulnerable to tipping over in strong winds. Place containers in sheltered locations or plan to secure them (e.g., with cinderblocks, stones, or ropes).
Finally, think about the microclimates that exist on your property. Microclimates are small pockets of space in which the climate of the immediate area doesn’t match the broader climate of your location. For example, an asphalt driveway will hold onto warmth longer than a patch of grass will, so any pots placed on the driveway will be exposed to that extra warmth. On the one hand, this could mean that the pots dry out more quickly, but on the other hand, the plants may grow better thanks to the warmer soil.
What Size Pot? Here’s a Handy Tool
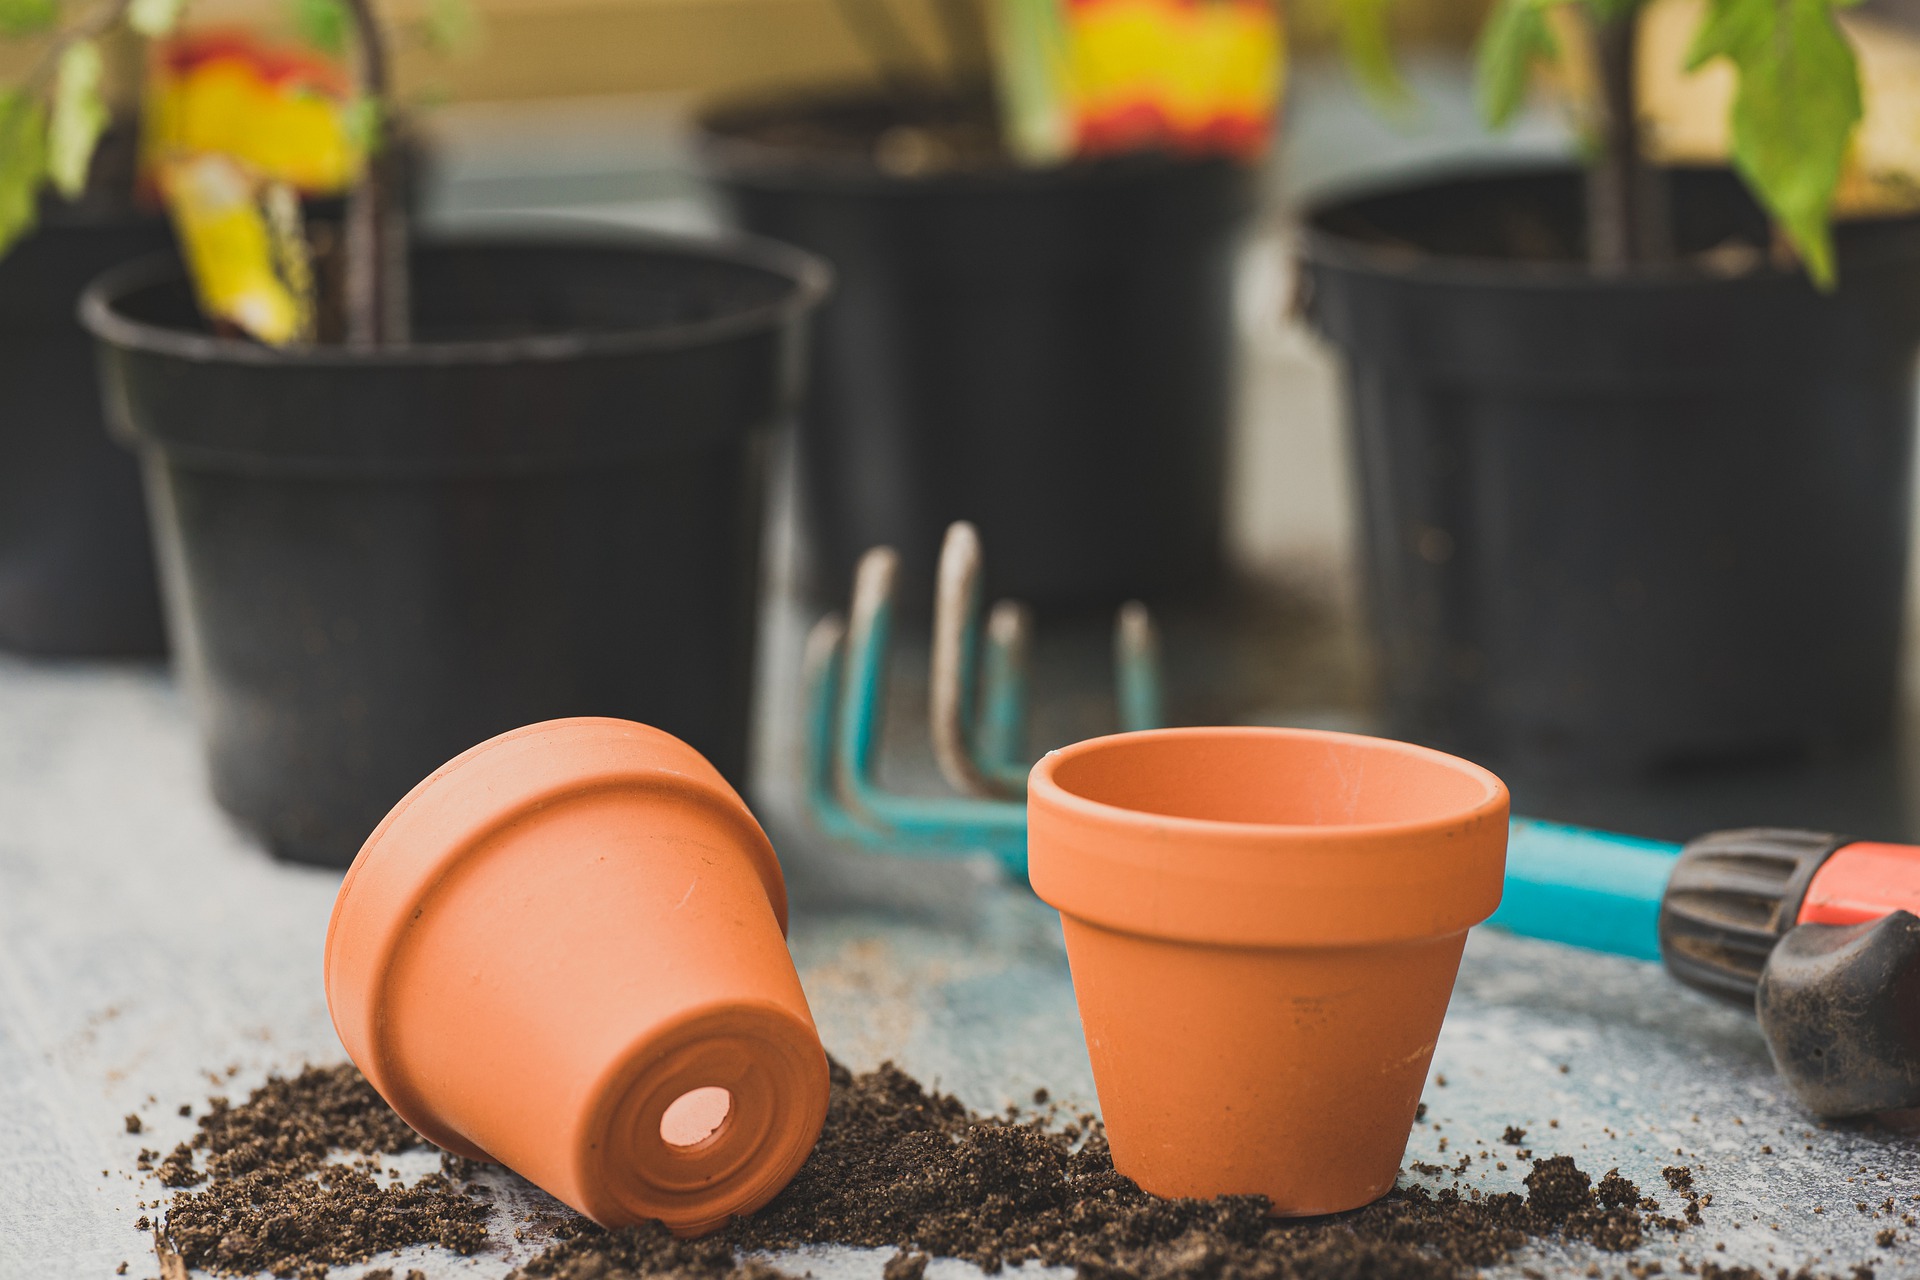
The most fundamental part of container gardening is—surprise—picking the right container! Vegetables need enough room for their roots to stretch out and grow strong, and bigger pots hold more soil and water to keep them happy.
How big should your pot be? Our handy new tool takes the guesswork out of container gardening. Just look up your veggie, and we’ll tell you the minimum pot size it needs to flourish.
—> Try the Vegetable Container Size Tool »
Most vegetables need at least 12 inches of soil to grow well, but larger vegetables will require more space. A 5-gallon container is the minimum size for growing a tomato or squash plant, while a smaller container would be perfectly fine for shallow-rooted plants such as lettuce or other greens.
Bear in mind: Larger containers will be heavier and harder to move, and may be too heavy for somewhere like a balcony. On the other hand, small containers are easier to move and more versatile but tend to dry out faster, requiring more attention on hot days.
Further below, we have a handy chart with the best vegetables for containers, and we’ve matched up the right size pots.
How Large Should the Drainage Holes Be?
A container should have a drainage hole or some other way to allow water to pass through it. Water-logged soil promotes bacterial and fungal growth, which will stunt plants’ productivity or kill them outright. Your climate factors into this as well; gardeners in drier areas may want to choose containers that retain more moisture, while those in more humid environments may want containers that allow for more airflow.
If you have a container that is 4 to 6 inches in diameter, then you just need 3 to 6 drainage holes where each is 1/4-inch in size. Larger containers need 6 to 8 drainage holes that are 1/4-inch in size. Holes larger than 1/4 inch in diameter will allow too much soil to escape.
What Type of Pot Should I Use for Container Gardening?
From plastic pots and cinderblocks to whiskey barrels and wheelbarrows, almost anything that holds soil can be gardened in. The final important factor to consider is what the container is made of. These days, containers come in all sorts of types, each with its upsides and downsides. Here are a few of the most popular container materials:
- Plastic: Plastic pots come in all sorts of shapes, colors, and sizes, which makes them one of the most popular choices for container gardening. Plastic pots also tend to be the cheapest option. They are relatively lightweight, hold in moisture well, and are easy to clean and reuse for many gardening seasons down the line. If you’re growing edibles, be sure to choose pots made out of food-grade plastic so that chemicals won’t leach into the soil.
- Ceramic (terra-cotta): Ceramic pots are another popular choice. They tend to be more decorative than plastic pots but are also quite a bit heavier—especially when filled with soil. Ceramic pots come in glazed or unglazed styles; the main difference is that glazed pots hold more moisture than unglazed pots. The great thing about ceramic pots is that the clay is porous, which allows some level of air and water to flow through it. This ensures that soil doesn’t get overly wet, but it also means that soil in (unglazed) clay pots will dry out more quickly than in plastic pots. Additionally, ceramic pots are susceptible to cracking in cold weather, so they should be emptied and stored in a sheltered area through the winter.
- Fabric: Fabric pots have become more popular in recent years thanks to their lightweight nature and breathability. They often come with handles, too, which makes moving them around very easy. Plus, they can be washed and reused fairly easily. The fabric allows air and water to flow easily through the pot, which is beneficial to plants’ roots, as they are encouraged to become more fibrous and, therefore, more efficient at taking in water and nutrients. One downside to fabric pots is that they dry out rather quickly, so consistent watering will be required.
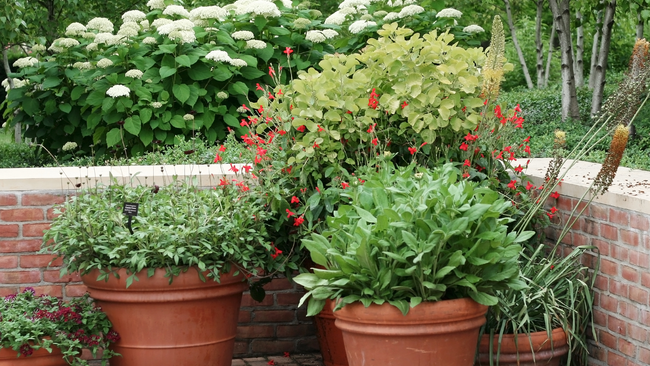
Again, almost anything can be used as a container, so get creative! Hanging baskets make good use of extra space. Use whiskey barrels (a wooden half-barrel can yield an amazing amount of food), buckets, baskets, boxes, bath- and other tubs, window boxes, and troughs—anything that holds soil. Just be sure that it has drainage holes in the bottom and is a size that you can manage. Cherry tomatoes, herbs, and strawberries grown at eye level can be easily tended and harvested.
Watch the video below for more information on choosing the right container:
The Best Soil for Container Gardening
In order to grow healthy plants, you need healthy soil. Plants in containers need the best possible nutrients, aeration, and drainage in order to encourage healthy root growth and to produce a good harvest.
Do not use soil from the garden! Most garden soils are too heavy, can become easily waterlogged and compacted, and harbor disease and insects. Instead, use a “soilless” potting mix that’s specifically formulated for use in containers. It will be quick-draining and lightweight and shouldn’t contain any diseases or pests.

Soilless potting mixes tend to consist of some combination of peat (or coconut coir), perlite, and vermiculite, as well as other additives such as ground limestone and granulated fertilizers to provide nutrients. Here’s how to make your own soilless mix at home.
Got compost? Humus is a fantastic material to add to your container mix, as it contains plenty of nutrients and loosens the media. Read all about making compost!
The Best Vegetables for Containers
Some veggies do better than others when grown in containers. Vegetables that can be easily transplanted are typically great candidates; transplants can be purchased from local nurseries or started from seed at home.
In general, gravitate toward vegetable varieties that are considered “dwarf” or “container,” as they tend to stay smaller and are better suited to the container lifestyle. Check out seed catalogs for varieties that do best in pots.
Among tomatoes, for example, choose “bush” or “determinate” varieties, as they will grow to a set height and won’t get unwieldy in a container.
Here is a range of delicious crops suitable for beginner growers and for growing in different types of containers, from traditional pots to window boxes to planters.
You can find pot sizes for all your common veggies with our Container Size Calculator.
Beans, snap
Container: 2-gallon pot (8 to 9 inches in diameter), 8 to 10 inches deep, 3 plants.
Varieties: Bush ‘Blue Lake’, Bush ‘Romano’, ‘Tender Crop’
Broccoli
Container: 5-gallon pot (12-inch diameter) for 1 plant, 12 to 18 inches deep
Varieties: ‘DeCicco’, ‘Green Comet’
Carrots
Container: 1 gallon (6-7 inch diameter) for 3 to 4 plants, 12 to 18 inches deep
Varieties: ‘Danvers Half Long’, ‘Short ‘n Sweet’, ‘Tiny Sweet’
Cucumbers
Container: 5-gallon pot (12-inch diameter) for 2 plants, 12 to 18 inches deep
Varieties: ‘Patio Pik’, ‘Pot Luck’, ‘Spacemaster’
Eggplant
Container: 5-gallon pot (12-inch diameter) for 1 plant, 12 to 18 inches deep
Varieties: ‘Black Beauty’, ‘Ichiban’, ‘Slim Jim’
Lettuce
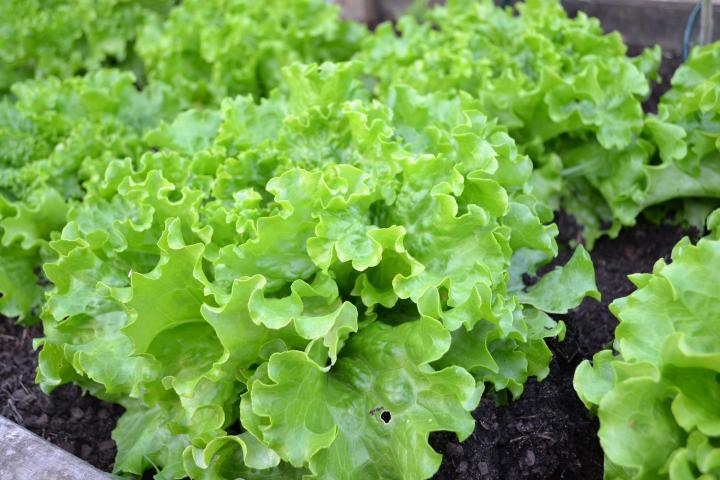
Container: 1-gallon container (6 to 7 inches in diameter) for 3 to 4 plants, 6 to 8 inches dee
Varieties: ‘Ruby’, ‘Salad Bowl’
Onions (bulbing)
Container: 2-gallon container (8 to 9-inch diameter) for 3 to 4 plants, 12 to 18 inches deep
Varieties: ‘White Sweet Spanish’, ‘Yellow Sweet Spanish’
Peppers
Container: 3-gallon pot (8 to 9 inches in diameter) for 1 plant, 12 to 18 inches deep
Varieties: ‘Cayenne’, ‘Long Red’, ‘Sweet Banana’, ‘Wonder’, ‘Yolo’
Radishes
Container: 2-gallon pot (8 to 9 inches in diameter) for 5 to 6 plants, 6 to 8 inches deep
Varieties: ‘Cherry Belle’, ‘Icicle’
Tomatoes
Container: 5-gallon pot (12-inch diameter) for 1 plant, 18 to 24 inches deep.
Varieties: ‘Early Girl’, ‘Patio’, ‘Small Fry’, ‘Sweet 100’, ‘Tiny Tim’
See our individual Vegetable Growing Guides for advice on growing other common vegetables.
Check out our video for more information on which plants will thrive in your container garden:
Planting Tips for Containers
To maximize space and thus your harvest, try planting low-growers and tall climbers together in the same container.
- The climbers will eagerly scramble up a trellis.
- The small plants spread around their base.
You’ll hardly need to weed because there won’t be any room for weeds to gain a foothold, and during the height of summer, some low-growers (leafy greens, for example) will thrive in the shade provided by the taller plants.
Mix quick-maturing plants, such as lettuce or radishes, with longer-growing ones, like tomatoes or broccoli. Learn more about growing salad greens in containers here!
Group plants with similar sun and water needs, such as pole beans, radishes, and lettuce; cucumbers, bush beans, and beets; tomatoes, basil, and onions; and peas and carrots.
How to Water Containers
Because they are more exposed to sun and wind, containers tend to dry out more quickly than traditional gardens or raised beds. Especially during the hottest days of summer, many plants grown in pots must be watered as often as twice a day!
Containers can be watered in a number of ways—hoses, watering cans, drip irrigation. Choose a method that makes the most sense for you and the size of your garden.
A few watering pointers:
- Water in the morning (or as early as possible). Ideally, container plants should be watered as early in the day as possible. Watering early in the day provides plants with enough moisture to get them through the hotter midday hours. It also ensures that their leaves dry off by the time that night falls; having moisture on leaves at night can encourage the spread of disease.
- Water deeply. Plants need water at their roots, so simply spraying the surface of the soil with the hose isn’t enough. Water plants—especially those in containers—deeply and thoroughly to ensure that water reaches down to their roots. After a watering, the soil should be saturated and water should run out the bottom of the pot. Alternatively, try watering from the bottom: Place a tray under the pot and fill it with water. The soil will absorb the water through the drainage hole(s). Repeat until no more water is absorbed, then dump out any excess water from the tray.
- Don’t water too frequently! It may sound counterintuitive, but watering a plant with a small amount of water very frequently is worse than watering with a large amount infrequently. Frequent, shallow waterings encourage plants to develop weak, shallow roots, while infrequent, deep waterings encourage them to put down deeper, healthier roots. Most plants can tolerate—and actually benefit from—having a little break between deep waterings, so don’t be afraid to let the soil dry out a little bit between waterings.
Other key things to keep in mind are the size of the pot and the weather. Smaller pots will dry out a lot more quickly than larger pots and will require more frequent waterings. Hot, sunny days are naturally more drying than cool, cloudy ones, so expect to water more during heat waves. Overall, pay attention to the speed at which your container soil dries out as well as how your plants react; you will soon get a sense for how often you need to water!
One way to keep container plants adequately cool and moist during hot summer days is to double-pot them: Place a small pot inside a larger one and fill the space between them with sphagnum moss or crumpled newspaper. When watering the plant, also soak the filler between the pots. Caution: be sure to check your double-potted plants often, as the extra layer can also be a nice spot for pests to hide!
Fertilizing Container Gardens
Water flows through containers quickly, flushing nutrients out with it. This can be a good thing, as it will flush out any buildup of salts in the soil. However, this also means that it’s necessary to replenish those nutrients by feeding container plants more regularly than those grown in the ground.
In general, we recommend adding a slow-release fertilizer to your potting mix at the start of the gardening season. This can be done by either mixing it into your potting mix at planting, or by sprinkling fertilizer on top of the potting mix (i.e., “top-dressing”) right after planting. This will give your plants a good head start on growth.
While they’re actively growing, flowering, and fruiting, use a liquid fertilizer to feed container plants at least twice a month, following the instructions on the label. It’s always a good idea to test your soil first, if possible, to gauge whether or not additional fertilizer is necessary. An occasional application of fish emulsion or compost will add trace elements to container soil as well.
To keep vegetable plants growing, feed them organic soil amendments, like liquid seaweed, fish emulsion, or manure tea. Read more about fertilizing container plants here!
Supporting Container Plants
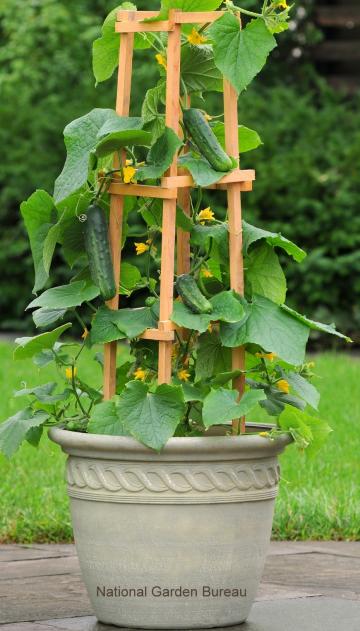
While we won’t discourage you from chatting with your plants every now and then, in this case, we mean physical support. Support tall or climbing vegetables with trellises, stakes, netting, twine, or cages. Here’s how to build your own trellis or wooden supports.
A teepee of bamboo stakes will hold pole beans or snap peas well. Cucumbers trained to climb up a nylon mesh fence will develop fruit that hang down and grow straight. To avoid damaging the plants or their roots, put supports in place at the time of planting.
See How to Do It With Ben!
Our colleague Ben shows us how he makes his veggie containers, helping his neighbor along the way. He explains how to tailor-make your potting mixes to what you want to grow. Plus, as always, he’s got a few tricks up his sleeve for making the pots look great, too. Plus, he covers a few other good container plants, from potatoes to strawberries.
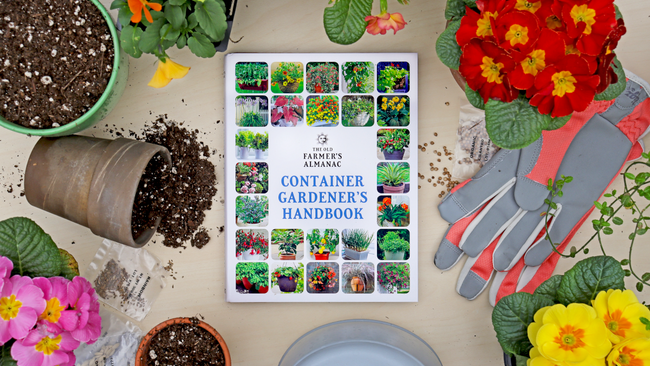
Want to learn more? Check out our Container Gardener’s Handbook or explore our step-by-step guides below:
- Growing Garlic in Containers
- Growing Blueberries in Pots
- Can You Grow Cucumbers in Containers?
- Growing Carrots in Containers
- Growing Strawberries in Containers
- Growing Tomatoes in Containers and Pots
- Growing Sweet Potatoes in Containers
What has been your experience with container gardening and growing vegetables in pots?
More Like This
- « Previous
- 1
- 2
- …
- 10
- Next »

Comments