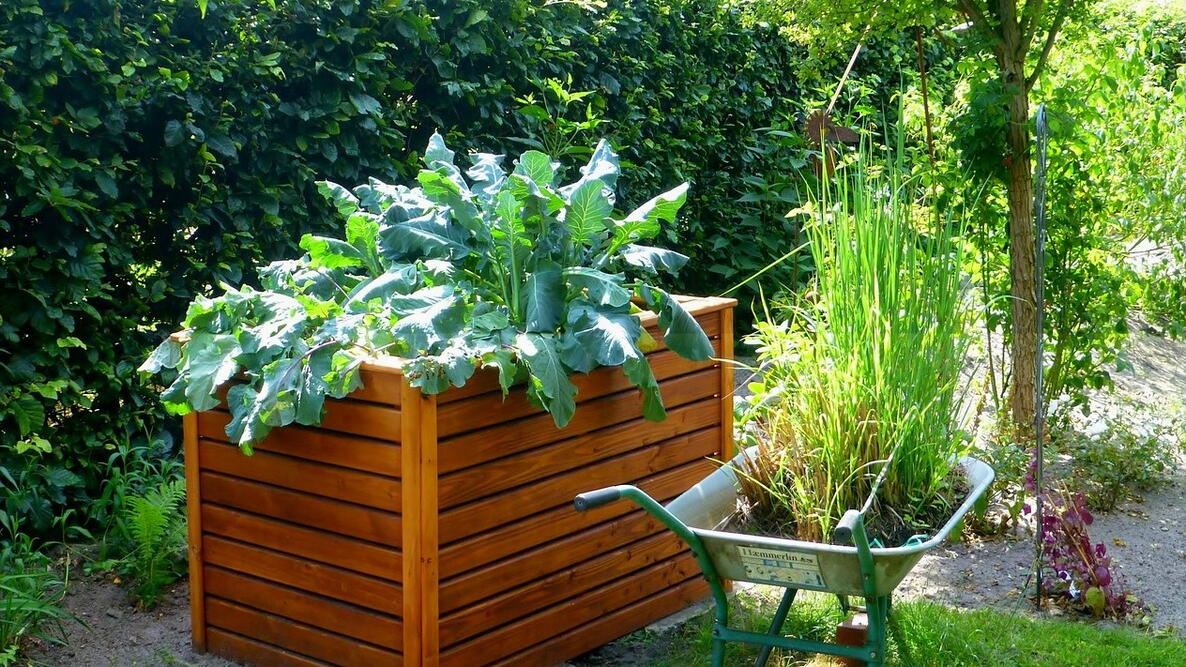
Think you need a big backyard to grow a productive vegetable garden? Think again! With a few smart gardening techniques, you can harvest an abundance of fresh vegetables from even the smallest spaces. Whether you’re growing in raised beds, containers, or a compact backyard plot, maximizing every square foot is the key to success.
How can you grow more vegetables in a small garden?
Five of the best space-saving gardening techniques are:
Use raised beds
Practice succession planting
Interplant compatible crops
Grow companion plants together
Use trellises and vertical supports
Why Small-Space Gardening Works
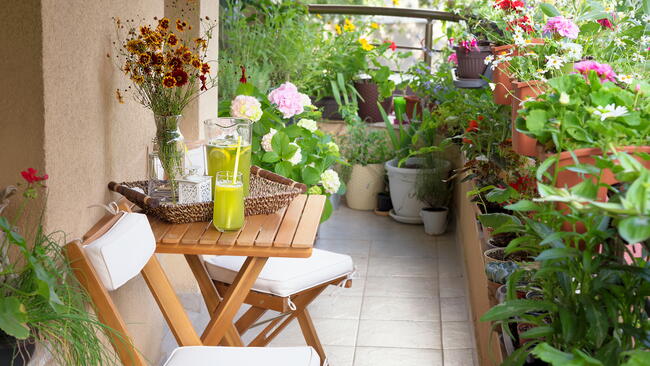
You don’t need a large backyard to grow a productive vegetable garden. By using smart gardening techniques, even a small plot—or raised bed, patio, or balcony—can produce an impressive harvest. The key is making the most of every square foot through efficient planting methods that reduce wasted space and keep your garden producing throughout the growing season.
Raised beds, succession planting, interplanting, companion planting, and vertical gardening all help maximize yields while improving plant health and making garden maintenance easier. With a little planning, a small-space garden can provide fresh vegetables, herbs, and flowers from spring through fall.
5 Tips for Small-Space Gardening
1. Grow More in Raised Beds
Forget about growing plants single file in long, parallel rows. You can grow up to 10 times the amount of produce in the same space by using raised beds and square-foot gardening.
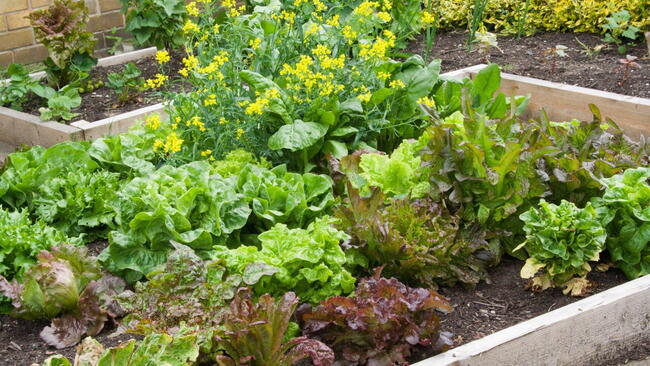
In a raised garden bed, you keep outside weeds from your garden soil, prevent water runoff and soil compaction, and worry less about slugs, snails, and other garden pests. Also, garden boxes allow you to concentrate your energy in a small area, meaning you can work, water, weed, and fertilize as economically as possible. You can make the most of the entire growing season by using season-extending devices such as cold frames, cloches, row covers, and plastic tunnels too.
Here’s how to build your own raised garden bed.
2. Practice Succession Planting
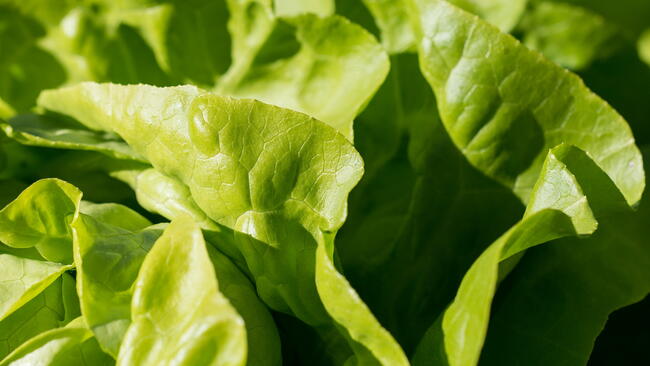
Succession planting keeps the garden in continual production. Whenever one crop is harvested, have seedlings ready to transplant in its place. For the best results, use quick-maturing vegetables such as radishes or salad greens to fit several crops into one season and spread out the harvest. See 5 fast-growing veggies to try.
3. Interplant Crops for Higher Yields
“Interplanting” or “intercropping” is the practice of planting small crops in between bigger ones; the small, fast-growing crops will be ready before the big ones need the extra space. If you have a small area, this lets you use your space more efficiently and for longer.
To “interplant,” plants should be placed close enough so that their leaves will touch when they’re mature, shading the ground between them. This will keep weeds down and conserve moisture, reducing the need to mulch and weed.
As the plants begin to crowd out their neighbors, harvest the early-maturing ones, leaving room for the others to develop. For example, plant lettuce around longer-season vegetables such as broccoli, peppers, or tomatoes.
Check out our video to learn more about interplanting.
4. Pair Companion Plants
Some intercropping partners thrive if their roots occupy a different depth of soil. Pairing shallow-rooted vegetables, such as bush beans, with deeply rooted beets makes good use of space without creating root competition. Similarly, planting heavy feeders such as cabbages or cucumbers with light-feeding carrots or beans reduces the competition for soil nutrients. The best intercropping partners are companion plants that have different demands and complement each other, such as the Three Sisters: corn, beans, and squash. Refer to our vegetable companion planting chart for more recommended pairings.
5. Grow Vertically
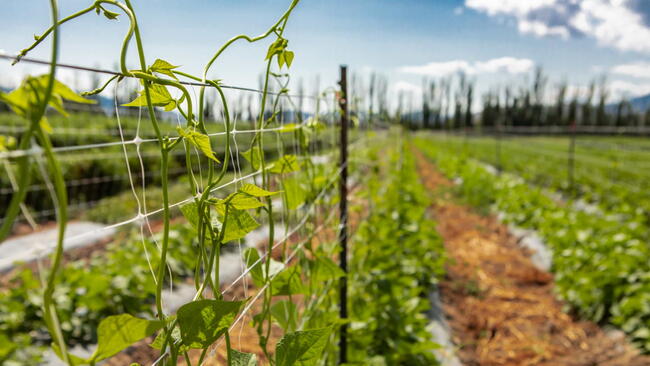
Lay out your garden plot with the fence, trellis, or wall on the north side. By planting the tallest plants there, you will avoid shading the smaller ones. Vining plants, if left to sprawl, take up valuable space in a small garden, so help them grow up.
- Cucumbers will eagerly climb a nylon net fence, with the subsequent bonus result that the dangling fruits grow straighter and are easier to pick.
- Tomatoes produce more fruit and ripen earlier if kept off the ground on a trellis or in a wire cage.
- Peas and pole beans naturally reach for the sky and will cover a wire fence or twine around a tripod of poles.
Some heavier plants, such as cantaloupes, watermelons, and winter squashes, may need help in climbing, so tie their vines to the structure to get them going in the right direction. Support the fruit with slings to keep them from tearing off the vine too soon.
Read more about the art of vertical gardening and fit more in less space!
Best Space-Saving Gardening Methods
| Technique | Best For | Main Benefit |
|---|---|---|
| Raised beds | All gardens | More plants per square foot |
| Succession planting | Continuous harvest | Multiple crops each season |
| Interplanting | Vegetable beds | Maximizes unused space |
| Companion planting | Mixed gardens | Better plant health and efficiency |
| Vertical gardening | Vining crops | Saves valuable ground space |
FAQs
What is small-space gardening?
Small-space gardening is growing vegetables, herbs, or flowers in limited areas by using efficient tools and techniques such as raised beds, vertical supports, and succession planting.
What vegetables grow best in a small garden?
Lettuces, spinach, carrots, radishes, bush beans, peppers, tomatoes, cucumbers, and herbs are all excellent choices for compact gardens.
How can I grow more vegetables in less space?
Use raised beds, plant crops in succession, grow vertically, and interplant fast-growing vegetables between slower-growing crops.
Is vertical gardening worth it?
Yes. Trellising cucumbers, tomatoes, peas, beans, and squash frees up ground space, improves airflow, and makes harvesting easier.
Plot Out Your Garden
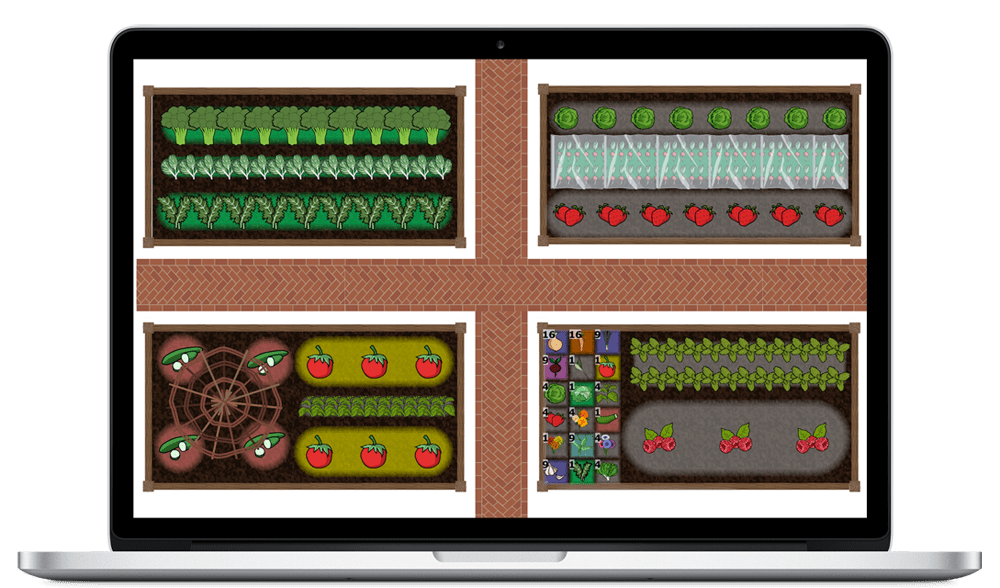
Good soil, adequate sunshine, and sufficient drainage are key requirements for a successful vegetable garden, but planning your garden’s layout shouldn’t be a last-minute thought. Every garden—and every gardener—is different, so create a garden tailored to your space and needs.
For example, a 100-square-foot garden (10x10 feet) can easily yield a wide variety of veggies. Bisecting it with two narrow paths forms four beds that are easy to reach into and tend. (One square = one square foot.)
To plan out your own garden, use The Old Farmer’s Almanac Garden Planner. You can try it free for 7 days—ample time to design your best garden yet!


Good luck with your new garden! The most important thing to keep in mind when transplanting your seedlings outside is to harden them off. They will need a week or so to acclimate to outdoor conditions before you plant them so each day expose them to a little more light and wind. Bring them in at night at first then leave them out all night if the weather is warm enough. Tomatoes, zucchini, peppers, and eggplant need nights in the 50s or above. To keep your plot productive replant the carrots as you harvest and the cilantro will need to be replanted at intervals to keep it growing. The other vegetables should give you summerlong fruits. For garden plans check out the online garden planner on this website. It adapts to your location and can give you specific planting advice.

We would not recommend using plain sawdust under the soil. Sawdust is low in nitrogen and is not going to help much as a fertilizer. It will instead absorb nitrogen as it decomposes and will take it away from your plants. It also encourages fungi in the soil. You can mix the sawdust with aged manure or leave it on the compost pile and use it next year when it is decomposed.
Are you asking whether you should rototill the lawn to remove the sod, or rototill after you have removed the sod? There are several strategies to removing sod, one being to rototill the grass into the soil. Advantages include: incorporating that organic matter (grass) into the soil, keeping nutrients. Disadvantages include: weeds -- exposing weed seeds and perhaps chopping up underground runners of certain weeds that encourage their regrowth.
If, however, you have already removed the sod, such as using a sod cutter or digging with a spade, then you can till the soil to break it up, and then till in organic matter, such as compost or aged manure. (Removing the sod will remove those nutrients from the grass, and will remove topsoil, so it is important to replenish it with soil amendments.) It is also a good idea to test the soil pH at this time and add what is needed to balance it. Rake the soil to remove rocks and debris, then let it sit for a week or two before planting.
There are also no-till ways to smother the grass, or block out light, such as by laying down cardboard and newspaper, and then adding a thick layer of soil amendments on top. This is good for the soil, as it keeps its nutrients and topsoil, however, takes months before the bed would be ready for planting.
- « Previous
- 1
- 2
- …
- 10
- Next »

Comments