
Making jelly is easy once you understand the process!
A Beginner's Guide to Making and Canning Homemade Jelly
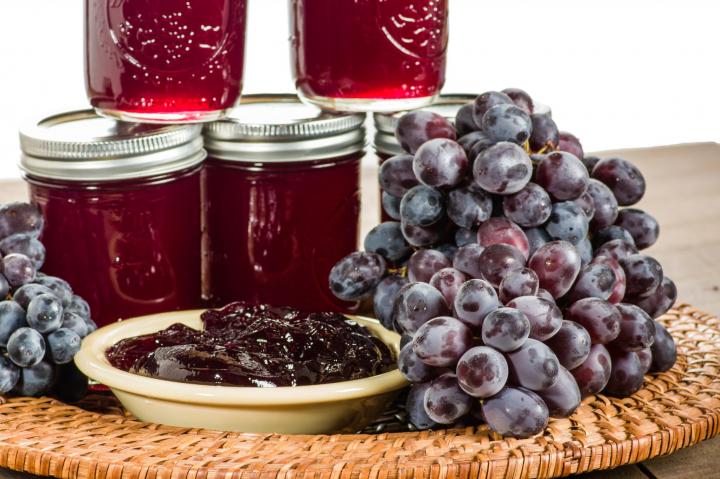
Perhaps the prettiest sight in the kitchen is homemade jelly. There is nothing like a row of jars full of translucent colors from nature’s bounty. Learn how to make jelly at home with this beginner’s guide. We also share seven of our favorite jelly recipes—classic grape, apple, blackberry, cranberry, mint, and dandelion!
What Is Jelly?
Jelly contains three basic ingredients: fruit juice, sugar, and pectin. When cooked together and allowed to cool, they thicken to form the sweet, spreadable substance we know as jelly.
To make jelly from scratch, we use the whole fruit, including the peel and core. The fruit is cooked down and strained. To the resulting juice, we add pectin. Pectin is the natural fiber (starch) within a fruit that helps to solidify the liquid juice.
Read Next
Jam vs. Jelly: What’s the Difference?
Although the process of making both jams and jellies involves using the whole fruit, the finished jelly product contains just the juice of a fruit, whereas finished jams and preserves contain bits and pieces of the fruit itself. This is why jelly is smooth (without lumps), and jam contains some fruit.
Jelly-Making Ingredients
- Fruit that is fresh and high-quality. Better quality ingredients yield better jelly. Always use the exact amount of fruit noted in the recipe—no more, no less. This helps to maintain the correct balance between ingredients. If your schedule doesn’t allow you to make jelly when the fruit is fresh, freeze the extracted fruit juice and make the jelly another day. Freeze juice in straight-sided containers filled to about ½-inch from the rim.
- Sugar increases the volume of the juice, sweetens it, sets the jelly, and helps to prevent mold and fermentation. Use the exact amount of sugar given in the recipe. If you want less sugar, use a recipe specifically developed to get your desired taste. Be aware that sugar substitutes such as corn syrup and honey mask the fruit’s flavor.
- Pectin jells the juice when it is cooked. Some fruits contain plenty of natural pectin; others require added pectin to jell properly. You can buy pectin in both powdered and liquid form. Be sure to follow the manufacturer’s directions.
- Acid thickens the fruit juice. As with pectin, some fruits will have enough natural acid, and others must be supplemented. You can use lemon juice for the acid.
Which Fruits Will Need Additional Pectin and/or Acid?
- With some fruits, you have enough natural acid and pectin without supplementing. Examples are tart apples, crabapples, blackberries, cranberries, gooseberries, and some grapes.
- Other fruits will need added acid, pectin, or both. These include apricots, blueberries, peaches, raspberries, strawberries, and pears.
The recipe will indicate the need for extra acid and/or pectin. If acid and/or pectin are not listed as recipe ingredients, do not add them.
Jelly-Making Supplies
- Use a heavy, 8- to 10-quart stainless-steel pot with a flat, heavy bottom and high sides.
- Have jelly jars, bands, and lids on hand. Lids must be new. Jars and bands can be reused; check that they’re in good condition with no cracks or chips and clean thoroughly after use. Use only the jar size specified in your recipe. For most jellies, half-pint (8 oz.) or smaller jars are used.
- A damp jelly bag or cheesecloth is needed when extracting juice for jelly. Firm, unbleached muslin or cotton flannel with the napped side turned in, or four thicknesses of closely woven cheesecloth may be used.
- A jelly, candy, or deep-fat thermometer can be used to determine doneness in jellied products without added pectin. This is not necessary when you supplement with commercial pectin.
- A boiling water bath canner is necessary for processing all fruit spreads to prevent mold growth. A deep cooking pot with a rack that fits the bottom of the pot may be used for a canner if it’s deep enough to allow 1 or 2 inches of boiling water above the tops of the jars. Be sure the pot has a close-fitting lid.
Basic Jelly-Making Process and Tips
Our specific recipes can be found farther down the page, but this is the general jelly-making process. It may look like many steps, but the process moves quickly. We simply want to provide plenty of detail!
Preparation
- Get out your recipe. Remember: Only prepare ingredients for one recipe at a time. Do not double. If a larger quantity of juice is used, longer boiling is needed, which can cause a loss of flavor, darkening of the jelly, and toughening of the jelly.
- Wash your jars, lids, and bands before jelly-making in hot, soapy water and rinse. Sterilize the jars by heating them in a pot of water that is gradually brought to a boil for 10 minutes. (No need to sterlize lids.) Turn off the heat and leave the glasses in the pot until you are ready to use them. They need to be hot when you pour in the jelly later.
- Always wash fruits right before cooking, no earlier. Wash under cold, running water; do not soak fruits, especially berries. Wash your fruit. Remove the stems, skins, and pits from the fruit; cut the fruit into pieces and crush them. For berries, remove the stems and blossoms and crush them. Seedy berries may be put through a sieve or food mill.
Extracting the Fruit Juice
- In your heavy, 8- to 10-quart saucepot, add fruit and only the amount of water called for in the recipe. Too much water will require longer cooking time and longer straining time; too little water may result in scorching (burning) the fruit.
- Cover, bring fruit juice to a rapid boil, stirring frequently. Reduce heat, cover loosely, and continue cooking, stirring, and crushing the fruit until it is soft and the juices are flowing. Berries need only a couple of minutes, and hard fruit like apples may need anywhere from 15 to 30 minutes.
- Over a colander or sieve, suspend a damp jelly and jam strainer or use wet cheesecloth. Place the colander or sieve over a large bowl and pour the cooked fruit into the bag or cheesecloth to strain into the bowl. For the best results, let it strain (drip) without forcing the liquid. This may take 2 hours or longer. If you squeeze the bag to extract the juice faster, you’ll get good juice, but it will be cloudy, and so will your jelly. Tip: If the yield of juice is slightly less than the recipe quantity required, add ½ cup boiling water to the remaining fruit pulp to extract additional juice or use unsweetened apple or white grape juice to extend the quantity.
Cooking the Jelly
- In a large, deep stainless-steel saucepan, place the fruit juice and lemon juice, if needed, per recipe directions. If pectin is added, whisk the pectin into the fruit juice until it is dissolved. Bring it to a boil over high heat, stirring frequently.
- Add the sugar all at once, stirring until the sugar dissolves, and return to a rolling boil. Tip: Low-pectin fruit jelly can be made by combining the low-pectin juice with homemade apple juice—proportioned 1:1, plus ⅔ cup of sugar for each cup of juice. If you are using blueberries or strawberries, add 1 tablespoon of lemon juice for every 2 cups of jelly juice.
- Continue boiling the jelly and stirring for a clear-finished product. As the fruit mixture begins to thicken, stir frequently to prevent sticking and scorching. Tip: From the point at which you combine the juice, acid, pectin, and sugar to the temperature at which you heat your jelly, everything has to be exact. In general, when no pectin is added, the jelly stage is reached at 8°F above the boiling point of water. (The boiling point for water is about 212°F at 1,000 feet or less.) You can use a candy thermometer to determine the actual temperature at which water boils in your kitchen.
- If not adding pectin, you need to test whether or not your jelly has jelled. You can use a candy thermometer, but if you don’t have one, here are a couple of ideas. Remove a spoonful of the juice 5 minutes after you’ve added the sugar, let it cool for a minute, then tip the spoon back into the saucepan. If the juice runs together at the edge and “sheets” off the spoon, then you’re ready to pour it into the jars. Another jell test involves the freezer. Pour a small amount of boiling jelly onto a plate and put it in the freezing compartment of a refrigerator for a few minutes. During the freezer test, remove the panful of jelly mixture from the heat. If the chilled mixture jells, it should be done. (Note: If you’re adding extra pectin, you don’t need to do a jell test.)
- Remove your hot, sterilized jelly jars from the pot. Drain the jars and place them on a level surface.
- Fruit juice cooked with sugar produces considerable foam or scum on the surface of the liquid. Skim scum off quickly before ladling the hot jelly into the hot jars. Tip: Alternately, you may add ½ teaspoon of butter or margarine when adding the sugar and before bringing to a boil. Do not add more butter, or it will interfere with the jelling.
- As you ladle the jelly into the jars, leave a ¼-inch headspace. Be careful not to spill any over the sides. If you do, wipe it off before you put the lids on.
- After you pour the jelly, stir it gently around the sides of the jars with a plastic wand or spatula, to eliminate air bubbles.
- Place lids that have been washed and dried on the jars. Add screw bands and tighten until finger-tip tight.
Processing the Filled Jars for Storage
In order to keep homemade jelly beyond a few weeks, the filled jars must be processed using water-bath canning.
- Place jars into a boiling water bath canner, making sure the jars are completely covered with water (1 to 2 inches above the jars).
- Cover with lid and bring the water back to boil, processing half-pint and 8-oz. jelly jars for 10 minutes.
- When the time is up, turn off the heat, remove the lid—take care to vent the steam away from you—and wait for 5 minutes.
- Remove jars to a wooden trivet or kitchen towel on the counter and let sit for 12 to 24 hours. Remove the screw bands and check the seal by pressing gently on the center of the lid. Store only jars that are sealed. If the lid wobbles, refrigerate the jelly and enjoy it within a few weeks!
These are general guidelines for making jelly. You should always follow the recipe. What’s that? You don’t have a jelly recipe? Borrow one of ours!
Homemade Jelly Recipes
Prepare only a single batch at a time. Doubling the recipe can cause jelling issues.
1. Easy Grape Jelly Recipe (2 ingredients)
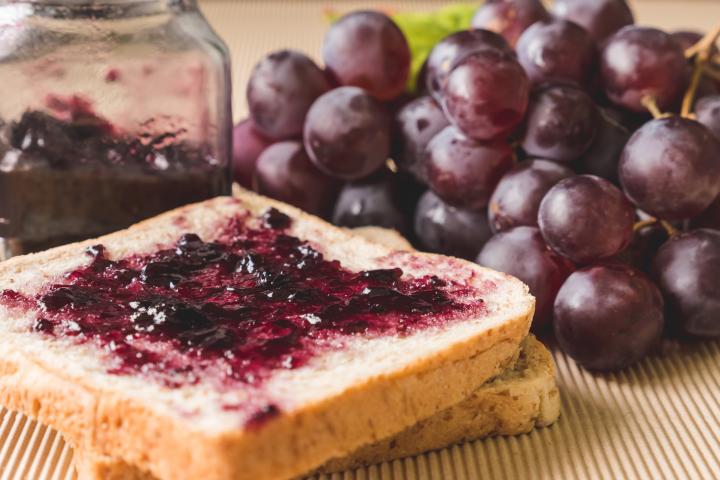
Photo Credit: Momentum Fotograh/Shutterstock
2. Apple Jelly (or Crabapple Jelly) Recipe
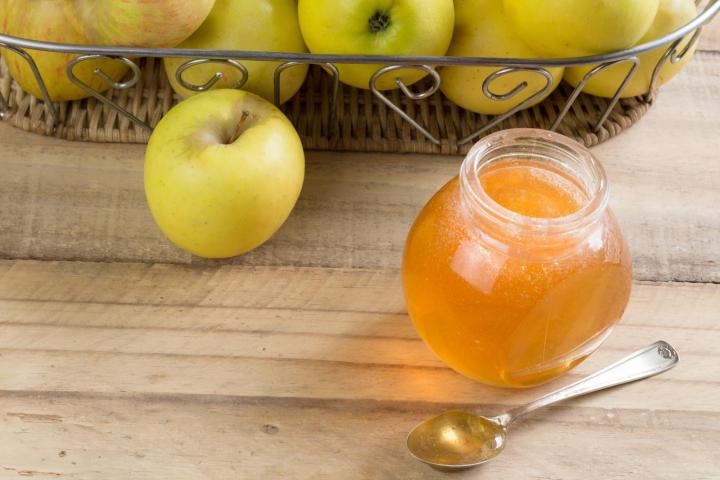
Photo Credit: Madele/Shutterstock
3. Blackberry Jelly
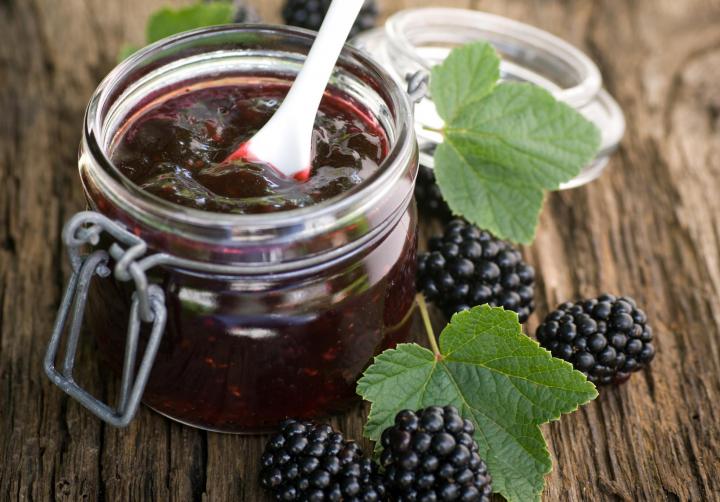
Photo Credit: Christian Jung/Shutterstock
4. Spiced Grape Jelly
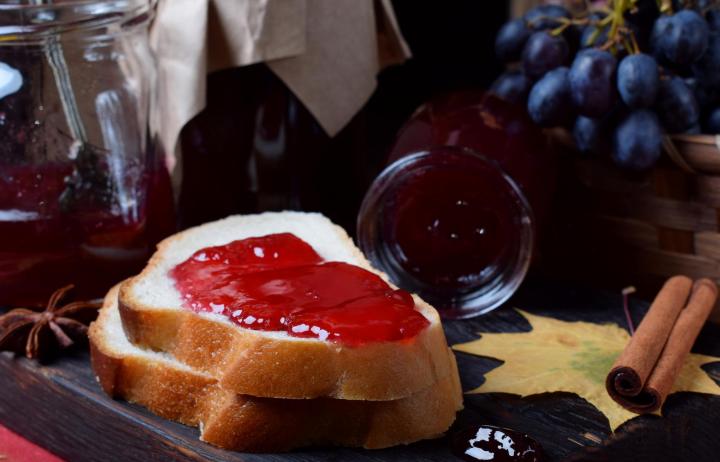
Photo Credit: Kcuxen/Shutterstock
5. Cranberry Jelly
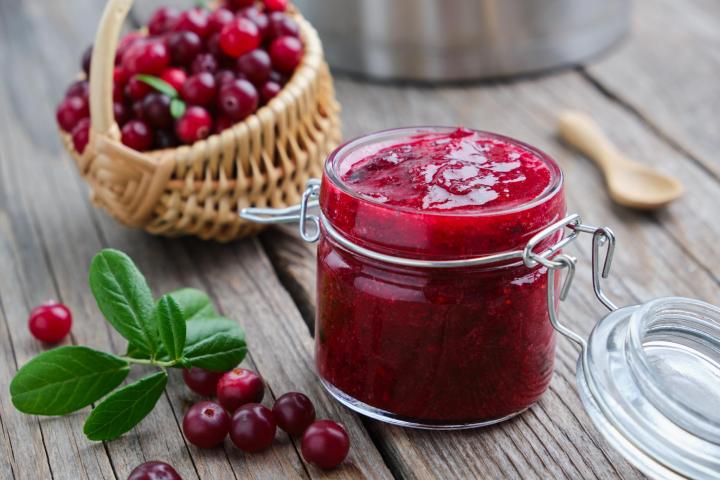
Photo Credit: Chamille White/Shutterstock
6. Mint Jelly
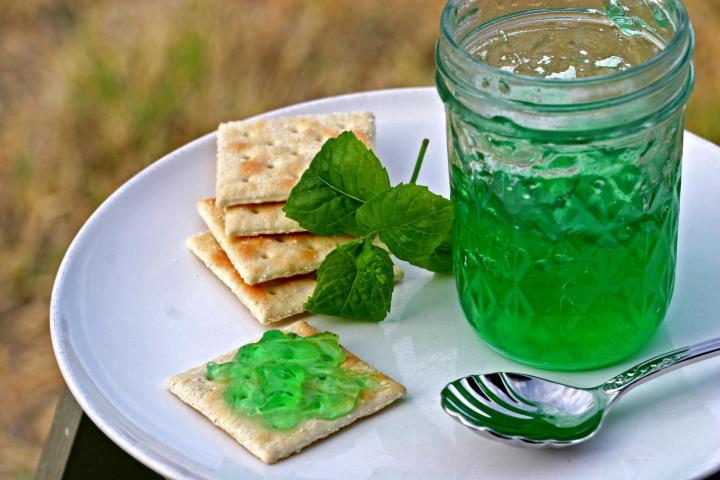
Photo Credit: Rainbohm/Shutterstock
7. Dandelion Jelly
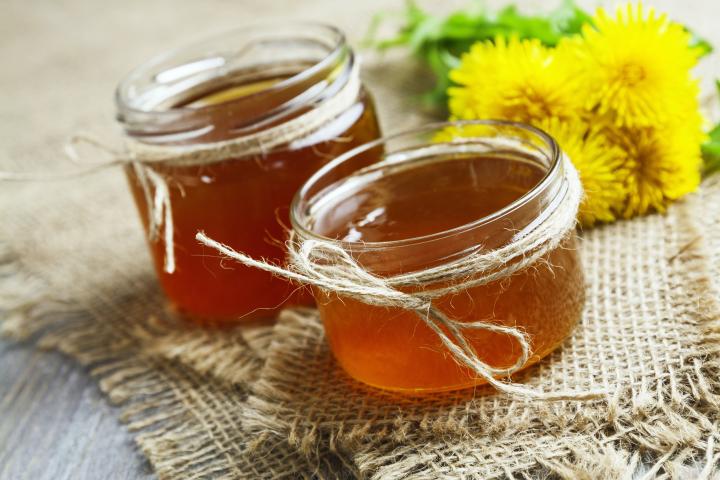
Photo Credit: minadezhda/shutterstock
Do you have any questions about the jelly-making process? We can help! Post them in the comments below.
Catherine Boeckmann

Introduction to Preserving
Freezing
Making Quick Pickles
Making Quick Jams: Refrigerator or Freezer Jam
Water-Bath Canning
How to Can Tomatoes
How to Can Pickles
How to Can Jam and Jelly
Pressure Canning
Drying
Salting and Brining


ADVERTISEMENT
Our son gave us a small jar of jelly which is not thick enough. I bought some pectin, but I am not sure how to proceed. I figure I have to heat up the pint of soft plum jelly, add the pectin and hope for the best. Any ideas?
Hi, Tom. There are some steps you can take to help your jelly. Here is a good guide to follow: https://www.pickyourown.org/how_to_fix_runny_jam.htm
I'm not a jelly maker myself, but my mom was back in the '50's and '60's. I seem to remember her topping her jams and jellies with a layer of paraffin before sealing them. Does anyone still use that?
Hi, Denise. Paraffin is no longer used due to safety guidelines. The National Center for Home Food Preservation states that using paraffin increases the potential for mold to grow on the jelly.
I used to either skim off the "scum" and discard and/or add about a tsp of butter to the jam - as you'd suggested, and is suggested in many recipes - but no longer. I've found that the "scum" is not necessarily a bad thing to be removed and discarded. No, it's actually frothy jam or jelly, and is perfectly fine to eat! These portions just don't look good in the jar, so what I do now is skim it off the top of the jam or jelly before I ladle them into jars, and put it in a container to refrigerate it and use it myself. I then finish jarring up the jam or jelly and process in the water bath canner as usual. Now, this is assuming you washed the fruit really well, and filtered the jelly juice well (like, 2 layers of cheese cloth) - if not, then the "scum" may contain things you don't want to consume, like fine sediment. However, most sediment is not harmful - gritty, but not harmful.
Okay. I extracted 8 cups (2litres) of quince juice.
I brought the juice to a boil, added 8 cups of sugar and 6 tbs of lemon juice and hard boiled until the candy thermometer read : 220.
I tried the freezer test as well and it was positive.
Did a pectin and alcohol test prior to starting.
Jars were hot and sterilized.
Skimmed foam, filled jars, and water bath for 10 minutes.
No jelly. 3rd attempt. I am on the edge of the bridge.
I have successfully produced apple, medlar, fig. My quince and persimmon have failed.
Sigh...... Suggestions are needed.
You should try using low sugar pectin.
Sorry no suggestions, but I just wanted to share your pain! My persimmon jam came out the consistency of applesauce. I renamed it persimmon “preserves”. The taste was fine though. I would love to see some suggestions too. It’s August and the persimmon trees are full of fruit waiting to ripen.
Maybe Butter & Eggs Jelly is made from Butter & Eggs Wildflowers; Butter-and-Eggs is another garden plant that has escaped into the wild to become a permanent resident. It has spread to all areas of the United States.
A few years ago I had a recipe for jalapeño jelly that did not call vinegar, nor any other additive other than sure jell. I lost that recipe.
That was the best no vinegar jelly ever!
I for the life of me cannot find that recipe and was hoping that you or someone else may know of such recipe?
I cannot remember how I prepared the peppers . I know they were chopped but I cannot remember anything else....I have researched and googled for days and the only recipes that come up they all have vinegar or jello or apricots etc.... I do not care for that....